|
|
www.onthewaymodels.com |
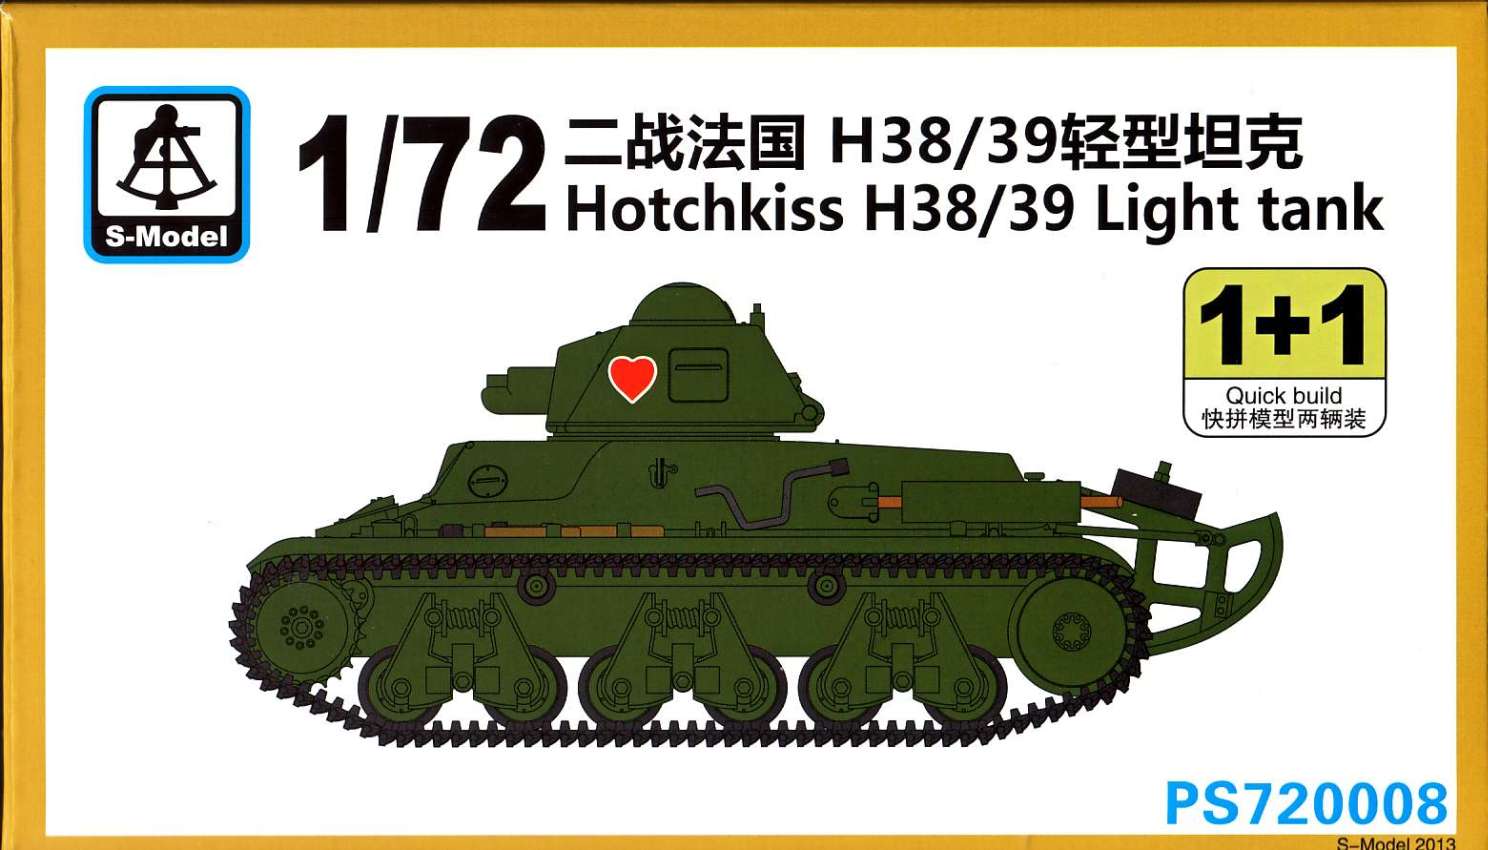
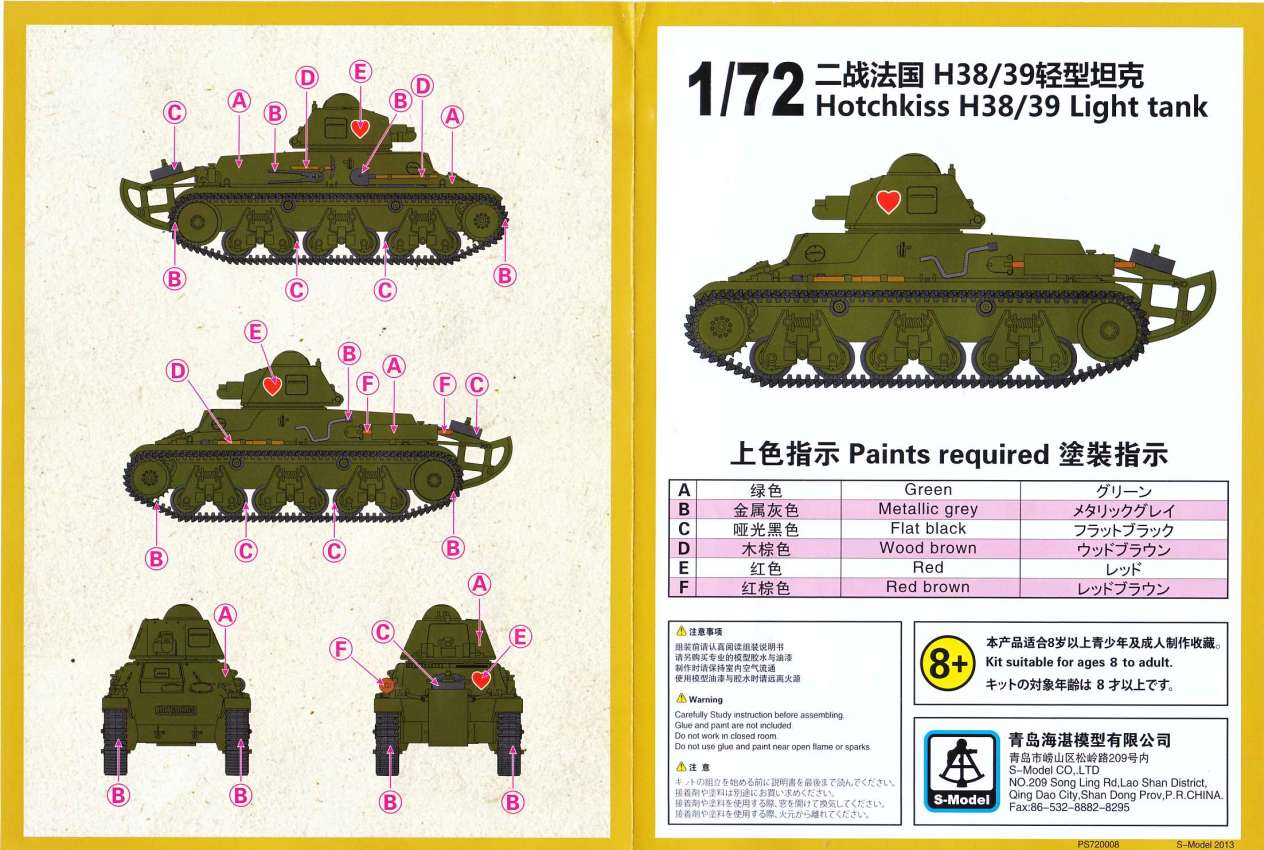
Hotchkiss
H38/39 |
|||
| Kit # 72008 & 72009 (pre-production sprue) | Preview by Rob Haelterman | ||||
|
|
www.onthewaymodels.com |
Hotchkiss
H38/39 |
|||
| Kit # 72008 & 72009 (pre-production sprue) | Preview by Rob Haelterman | ||||
|
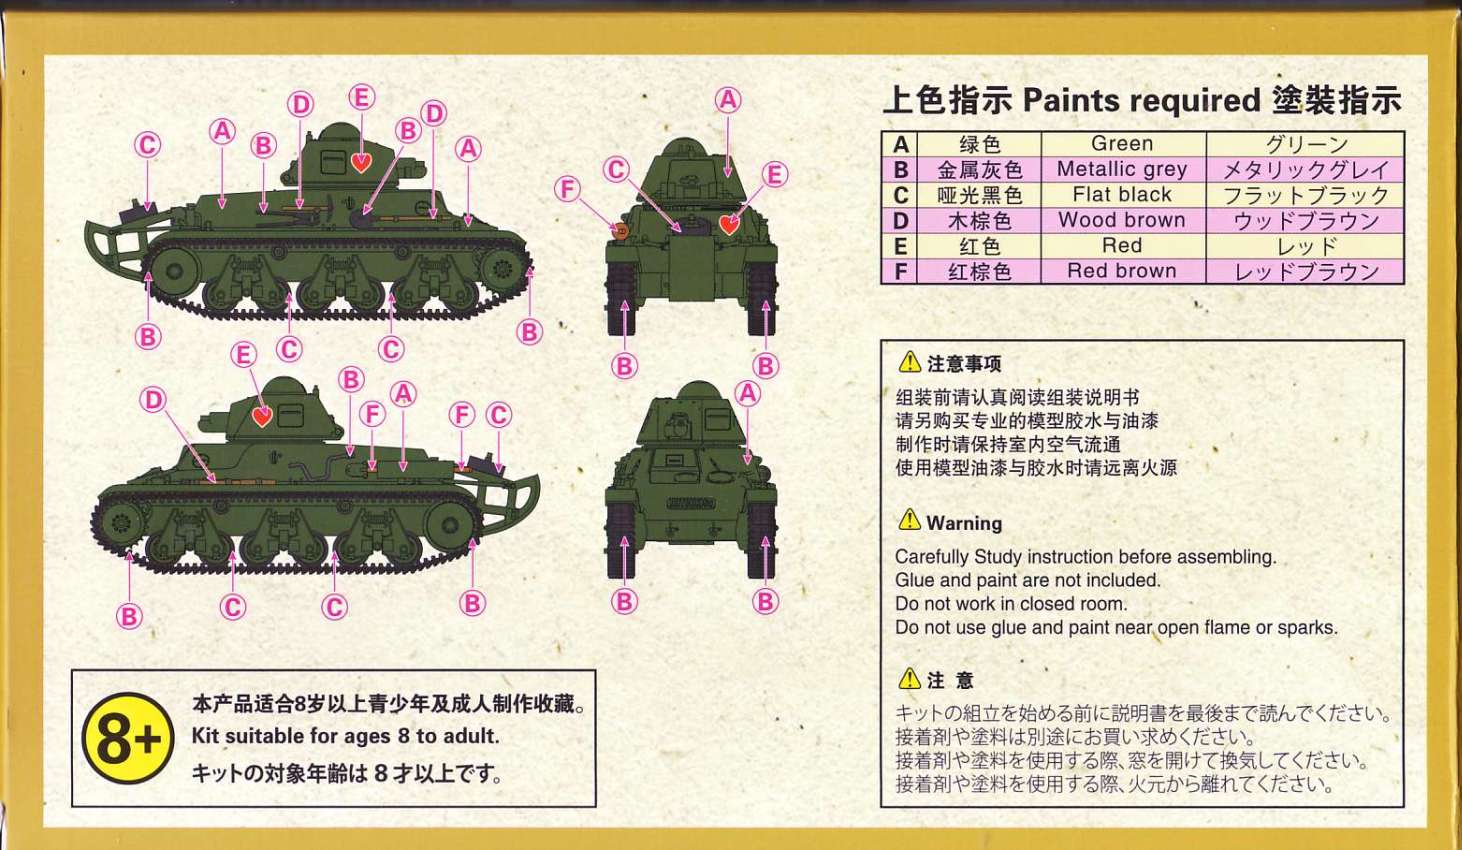
| Henk
of Holland sent me a preproduction sprue of S-Model's Hotchkiss
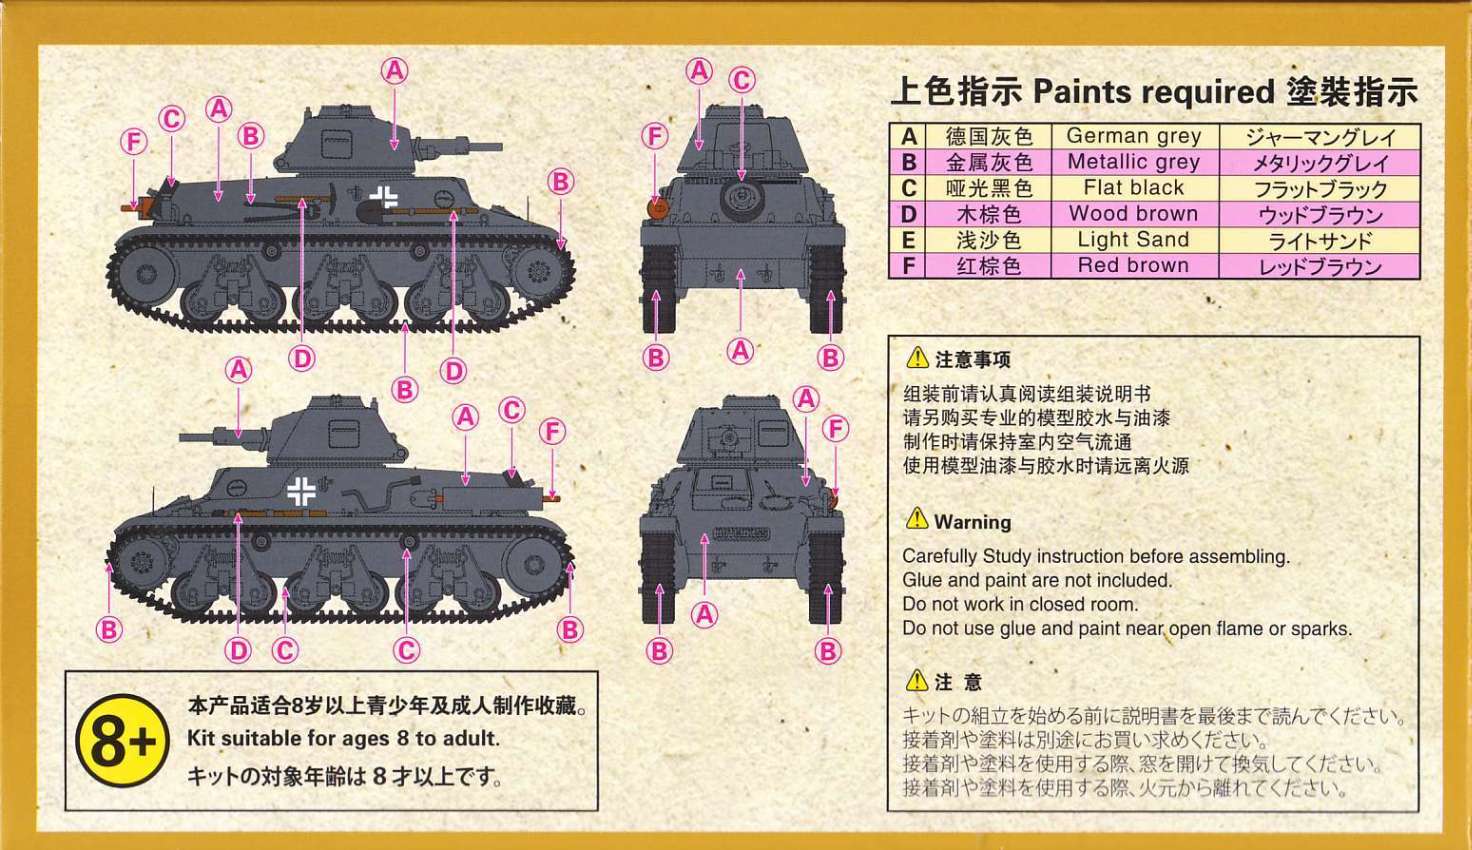
H38/39 and of the Pz.Kpfw. 38H735(f). The latter is basically the
German designation of a captured Hotchkiss H38/39 tank, with some
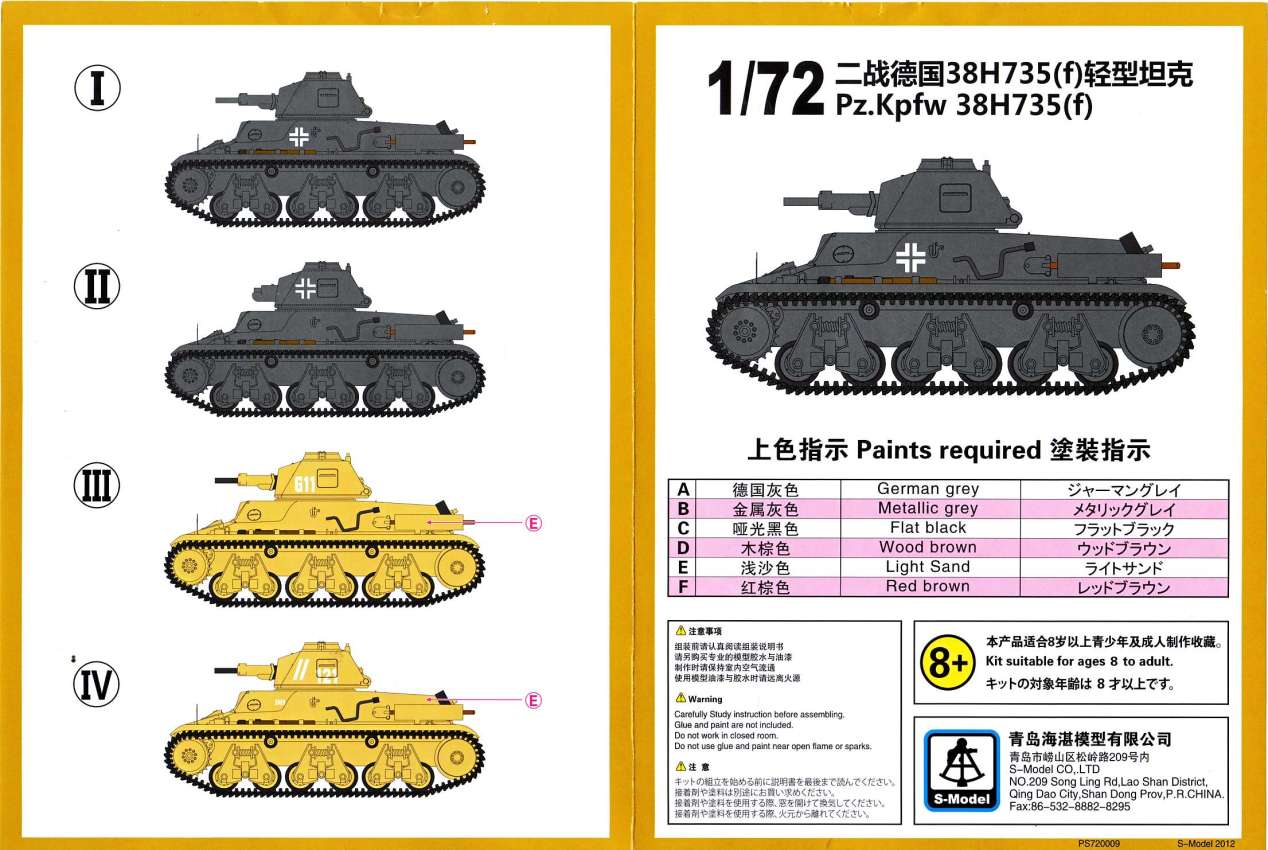
modifications. Production
kits
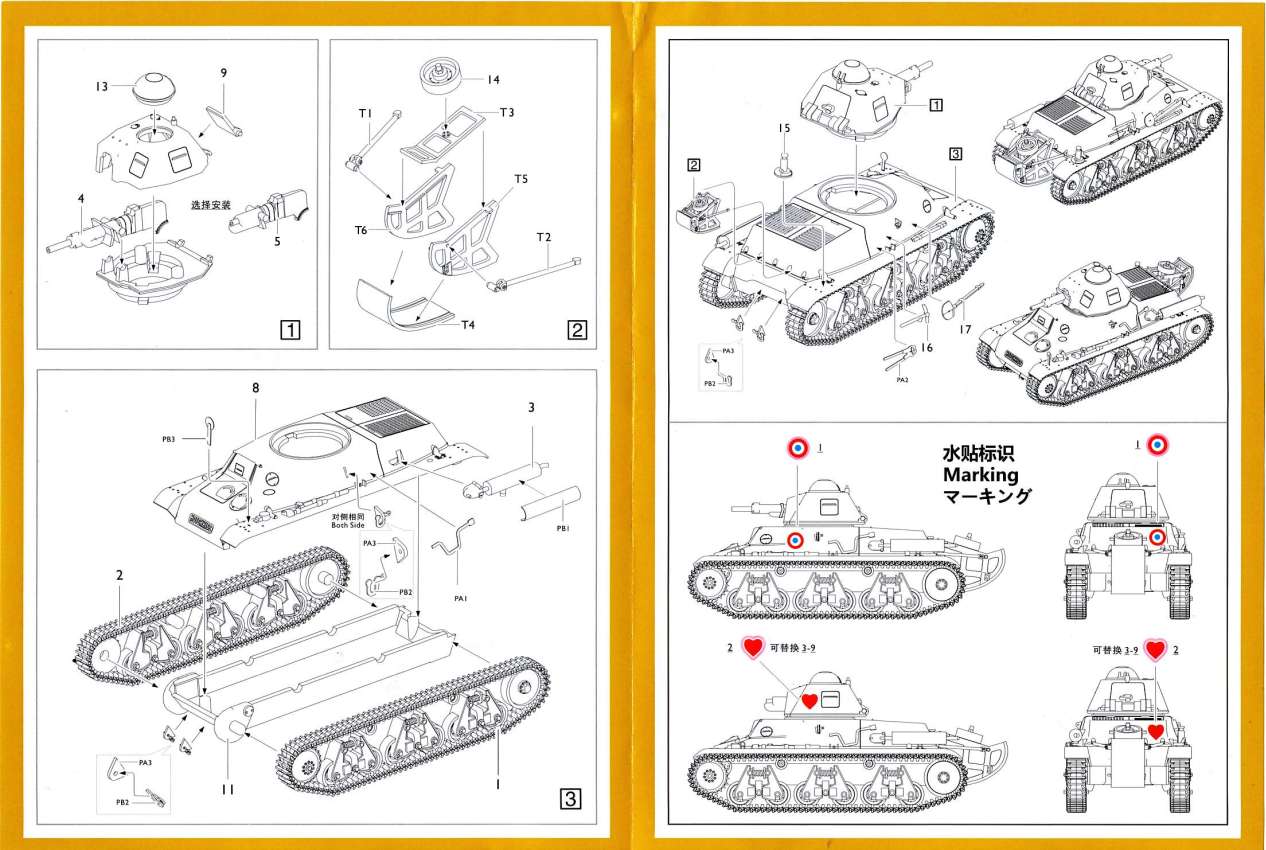
The omission of the trench crossing tail in the German version is curious, as it seems to have been fitted to a lot of the tanks used by the Germans. As kit 72009 comes with an open and a closed German cupola, you can use the spare on kit 72008 and build it as a Beutepanzer with a trench-crossing tail, as I did. Note that a number of Beutepanzers were converted to turretless ammo carriers and tractors and a few were equipped with rocket racks. Going through my references I also discovered that some H38/39 had spoked idlers and that the Germans often added extra boxes to the side of the hull or the "tail". A Notek headlight was also often seen, although this is lacking from the kit.
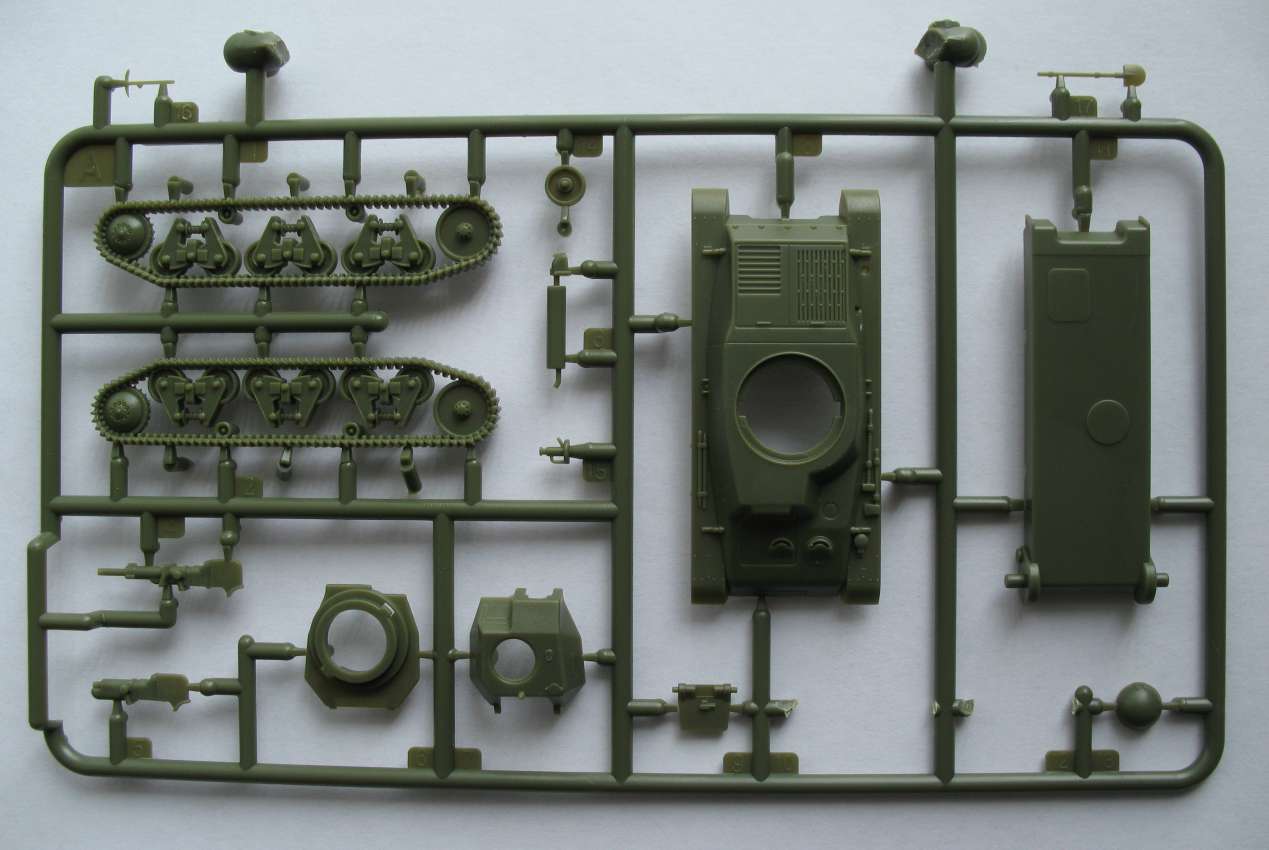
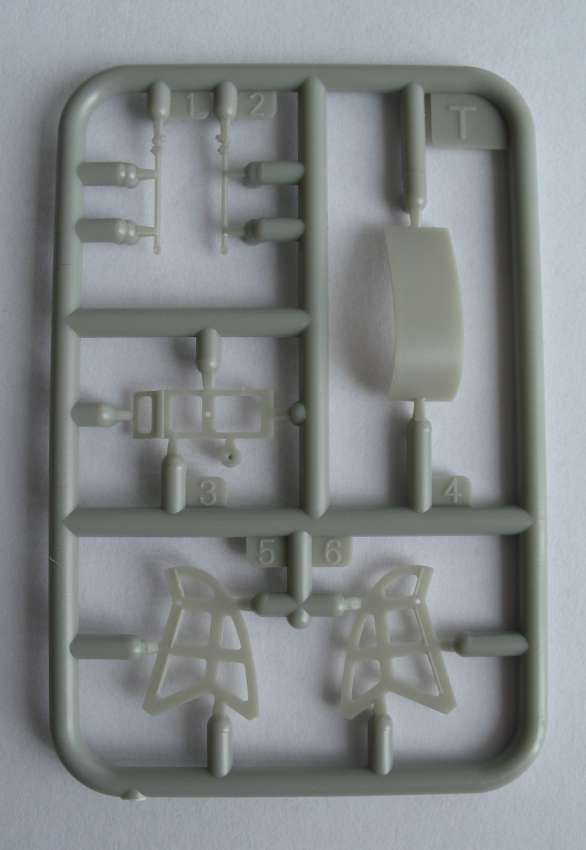
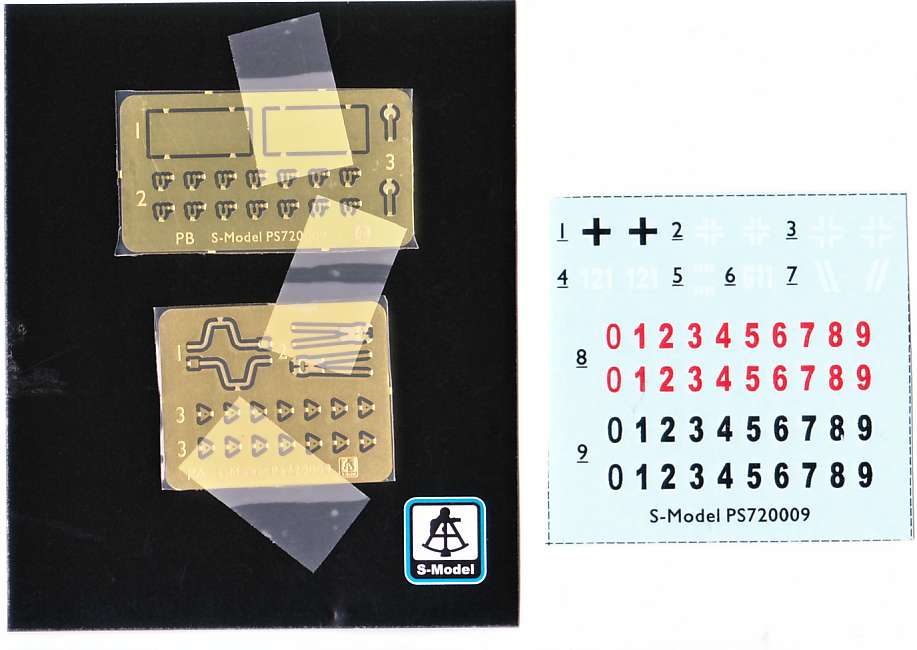
Pre-production
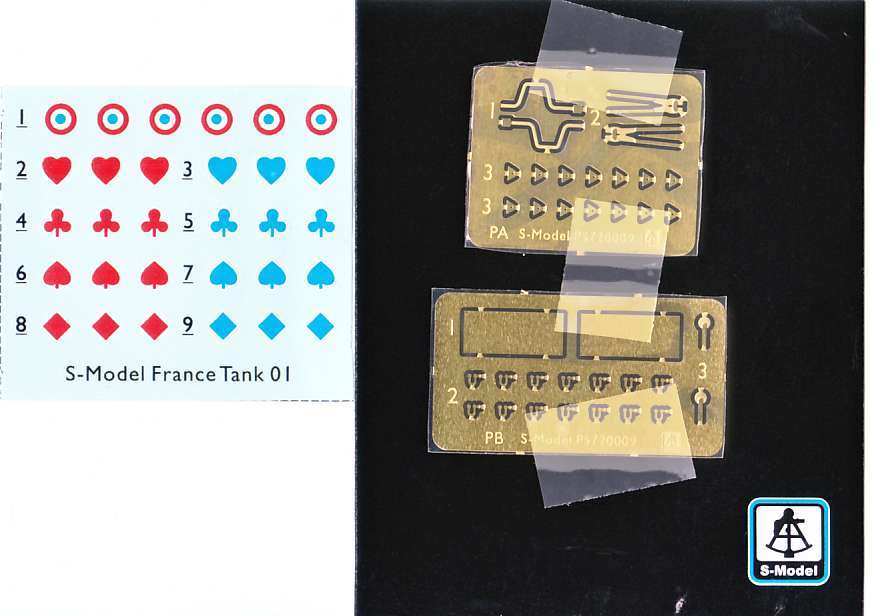
sprues
For the German version (72009) the following items were lacking:
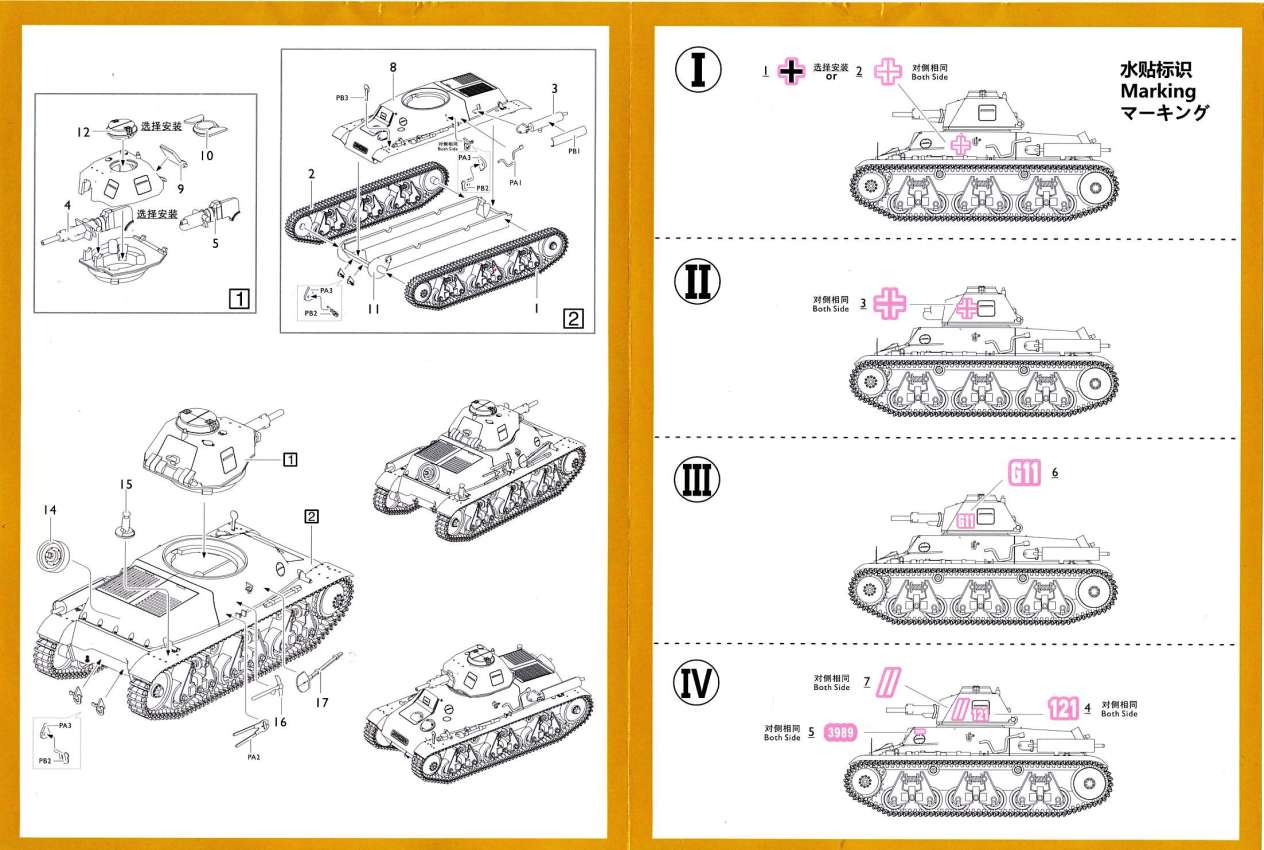
Construction My sprues
did not have sinkholes or flash; ejector marks were on the inside
of the parts. As I didn't have the decals for these kits, I decided to build both as a Beutepanzer, as I have plenty of German markings in my spares box. Construction
showed a very good fit,
with a lot of parts not really needing glue to stay in place. Only
a minor seem at the bottom of the turret needed to be filled in, even
if you don't need to scratchbuild the entire bottom. More about that
in a second. The suspension is quite nice, but the tracks are only mediocre. They also suffer from a mold seem that will require careful clean-up. The rest of the parts are sharply detailed, and even the "Hotchkiss" plate on the nose is present.
After clean-up the tail-less kit goes together in about 20 minutes. For the kit with the tail, I removed the rods of the strengthening bars, keeping the ends where they attach to the tail. The reason was twofold: the rods are difficult to clean up due to the sprue attachment and they are slightly too long. Everything that needs to be done to further finish the model (like adding the missing items) might be interesting to our readers but, strictly speaking, has no further relevance for the review of this kit. I'll cover it regardless.
Further construction: As I
didn't want to have half-finished kits lying around, I decided to
complete the kits with scratchbuilt parts and items from the spares
box.
I also added a tow chain, which was often seen on French vehicles and sometimes kept after put in German service. The other kit didn't need quite as much extra bits as only the PE sheet was missing compared to the production kit. I applied markings from the spares box. Most of them come from other S-Model kits. The choice of markings is purely apocryphical.
The first of the two kit after completion.
And the second.
References: [1] Beutepanzer - Captured Enemy Armor in Wehrmacht Service 1939-1945, R. Johnson & U. Feist. Feist Books. 2011
My thanks to S-Model and Henk of Holland for the preview sample of this kit. |
| Back to S-Model Kit List | Back to Construction Reviews Page |
Article Last Updated: |
Back to Home Page |
.jpg)
.jpg)
.jpg)
.JPG)
.JPG)
.JPG)
.JPG)
.JPG)
.JPG)
.JPG)
.JPG)
.JPG)
.JPG)
.JPG)
.JPG)
.JPG)
.JPG)
.JPG)
.JPG)
.JPG)
.JPG)
.JPG)
.JPG)
.JPG)
.JPG)
.JPG)
.JPG)
.JPG)