|
|
www.onthewaymodels.com |
E-100B |
|||
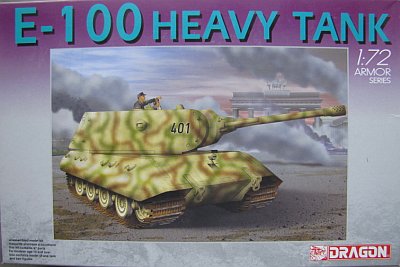
| Dragon
Kit #: 7256 Modell Trans Kit # MT72340 |
Construction review by Rob Haelterman | ||||
|
|
www.onthewaymodels.com |
E-100B |
|||
| Dragon
Kit #: 7256 Modell Trans Kit # MT72340 |
Construction review by Rob Haelterman | ||||
 .jpg) |
| (For a preview see here.) Preliminary
note:
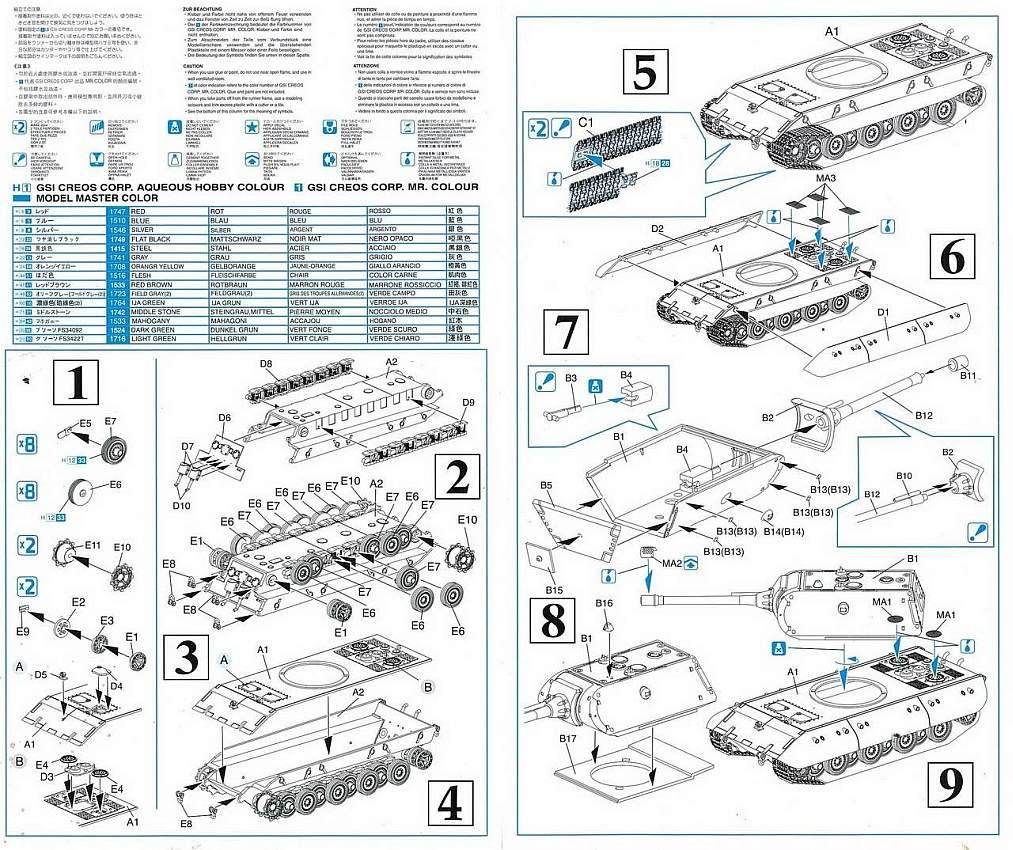
The Dragon hull For a kit of this size, it goes together extremely fast. In fact, if I hadn't decided to convert it with another turret, I could probably have finished assembling it in less than two hours (even counting all the time removing the minor seam lines). The
modeler has to pay attention, however, when attaching the idler wheel.
I would suggest attaching the arm (part E5) to the hull before attaching
the idler wheel itself, and not -as the instructions suggest- attach
it to the wheel first and then to the hull. While the instructions
are correct, the paint diagram shows the idler in front and the drive
sprocket at the rear, which I believe is not correct. It seems difficult
to mount them like that anyway. There
is only one driver's hatch that can be modeled open, which is sad.
Worse, it will probably always result in a slight visual difference
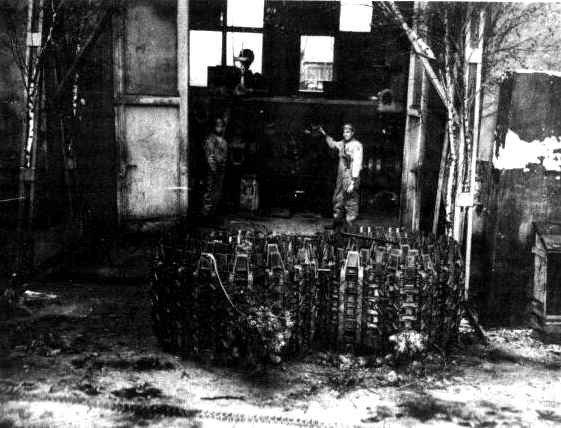
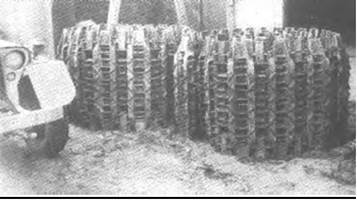
between both hatches if you glue them in the closed position. The tracks are of the new DS100 type: very well detailed and flexible. I had thought of installing them after finishing the hull, slipping them under the side skirts. I can tell you: this doesn't work... My diorama setting came to the rescue, as often the tracks were just rolled up before installation, as seen in these war-time pictures. I have read that the tracks might be too long, but due to my "choice" I can't confirm. (Fellow modelers didn't seem to have this problem either.)
Note that the tracks react violently to MEK, by which I mean they literally disintegrate. The decal sheet is the same as in the Maus kit. As I depicted the vehicle in red primer on the assembly line, none were needed.
The figures are also the same as in the Maus kit. They are very nicely done, in a slightly supple plastic. I can't understand why Dragon doesn't include figures more often.
The
instructions are simple, but not without errors, as mentioned earlier.
The kit turret I
converted the kit turret with parts of a Dragon Sturmtiger, to make
a completely fictional vehicle, so my opinion of the turret might
only cover the body. Nevertheless, I finished a similar turret for
a diorama some
time ago, and in both instances my conclusion would be that it goes
together very well.
The Modell Trans conversion set The
Modell Trans conversion set offers an alternative turret, which the
company labels as the E-100B. While Panzer Tracts 6-3 mentions that
the E-100 would at first have been fitted with the Maus turret (as
the Dragon kit does) and later with a new turret, this does not seem
to be the one in the Modell Trans set. This leaves the question if
this turret is based on actual plans, or a fictitious design. I believe
that - even though many companies have depicted this turret - it can
be traced back to this
fictitious model.
The
turret body is nicely done, except for quite a large number of pinholes
on the rear face. This would be the part of the turret that would
be on top when casting the piece, judging from the molding carrot.
The same issue was found in the gun barrel (which has a separate cap to have a hollowed out end). I ended up using the 128mm gun from the Dragon kit, with a scratch-built mantlet.
The figures in the diorama are from FBMinis. |
| Back to Dragon Kit List Back to Modell Trans Kit List |
Back to Home Page |
Article Last Updated: 24 May 2013 |
Back to Construction Review Page |
.jpg)
.jpg)
.jpg)

.JPG)
.JPG)
.JPG)
.JPG)
.JPG)
.JPG)
.JPG)