| Previously,
Francesco Giovagnorio already previewed the three
releases of the SU-76i by Attack and built
one of them.
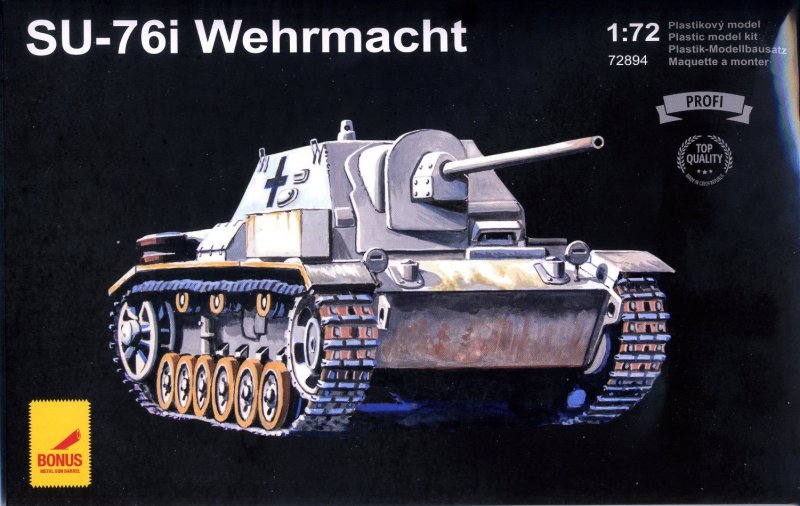
In this construction review we focus on a SU-76i
captured and used by the Wehrmacht. (This means that the Panzer
III chassis was first captured by the Russians and after conversion
was re-captured by the Germans).
Based
on the kit and the few available pictures, the vehicle was based
on a PzKpfw III Ausf.
J/Tp hull from the August-November 1941 production batch.
_t.jpg) _t.jpg)
Construction
The
comments in Francesco review almost universally hold for this kit
as well, as they are very similar. Some points to which I would
like to draw attention:
- The
alignment of the lower hull alignment needs care. In some areas
some plasticard is needed to avoid gaps between the components.
_t.jpg)
_t.jpg)
 _t.jpg)
- The
towing holes in the forward hull extensions need to be drilled
out.
- Two
pins were added to the rear towing shackles. They were made from
copper wire.
- The
kit offers a mix of early and late shock absorbers; one shown
is apparently shown upside down in the instructions ?
- The
roadwheels not perfectly centered. The drive sprockets, idler,
return rollers and roadwheels have a very weak connection to the
hull. The rubber on the roadwheel is molded with a visible bevel
when viewed head on. I decided to add some wear and tear to hide
it as best as I could. The way I built the kit, the return rollers
are actually glued to the tracks and not to the hull.
- Attack
didn't forget that the roadwheels on the left and right side of
the Panzer III were slightly staggered (due to the use of a torsion
bar suspension).
- The
tracks are provided as four long stretches and four pre-bent resin
parts for the idler and drive sprocket. The latter don't conform
perfectly to the idler and drive sprocket without some sanding
and cutting. The long ends are ok, but the top run needs to be
shortened.
- The
exhausts are molded with a convincing open end, but the mufflers
have some sink marks. The exhaust deflector (part 47) is needed
for this version, but marked optional in the instructions. I noticed
too late that the cut out at the bottom was smaller than that
seen on the real
vehicle.
- There
are no location indicators (holes/pegs) on the rear plate for
the towing eyes, idler mounts and mufflers.
- The
instructions don't tell you that the deflector ring for the turret
and two small pegs that are normally just behind the turret need
to be removed to accept the new superstructure.
- I
sanded down the reinforcement strips between the new fighting
compartment and the standard Pz III hull, and added new ones from
strips of plasticard, as I failed to get the joint right.
_t.jpg)
_t.jpg)
_t.jpg)
- There
is no mesh for the lateral engine grilles. I took mine from Voyager
(set 72028). As the vehicle had a tumultuous career, I heavily
damaged the PE parts to show the abuse.
- The
spare roadwheels that are supposed to go on the rear fenders fitted
badly. A retaining bolt was added.
- The
stowage on the fenders is completely different between the kit
and the real vehicle. Furthermore, most of the tools need to be
removed to fit the boxes on the fenders, leaving areas with badly
damaged anti-slip plates. I added fictional extra stowage to hide
the damage. The trapezoidal box on the fenders are lower in the
pictures, compared to the kit parts.
- The
bolts on the fenders are very prominent and slightly sanded down.
- Unless
major surgery is your thing, all crew hatches will be difficult
to open.
- The
gun mantlet went together very badly and I ended up completely
rebuilding it. The gun shield was thinned down. It seems different
configurations of the mantlet existed. (Compare the half
cylindrical version see here with this
version or this
version.)
- Lifting
eyes (from copper wire) were added to the superstructure.
- I
lost the periscope (on top of the fighting compartment) and did
my best trying to create a new one from scratch.
- The
kits comes with many spare parts, some of which could be used
to convert a T-34 into a Beute version
- My
instructions didn't show all the parts or how to use them, and
a part of a diagram didn't get printed. Part numbers are only
mentioned in the instructions, not on the sprues.
- Parts
that are not mentioned in the instructions, but are needed to
represent the vehicle in the pictures are
- 2
antennas and their mounts. These were scratchbuilt.
- Spare
tracks for the glacis. These were taken from a Revell kit.
Something
that is not immediately obvious is that the driver's visor on the
SU-76i was moved outwards with respect to the ordinary Panzer III.
(Compare the SU-76i
with the Panzer
III and pay attention to the deflector strip in front of the
visor. Another good illustration can be found here.)
_t.jpg) _t.jpg)
 _t.jpg)
 _t.jpg)
Based on the available
pictures, there might have been at least two vehicles (re-)captured
by the Wehrmacht (which is the hypothesis that the instructions
in the kit accept) or the pictures might show the same vehicle in
different stages of its operational life.
Whatever is the case, I painted mine as the vehicle seen here,
but with a heavily worn whitewash. The decals for this option seem
to be pure black, while the picture
clearly shows a white edge. For that reason I replaced the kit decals
with some from the spares box.
For
the figures, I chose AB figures that closely resembled the crew
seen here.
_t.jpg) _t.jpg)
 _t.jpg)
 _t.jpg)
Preview
sample provided by Attack.
This
model can be purchased from

|

.jpg)
.jpg)
.JPG)
.JPG)
.JPG)
.JPG)
.JPG)
.JPG)
.JPG)
.JPG)
.JPG)
.JPG)
.JPG)
.JPG)
.JPG)
.JPG)
.JPG)
.JPG)
.JPG)
.JPG)
.JPG)