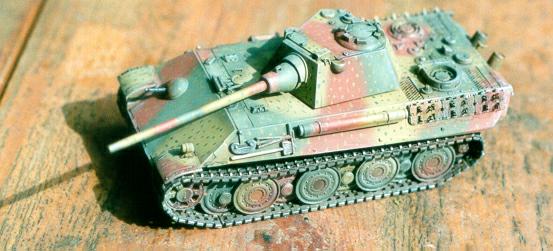
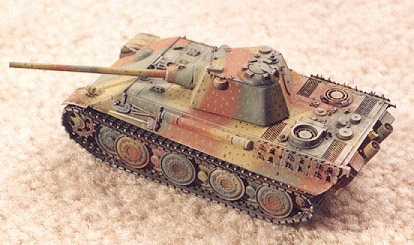
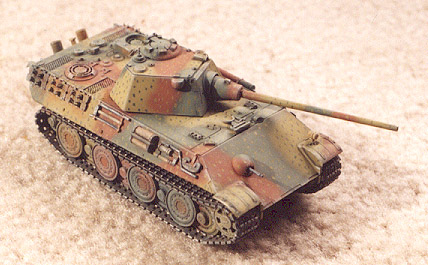
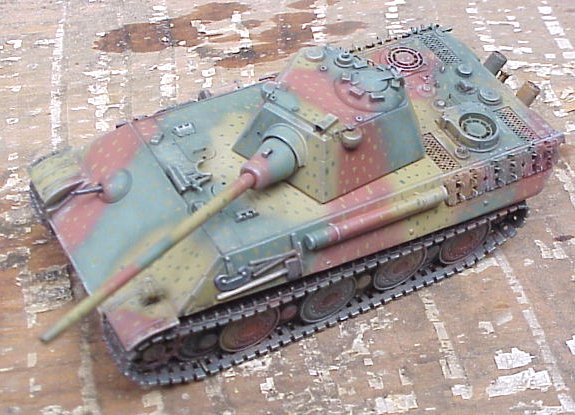
 Hasegawa released a kit of the experimental Panther F in around 1998. This kit is basically their old Panther G kit, with an added Panther F turret (schmalturm) and a set of late-war steel road wheels. The new turret and wheels are pretty nice. The turret could use a little more detail, which I added on my own (as described below), but I really like the steel wheels. However, did the Panther F have steel wheels? From what I understand, the two prototypes that were built did not have steel wheels. But, considering the material shortages of late-war Germany, it is likely that had the Panther F gone into production, it would have had them. As for the hull, the Hasegawa Panther G hull is very old, and it shows. Instead of using the hull that came in the kit, I decided to use the hull from the new Revell Panther G, which is a beautiful kit. The turret opening in the top of the hull is slightly larger than the turret ring on the Hasegawa turret. But with careful placement, it is possible to glue on the turret with none of the opening showing.
The real trick to combining these two kits was when I decided to use Hasegawa's steel wheels. The Revell Panther only comes with the standard wheels. Unfortunately, Revell and Hasegawa used different methods to attach their wheels to the lower hull. The Revell kit has long tubes on the backs of the outer road wheels, which slid through openings in the center of the inner wheels, and onto axles protruding from the hull sides. However, the steel wheels from the Hasegawa kit (which were only the outer wheels) had pegs on them to attach to holes in the inner wheels. To overcome this difference, I cut off the pegs from the backs of the Hasegawa steel wheels. I then carefully sliced off the tubes from the Revell outer wheels, and glued these tubes to the backs of the steel wheels. I then used the steel outer wheels with the Revell inner wheels (you cannot see the inner wheels to notice that they are not the steel variety). It was quite a chore, but I really like the looks of the steel wheels and was determined to use them.
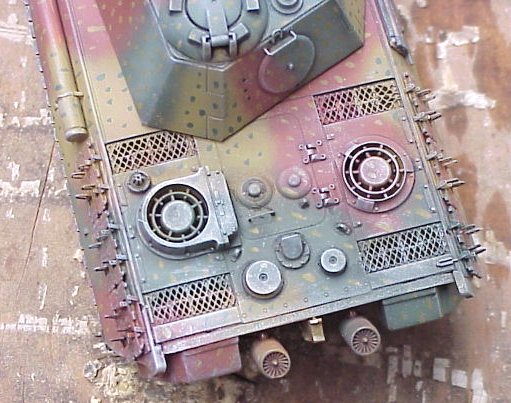
Changes and additions to the hull (not much was needed - the Revell hull is beautiful):
One final thing to keep in mind when building the hull: the bottom hull piece is originally from Revell's Panther Ausf D/A kit, and the upper hull is from the Ausf G. As the parts come, they do not fit together. As far as I can tell, nowhere in the instructions does it tell you how to make them fit. There are two grooves cut along the outer edges of the lower hull. You need to trim off these outer edges using the grooves as a perforation. Maybe most of you knew this already, but it took me a while to figure it out (I guess I was tired that night :-)
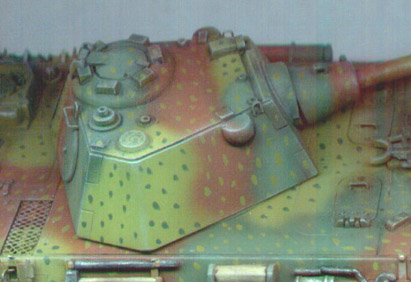
Now, on to the turret:
Best I can tell, the size and shape of the Hasegawa turret and main gun are accurate, with the exception of the placement of the close-in defense weapon port (I think the antenna mount could stand to be relocated a small bit too, but I didn't think it worth the effort). Things that I didn't do (yet):
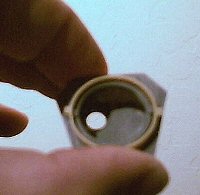
To conclude the project, I painted my Panther F in the standard, late-war, ambush scheme, because I think it looks really cool. But I would imagine that other paint schemes are possible, considering that most of the fighting right at the end of the war was city fighting. Again, the modeler is pretty much at liberty to paint the tank whatever he wants. I used Polly Scale acrylic paints, and weathered the vehicle with metalizer and chalks. Postscript: I recently received the following tip from Paul Hammer: "As an addendum to your Panther F kitbash - if you cut out the turret ring from the Revell kit and cut/sand off all but the ring, it will fit nicely over the Hasegawa schmalturm ring (with a little filing of the nubs -see attachment).... Leading to a nicer fit all the way around, and no need to glue the schmalturm onto the Revell hull top." Thanks Paul!
|