The
kit is composed of seven green plastic mouldings, two marked “A”
for the wheels and the tracks, four marked “B”, “C”,
“E” and “H” for the hull and finally one marked
“D” for the turret. A little PE card gives us the bogies
skids, the light brush guards, the vertical sides of the fenders and
the bolt strip of the transmission cover.
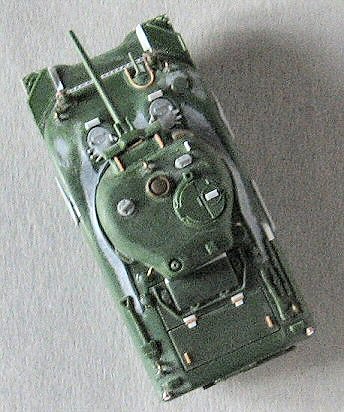
According
to the features given, the tank depicted is a Pressed Steel Car of
the early/mid production, still without the appliqué armour.
The kit gives us a lot of little parts, like the tools, moulded separately
and not on the hull. In this sense the impression is really positive.
The kit gives us also some nice spare parts, like what is needed to
convert a normal turret to a Firefly turret or the hoods with or without
direct vision suitable for a M4, M4A2, M4A3 and the M4A4.
The
problems with this kit mainly came from two pieces: the transmission
cover, which is way too thick on the edges and the upper hull which
is much too square and with the reliefs much too sharp. The dimensions
are quite correct if the transmission cover is changed or corrected.
If not corrected, this M4A1 will be a pair of millimetres longer (it
is really visible also without a ruler!) and with an upper hull that
will look really strange (especially when compared with other cast
hull Shermans). To correct the upper hull the sources I used were
the Hunnicut and the Squadron Signal books, on the net I used http://the.shadock.free.fr/sherman_minutia/index.html).
This is what I did to my UM M4A1:
|
|
Hull
First
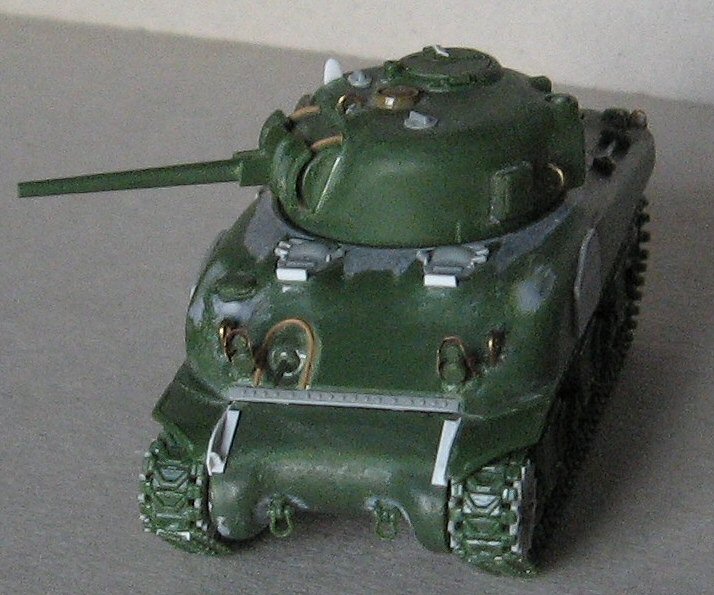
of all I corrected the wrong structural parts (not as hard as it seems):
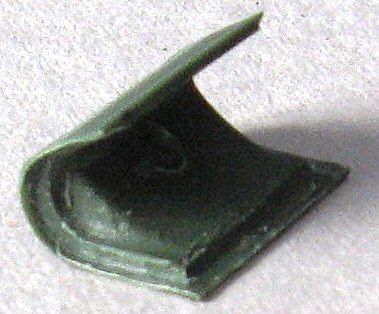
1. I thinned the front transmission cover 14E edges that are missing
the interlock with the hull sides (see photo). The edges are much
too thick and if not thinned the cover will fit wrongly, much too
forward and leaving an empty gap with the upper hull. The shape is
not usable for a pointed type, so I modified it in a rounded type
thanks to the piece thickness. The towing points were removed and
re-glued after having filled with putty some sinks in the plastic.
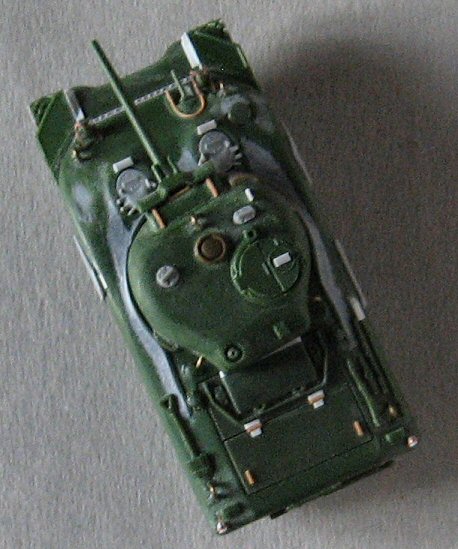
2.
The hatches holes are not centred with the hood. The holes were closed
with plastic pieces and then the new holes were opened. I used a couple
of better detailed Dragon hatches.
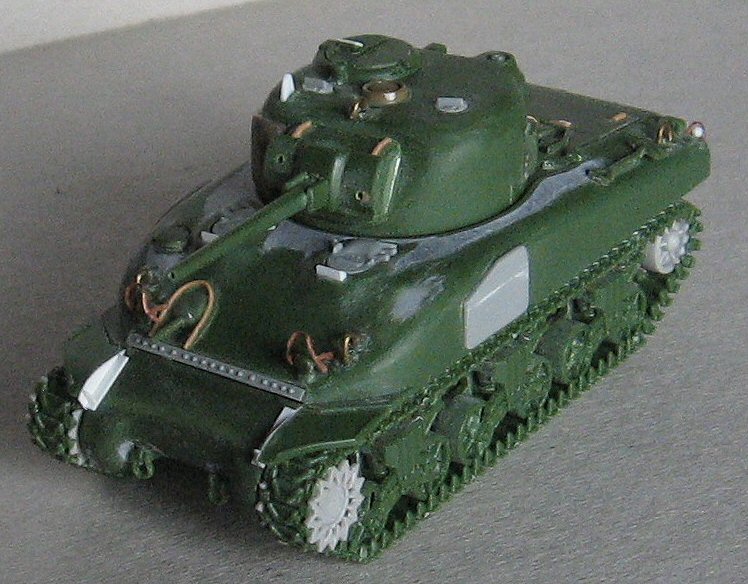
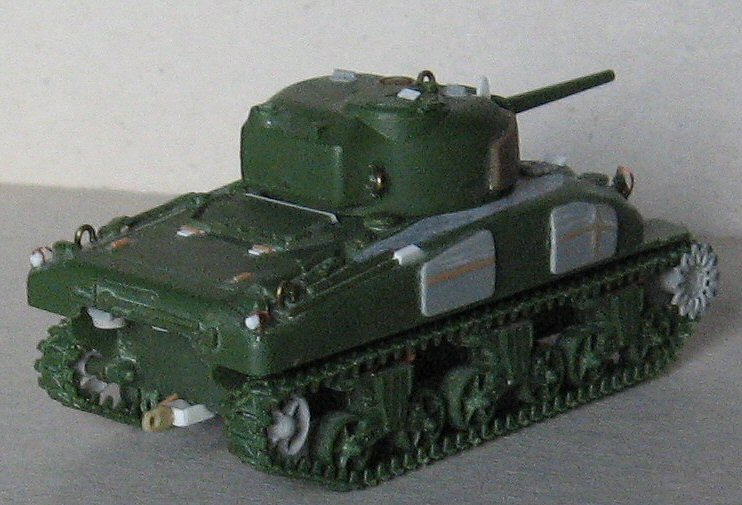
3. The upper hull is much too square and needs to be smoothed with
putty, emery board and sand paper. I filled the inner hull corners
next to the crew hatch area before sanding away the bulges. I also
filled with putty the outside reliefs that were made smoother with
sand paper (see photos). In the end, the resulting surface was much
too smooth and I restored the cast surface with a ball milling tool
used freely along the upper hull.
|
|
Then
I could start working on the details:
• I rounded the rear notch corners, which are also too square,
gluing two little plastic pieces and then filing them to the correct
shape.
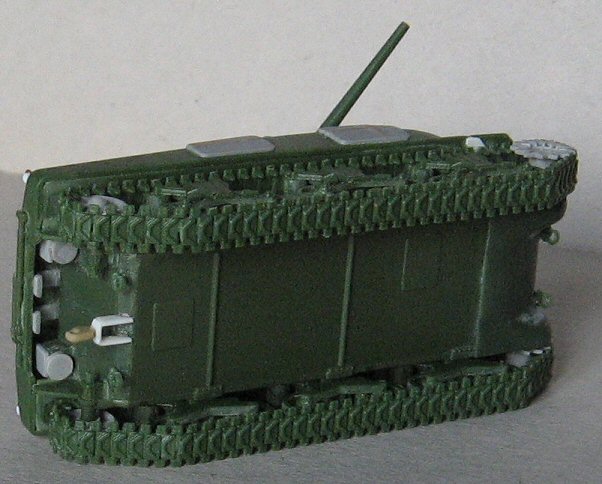
• The longitudinal engine deck plate’s dimensions are
wrong. I cut the engine deck 34B along the plate’s separation
line. The forward side of the plate (with the air intake) was filed
away to the forward edge of the splash guard to restore the correct
dimensions. Then a new rear plate was made using the M4A3 spare engine
deck provided by the kit upside down. Hinges and handles were added.
The intake cover received a 1.0 x 1.0 mm plastic rod piece trimmed
to the shape to make it longer, leaving a gap between this and the
deck itself.
• On the rear plate 34E the filters were vertical and not parallel
to the plate, this was restored with plastic. The lower part was cut
away and replaced with a punched 1.0 mm plastic piece each.
• I used a Dragon spare bolt strip and the fenders had 0.25
mm plastic walls, because I don’t like the PE parts. The structures
of the fenders were also added with 1.0 x 0.25 plastic.
• New lifting points were made with metallic wire.
• The exhausts were scratch built with two pieces of sprue.
• The bow MG dust cover fitting was added with an “U”
bent thin stretched sprue.
• New periscopes were added in front of the hatches, made with
a 1.0 x 1.0 mm plastic rod filed to make it triangular in section.
• The tow hook was scratch built and its support was made with
1.5 x 0.5 mm plastic.
• The sand skirt supports along the sides were made with 1.0
x 0.25 mm plastic strips (not yet glued at the moment of the photos).
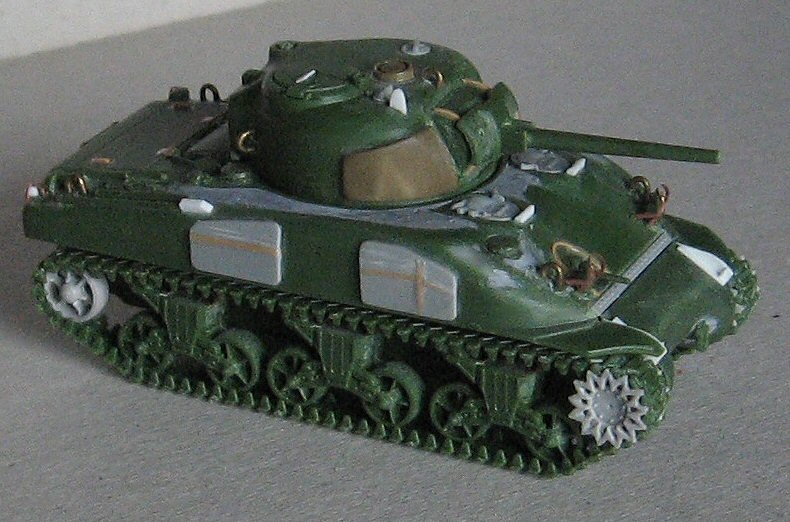
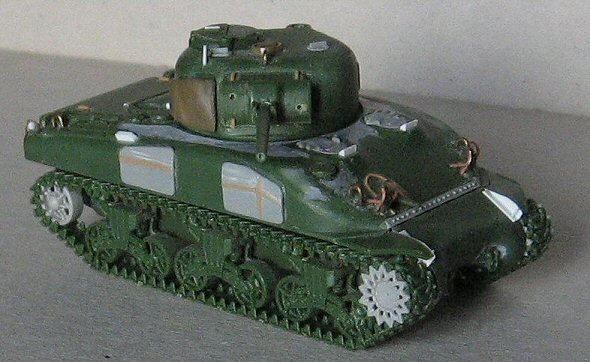
• My M4A1 depict a Normandy campaign tank, so I added the appliqué
armours with Dragon spare parts (modified to reproduce the welding
lines of my subject). A good source about them is here: http://www.scribd.com/doc/30827701/Applique-Armor-on-M4-Series-Medium-Tanks
|
|
|
|
Turret
• I filed the lower part of the bustle to restore a flat bustle
base (it wasn’t sloped).
• The forward bulges were rounded with sand paper.
• I also added the scratch built appliqué armour to the
turret; according to the tank depicted it was of the welded type.
• I closed the pistol port from inside to give it a base because
there isn’t an interlock. The pistol port back was shimmed and
glued raised. The external edges were filled with cyanoacrylate glue
(I use it like putty for the small jobs) and filed to smoothen the
relief (get a look here: http://the.shadock.free.fr/sherman_minutia/turret_types/75mm_turrets.html
).
• The antenna socket splash guard wasn’t welded, but casted-in;
I filled the base with cyanoacrylate glue and then smoothed the joint.
• The air fan cover is a millimetre too narrow in diameter (it
is "only" a millimetre, but when compared with other Shermans
the difference is visible). I used one from my spare box, but it is
quite easy to make a new one with plastic.
• For my M4A1 the M34A1 mount was needed; however a good M34
is also provided in this kit. The M34A1 itself is a bit simplified
and I added the vertical reliefs that stay on the mount, behind the
mantlet.
• The gun barrel was drilled out.
• The mantlet is a bit too large. I filed away the excess to
have a 13.5 mm wide mantlet; it overlaps the mount, but not so much.
The two holes (gun sight and MG) were opened, the co-axial .30 barrel
was added with stretched sprue.
• New lifting points were made with metallic wire.
• The periscopes were substituted with others taken from the
spare part reserve (they came from the Dragon spare large hatch).
• I added the aiming blade with 0.5 mm plastic, thinned in place.
|
|
Wheels
and tracks
• The bogies are well done. My box had the revised five spokes
wheels moulding with the centred holes. They are well done and definitely
better than the old ones seen in the preview. Apart the missing rear
detail, the only thing I had to do was enlarging the bogey pin holes
that are a bit too narrow. You will find also this problem with the
stamped wheels, which however are too shallow and not useful for my
taste.
• The idlers provided are only the stamped ones, also too shallow.
For my M4A1 I used the Trumpeter spare idlers.
• The sprockets are too shallow and have a moulding sink at
the centre. I replaced them with Trumpeter spare ones.
• The track blocks look much too narrow when compared with the
T74 type, but they looks more right when compared with the T54E1 type,
with little details missing. Get a look here http://the.shadock.free.fr/sherman_minutia/tracks/vvss_tracks.html
. I used them with no further detailing (ok, I’m not so finicky)
just to have something different from the T48 type provided by the
other kit makers (six spare links remained on the sprue, I suppose
to be used with the M4A4 hull). If flattened they can be covered with
thin plastic rectangles to have the T41 or T51 tracks.
|
|
 |
|
Decals
There are three version proposed. One is a non operational tank of
the 10th AD and two are M4A1 tanks in Italy, not in my photographic
sources. For my Normandy tank I had to use other decals.
Conclusion
It isn’t a kit that can be built out of the box with good results.
Surely it needs the correction (or the replacement) of the transmission
cover and the upper hull. Said this, it is an interesting kit, giving
us anything that goes on the hull as separate pieces. Some details
are neglected while others are well done. Not a kit for beginners,
it is suitable for conversions and has some interesting spare parts.
Preview
sample purchased by the author.
This
model can be purchased from
 |