|
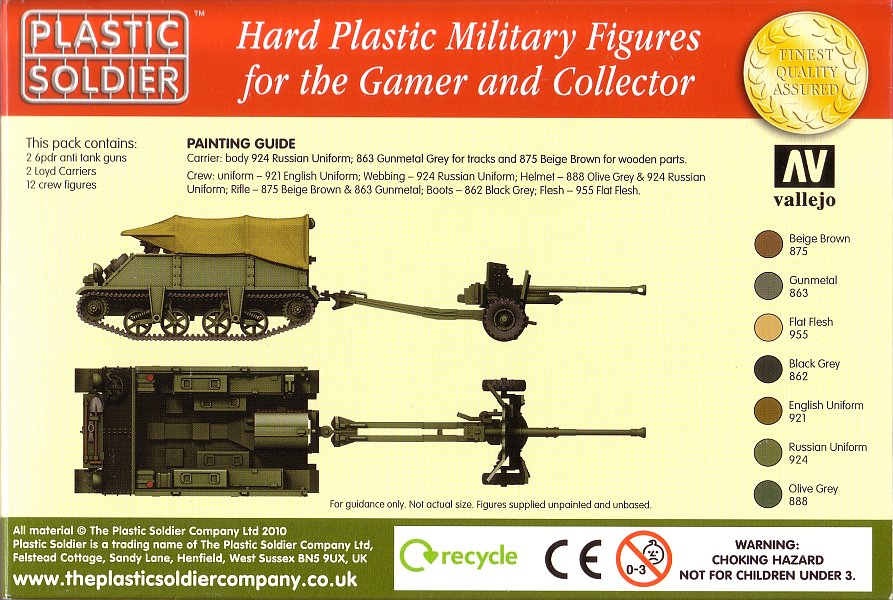
The Kit
(Note: This review only covers the British 6pdr Anti-tank gun.)

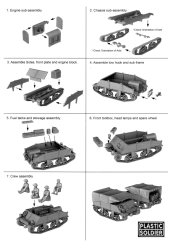
The gun comes on a separate sprue of 26 parts, consisting of pieces for the gun
& its carriage, a few ammo boxes, spent & un-spent rounds and a tow hook. Additional rounds are also found on the sprue containing the crew figures.
The parts are a medium grey colour, molded in a softish, injected polystyrene
like plastic. The plastic is quite fragile and it's easy to break or bend parts while removing them or positioning them.
An instruction sheet is included but
there is nothing with regards to the assembly of the gun. It's left up to the builder to figure out what parts go where and in what order.
The lack of instructions for assembly of the gun is annoying, to say the least.
The first thing you'll notice is the sprue layout displaying the part numbers as shown in the instructions differs from how they are actually laid out on the sprue
frame. Not a big deal, just odd.
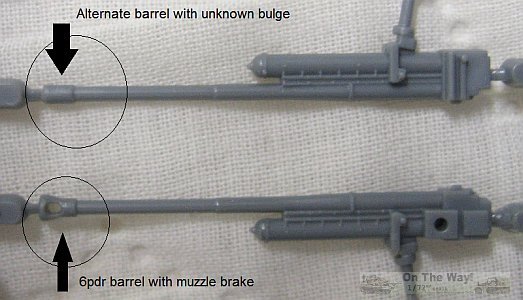
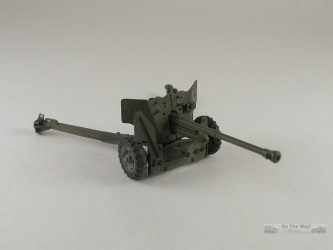
The second thing you'll notice is that there is a another barrel on the sprue that's not shown on the sprue layout, a barrel without the typical muzzle brake. So what
is the other barrel for? Well that is a good question!
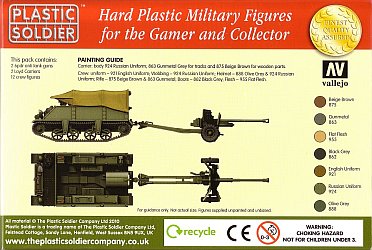
Although the kit is ostensibly for the British 6pdr Anti-tank gun as per the title on the box, and
for which the modeller would use the barrel with the muzzle brake, one would then guess that the second barrel would be for the American
57mm M1 Anti-tank gun, which is stated as an option at the bottom of the sprue layout page. But the only parts identified as being for the M1 gun
are the alternate wheels (2x Part 13).
Thus the inclusion of this second barrel is somewhat puzzling. My references don't support the use of the barrel with the muzzle brake for the M1 gun.
The barrel with the muzzle brake would be for a British 6pdr, or for a 6pdr in use with the Americans as supplied from the British. So by the process of elimination,
one has to assume that the second barrel for the
American 57mm M1, but what is the purpose of the cylindrical enlargement at the muzzle end of the tube? The M1 barrel would not have this. So I'm still at a loss as
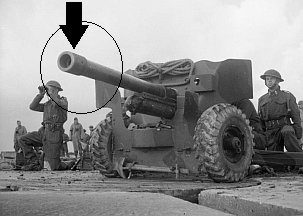
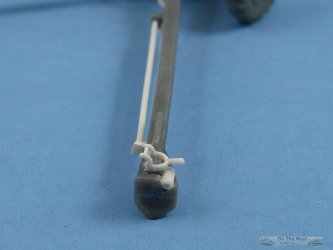
to the exact reason for the second barrel on the sprue. My only guess is that it's an alternate barrel for the British gun as per the period photograph below right
(from ref. [7]) of a 6pdr crew on training exercises, or possibly a mistake by PSC thinking this barrel configuration is for the American M1 anti-tank gun.
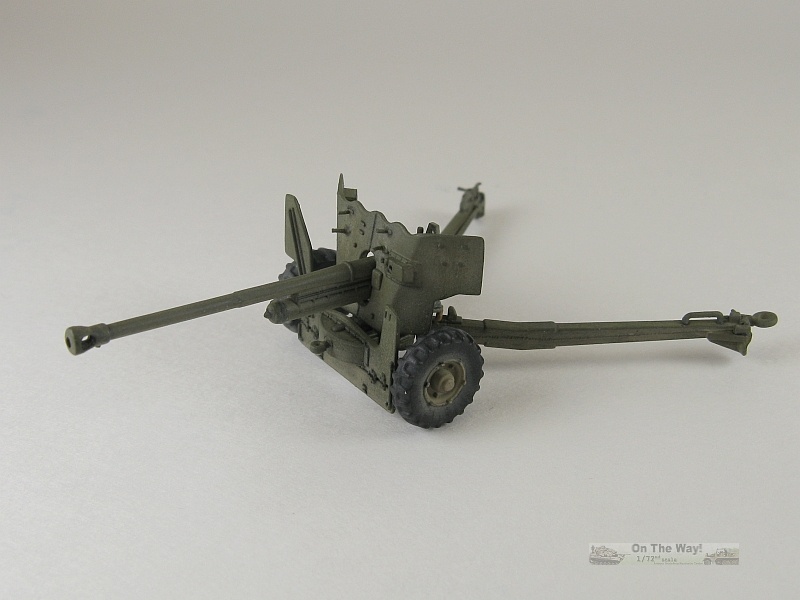
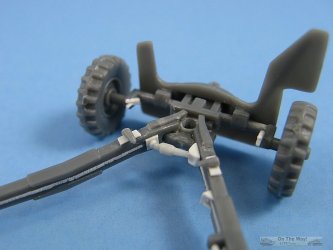
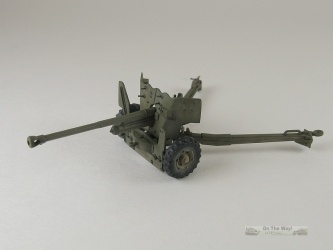
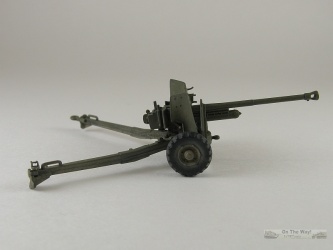
General shape of the gun and carriage is quite good. Detail is basic as to be expected with a quick assembly kit intended mainly for wargaming. Many of the
parts are overly thick which is especially noticeable with the shields. The model represents a 6pdr Mk.II gun on a Mk.I carriage. A quick measurement of the barrel
with my dial calipers shows it to be approx. 34mm long (measured from the fore end of the breech forward to the rear of the muzzle brake)
which matches the length found in reference [1]: (L43 barrel length * 57mm calibre / 72mm = 34mm).
I like the inclusion of a lot of ammo to place next to the gun in a display or to
fill out a diorama.
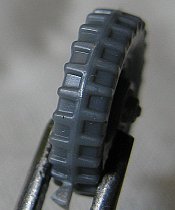
Kit Tire |
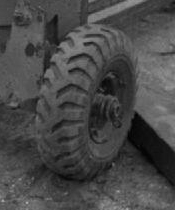
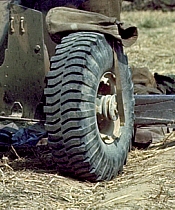

Common 6pdr Tires |
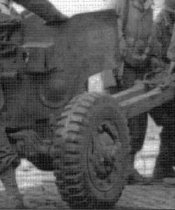
M1 Tire |
|
The most disappointing item in the kit is the wheels.
While the hub detail is excellent, the tire tread is abyssmal, and shows its wargaming roots. Above is a comparison of the kit tires with some common tire patterns
found in a variety of 6pdr period photographs. As you can see the tread pattern on the kit's 6pdr tires match nothing I've found yet. They do have a passing
resemblence to period photos of M1 tires, though the spacing between the tread lugs is much too wide!
|
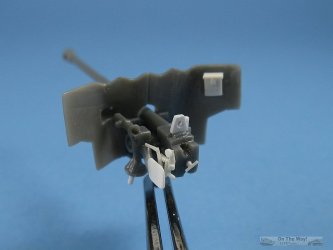
Construction


|
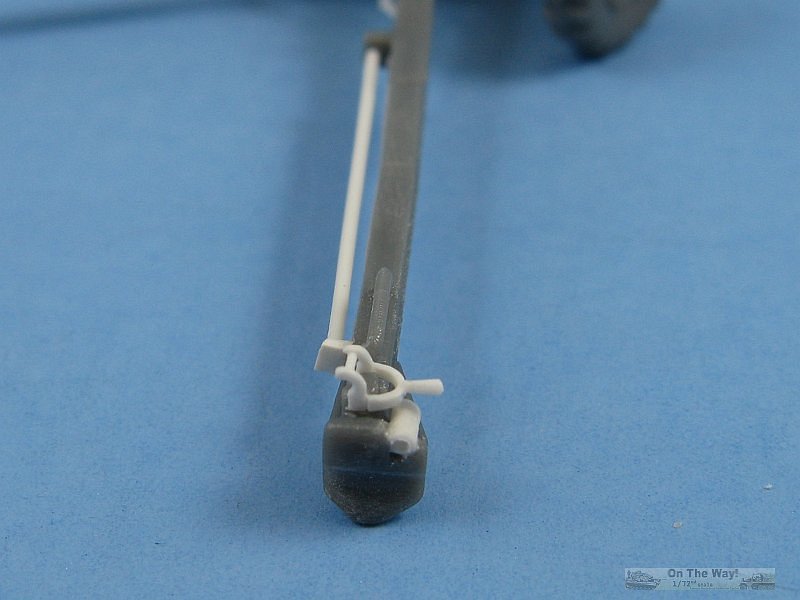
To bring the kit closer to an acceptable display model, my detailing included the following:
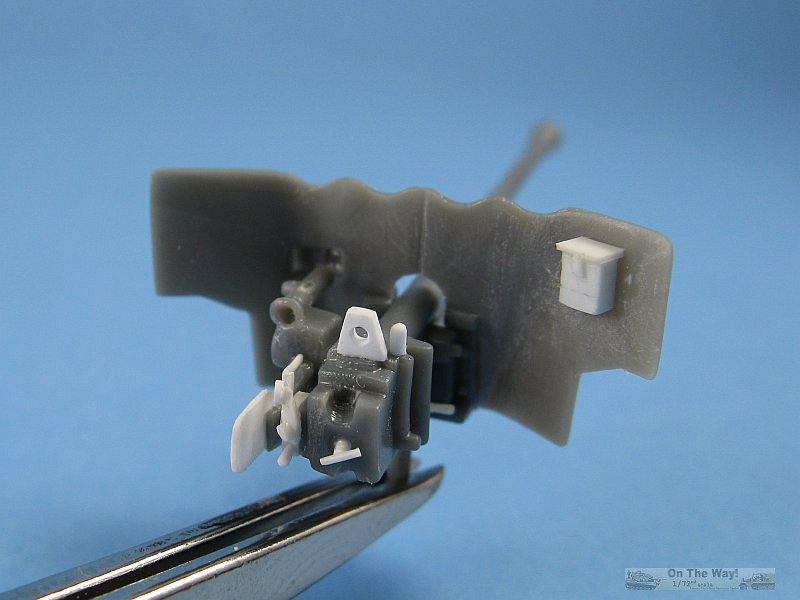
- Extra detailing of the breech
- Hollowed out the interior of the conical traverse wheel
- Replaced the gunner's protective shield
- Notches cut into the top & bottom of the breech to represent the vertical sliding block
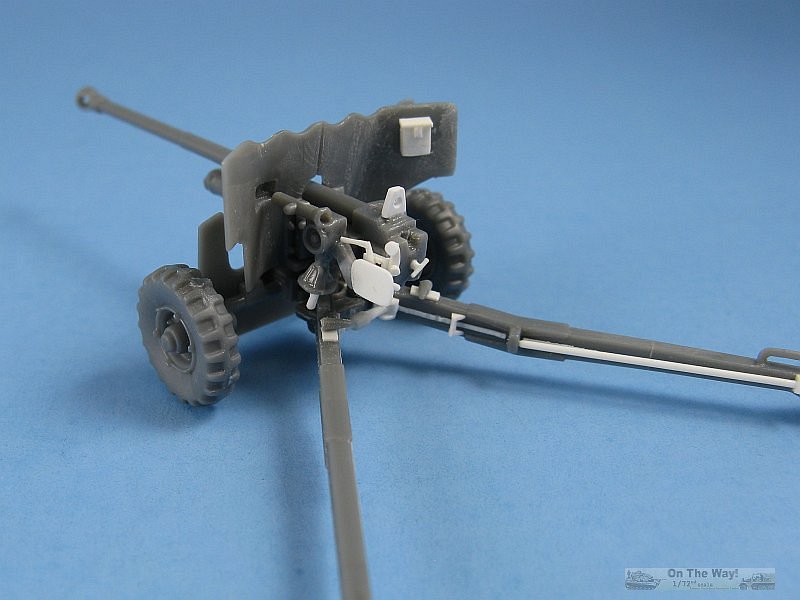
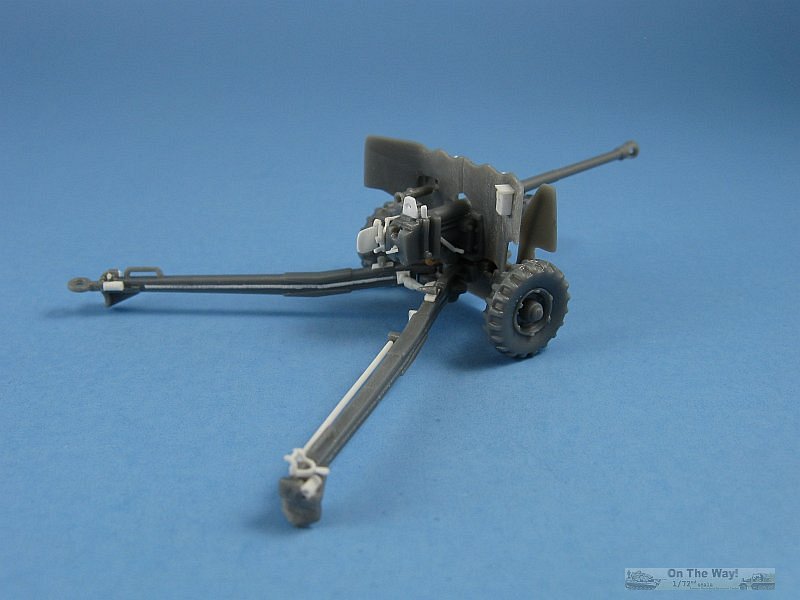
Changes to the shields & carriage included:
- Missing weld seams along inside of trail legs. These were done with thin plastic rod, glued in place and then softened with more liquid glue and scored with the tip of a sharp
hobby knife blade, and then more liquid glue brushed on top to soften the sharp edges caused by the blade.
- Thinned the shields with copious scraping and sanding
- Filled the small indent on the left side of the face of the protective box for the sights. Turns out I didn't need to do this as I found a few period photos
with it present.
- Rope holders fashioned from thin plastic rod. For this type of detailing I would normally drill small locating holes and then
use thin diameter wire, but since I'd thinned the shield so much I figured drilling the holes might pass through to the inside face, so plastic rod seemed to be the
safer option.
- Pins on the trail, and associated pin lock under the cradle, used to keep the barrel steady while in traveling
- Trail spreader used in firing mode
- Trail lock
- Wheel brake handles
- Cleaning rod & rear bracket
- Small box to inside right wing of the rear shield
|
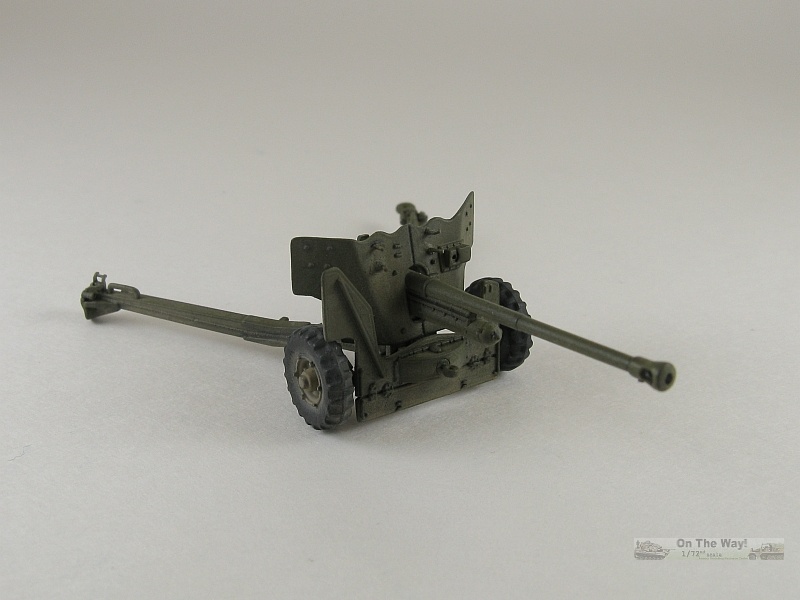
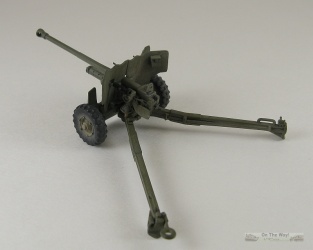
Conclusion
This is a basic kit mainly intended for the wargameing crowd. With some simple detailing it's possible to raise the kit to something
more acceptable as a display model.
References
[1] British Anti-tank Artillery_1939-45, New Vanguard 98, Chris Henry, Osprey Publishing, Oxford, UK 2004 ISBN: 1-84176-638-0
[2] US Anti-tank Artillery 1941-45, New Vanguard 107, Steven J Zaloga, Osprey Publishing, Oxford, UK 2005 ISBN: 1-84176-690-9
[3] net-maquettes.com (Note: This is a walkaround of a restored gun that
appears to be actually a US 57mm M1 gun.)
[4] militarymodels.co.nz (walkarounds)
[5] Regina Scale Modellers (walkaround)
[6] hmvf.co.uk (forum thread on 6pdr vs. M1 differrences)
[7] wikipedia
Review sample purchased by the author.

Plastic Soldier Company products are avilable at

|