|
Italeri
|
M-8 Greyhound |
|||
| Kit #: 7023 |
Review by
- Al Magnus
|
|||
|
Italeri
|
M-8 Greyhound |
|||
| Kit #: 7023 |
Review by
- Al Magnus
|
|||
 |
|
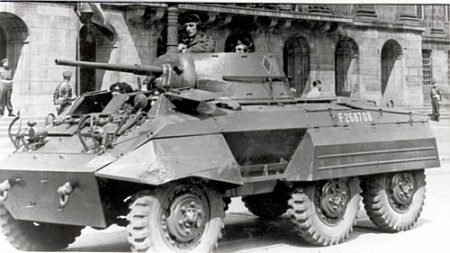
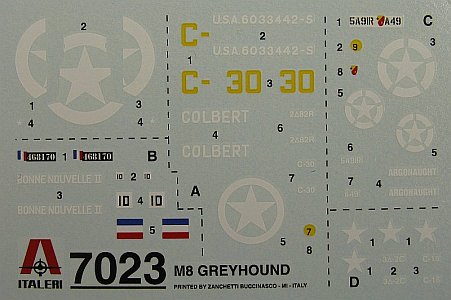
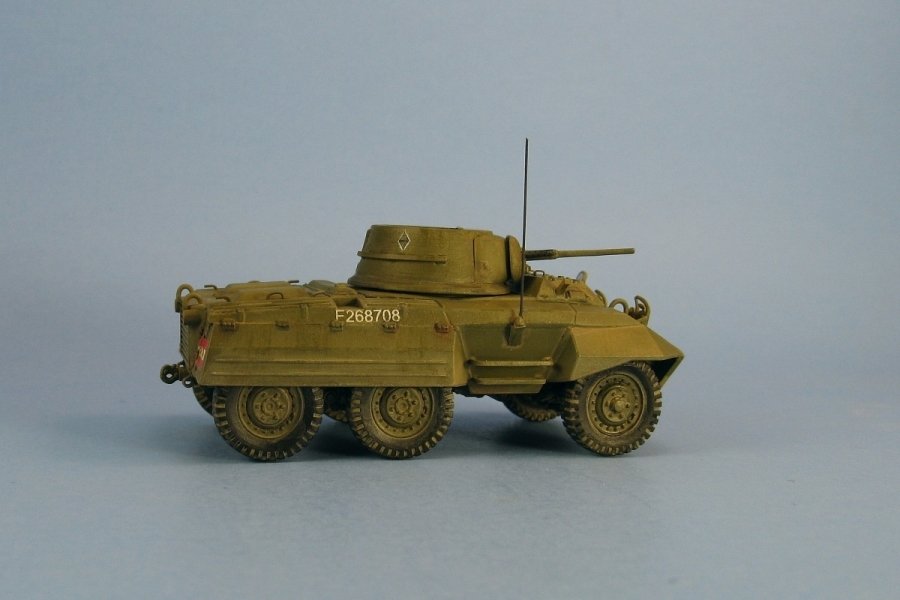
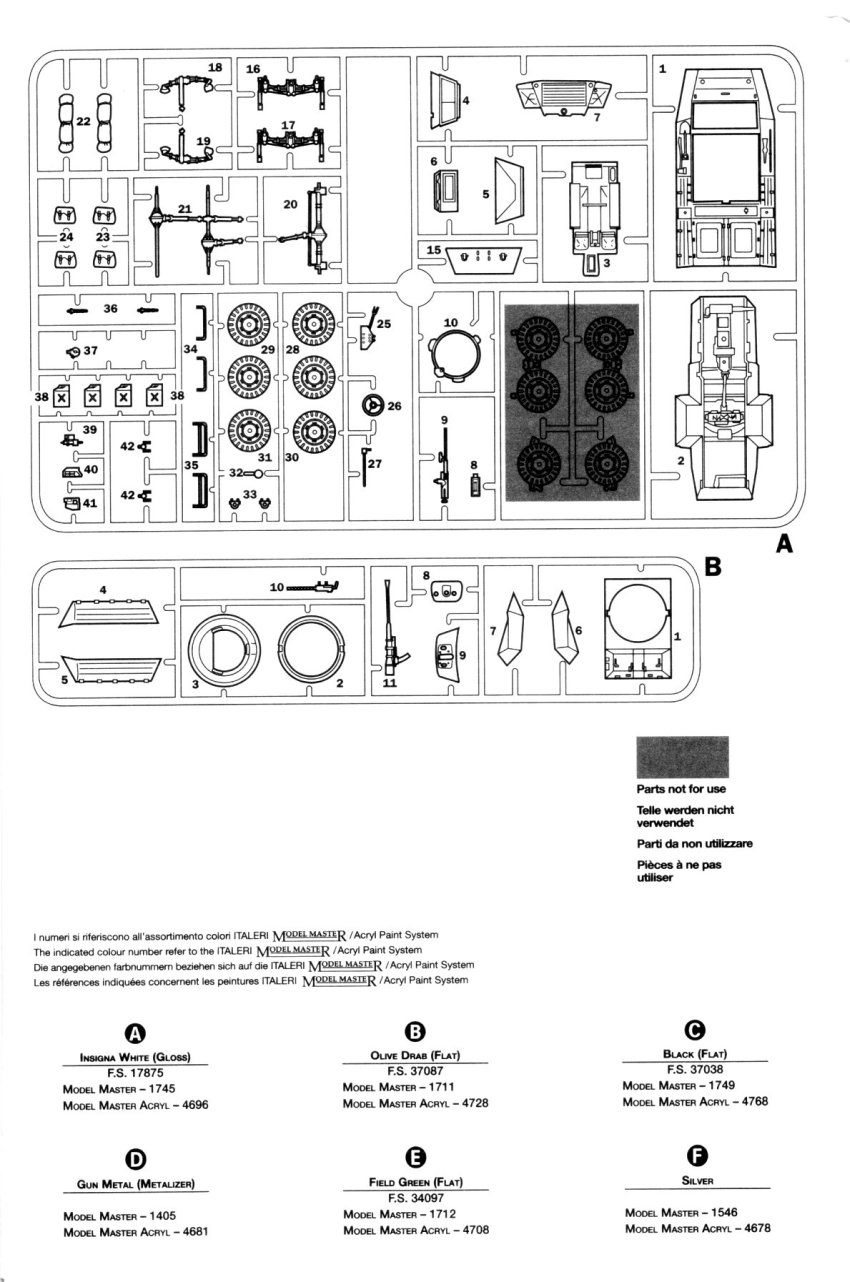
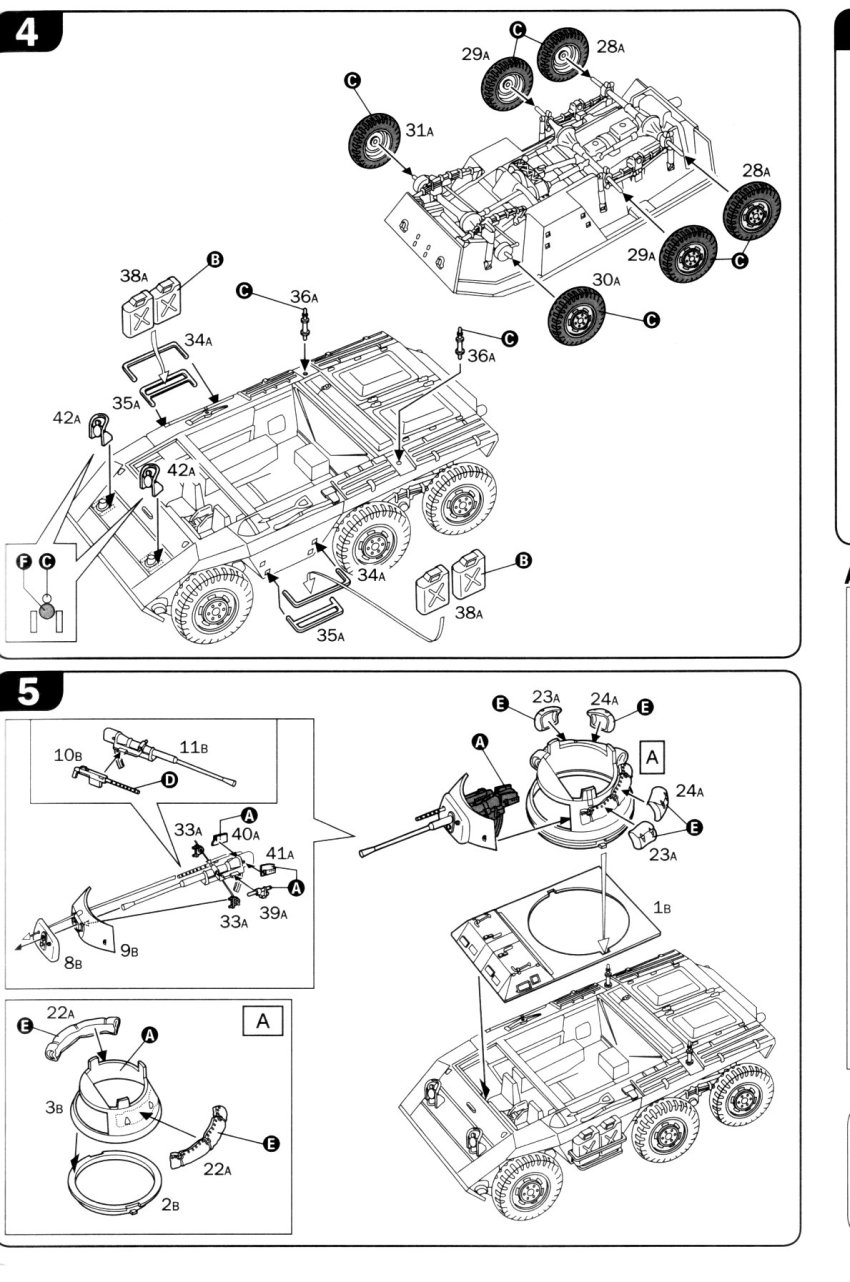
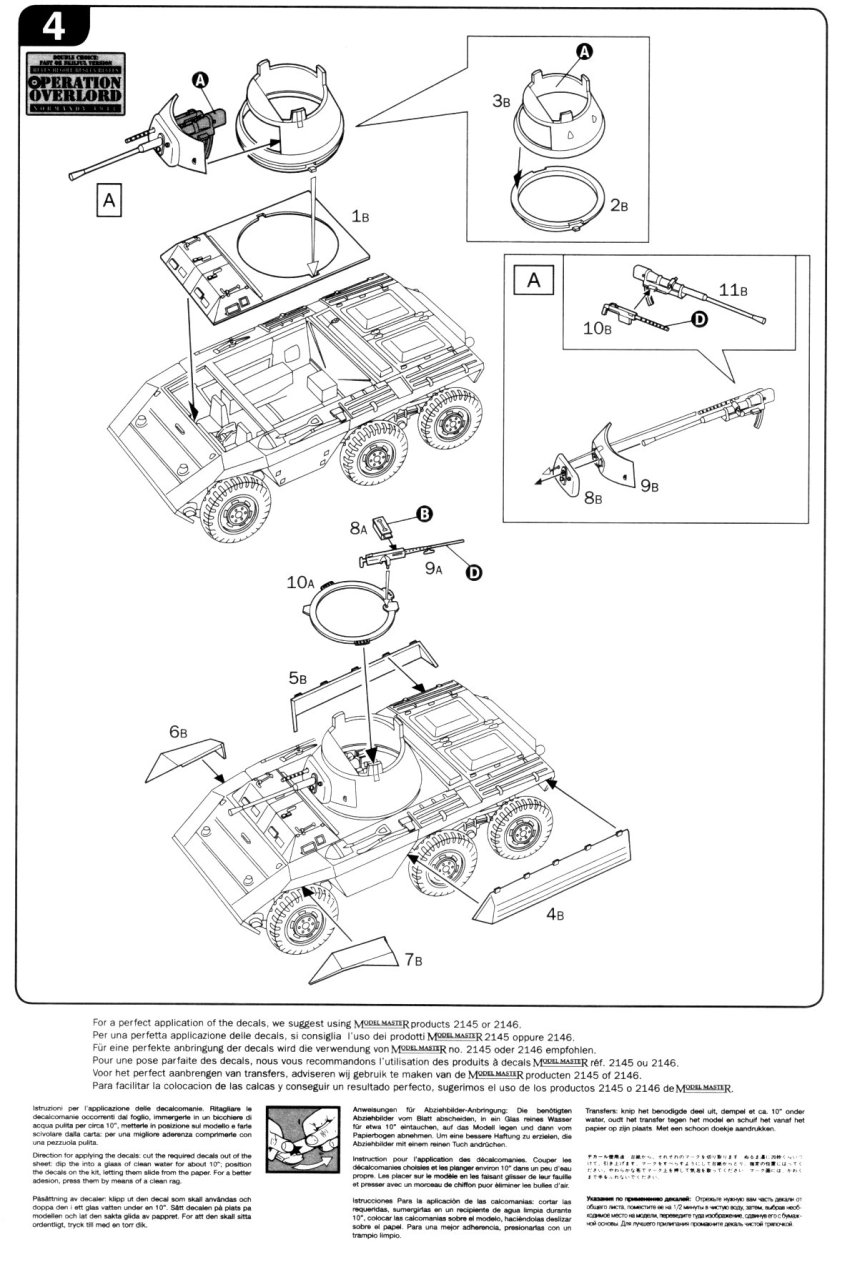
The kit contains 66 olive coloured parts spread over two sprues. Instructions give the modeller two build options - one using all the parts for a full suspension, in a 6 step build sequence, the other with a very simplified suspension, in a 4 step build sequence. I assume the simplified build is intended for war gamers wishing to put together a quick kit that doesn't need a lot of detail and is a bit more durable for gaming. With the simplified suspension the modeller dispenses with the suspension and drive shaft parts and replaces the wheels with a set of simplified parts (11A, 12A, 13A and 14A) which are shown greyed out on the sprue diagram. Also included is a decal sheet and a 35 page Alzer Wargames booklet. The parts are well molded with no flash and only minimal seam lines, while the plastic is nice and firm and responded well to liquid glue. The tools are molded to the hull which is unfortunate. I would have preferred to have them as separate pieces as Italeri has done with their excellent AB-41 and AB-43 kits. The hull has a minimal interior consisting of a floor pan with seats, a steering wheel, an instrument panel plus side and rear bulkheads. Unfortunately there are absolutely no interior parts for the turret. Construction was straight forward. I built my M-8 in four sub-assemblies: wheels, hull, turret and gun mantlet.
There were a few things to watch for.
Since the Greyhound is one of my favourite armoured cars I wanted to go the extra mile for this one
regarding detailing. This included:
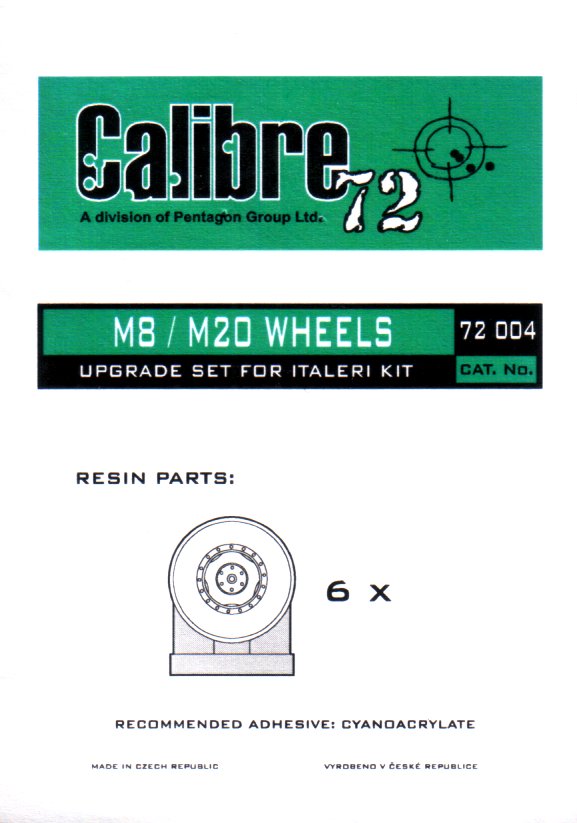
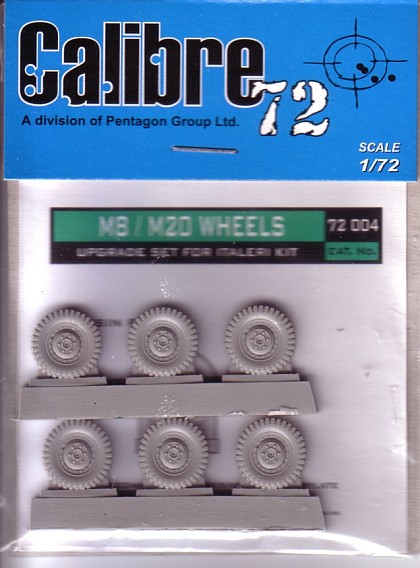
My major detailing change involved the wheels which were the biggest disappointment with the kit. They appeared to be slightly undersized, which isn't too bad in of itself, but more noticeable was the shape of the tires which to my eye appeared too balloon shaped and stubby looking. This last observation was the reason I replaced the kit wheels with a set of aftermarket wheels from Calibre72. Once I received my replacement wheels I went about measuring them against the kit's versions. I wasn't able to find any information on the wheel diameter for the Greyhound, but I can give a dimensional comparison between the kit wheels and the Calibre72 wheels below:
Overall the casting of the Calibre72 wheels was excellent. I found that the wheels were too close to the pour stubs which caused the tire tread to disappear once the stub was removed, and I also noticed a distinct flat spot in the wheel's circumference. Even though I planned to hide each tire's flat spot by placing it behind the fenders I did repair the treads by carefully cutting and scraping the missing lugs into the tire. I also noticed that the tire thickness is wider at the pour stubs. While the rest of the wheel is 0.12in wide, at the stub it is 0.15in wide, giving the tires a slight bulge. I'm not sure if this was done on purpose by Calibre72 to give the model sense of weight when mounted to the axles or just an accident caused by their casting process. There are no mounting holes on the rear of the wheels so these need to be drilled, but be very, very careful because the resin is quite thin here and if you drill too far you will go right through to the front side. This happened to me on two of the wheels which fortunately worked out well because Calibre72 has all six wheels with the same hub style but those that mount on the front axle should have an extended hub. Thus the two wheels that I drilled through were earmarked for the front axles, and adding the extended hub they needed also covered the unwanted hole. When it came time to add the wheels I found that I had to nip a small piece from the end of the rear axles to get the rear wheels to line up with the front wheels and to get them to sit at the proper distance from the suspension and inside of the fenders. I also carried through with my original plan and placed the bulges and flat spots such that the fenders hid them. I did this for two reasons. First I could not find any web pictures that showed an obvious bulge in the tires on any M-8s and I didn't feel like going through the exercise of getting the wheels to sit flat on these bulges. Once in place though, the Calibre72 wheel set really makes a difference in the look of the model.
So in the end I can say that the Italeri M-8 is a nice kit straight from the box only let down by the lack of a turret interior and less than stellar wheels. With a little work it can be made into a standout.
Full build instruction steps: 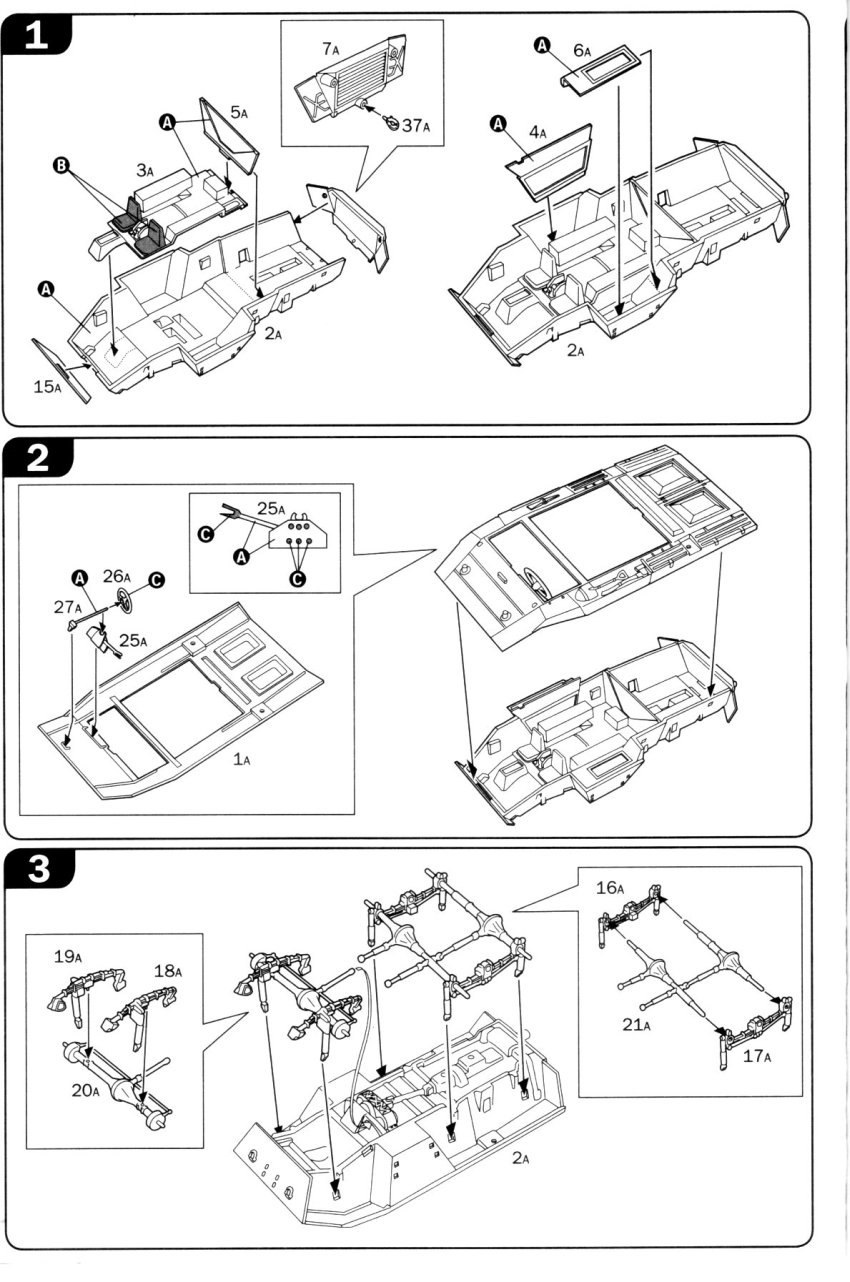
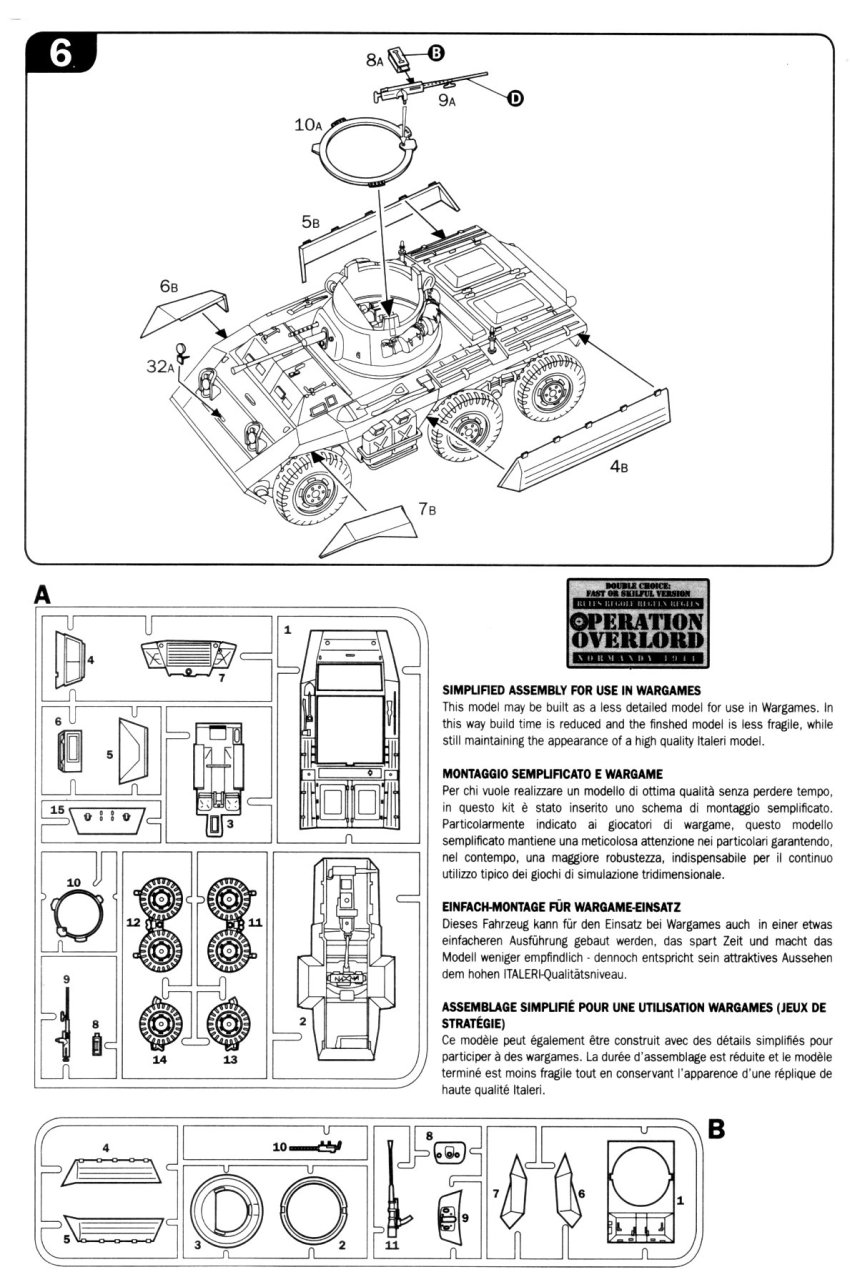
Simplified instruction steps: 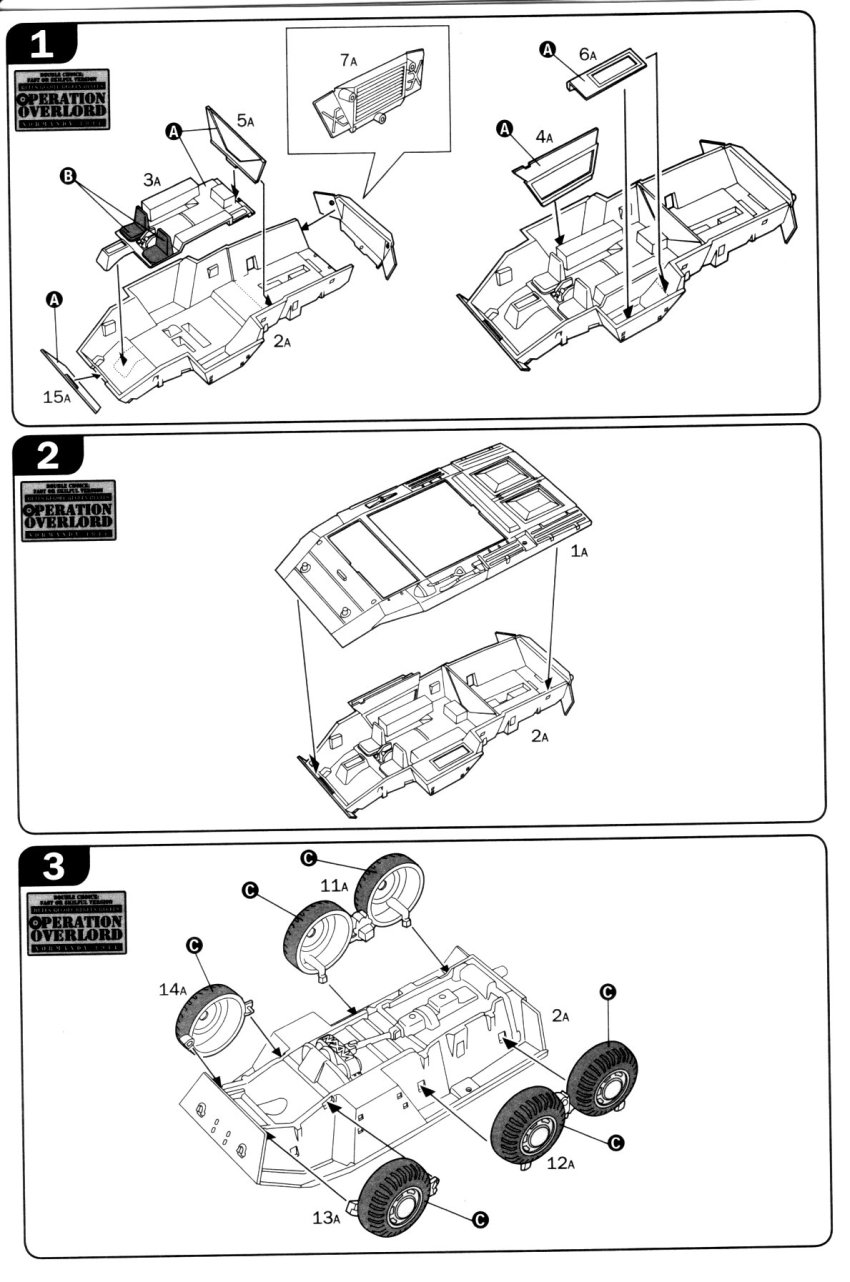
Review samples purchased by the author. |
||||||||||||||||||||||||
| Back to Italeri Kit List | Back to Construction Reviews |
Article Last Updated: 17 January 2010 |
Back to Home Page |