|
IBG
|
www.onthewaymodels.com |
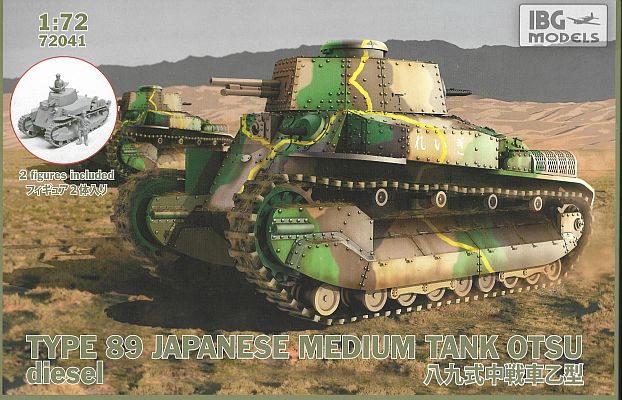
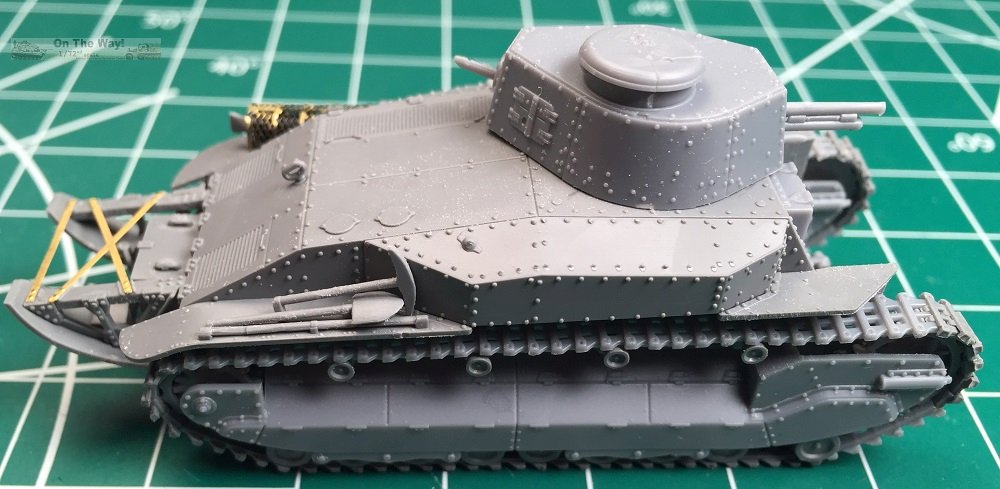
Type 89 Japanese Medium Tank Otsu Diesel |
|||
| Kit #: 72041 |
Review by
Will Alcott
- will_alcott(at)yahoo(dot)com
Edited by Al Magnus |
||||
|
IBG
|
www.onthewaymodels.com |
Type 89 Japanese Medium Tank Otsu Diesel |
|||
| Kit #: 72041 |
Review by
Will Alcott
- will_alcott(at)yahoo(dot)com
Edited by Al Magnus |
||||
 |
|


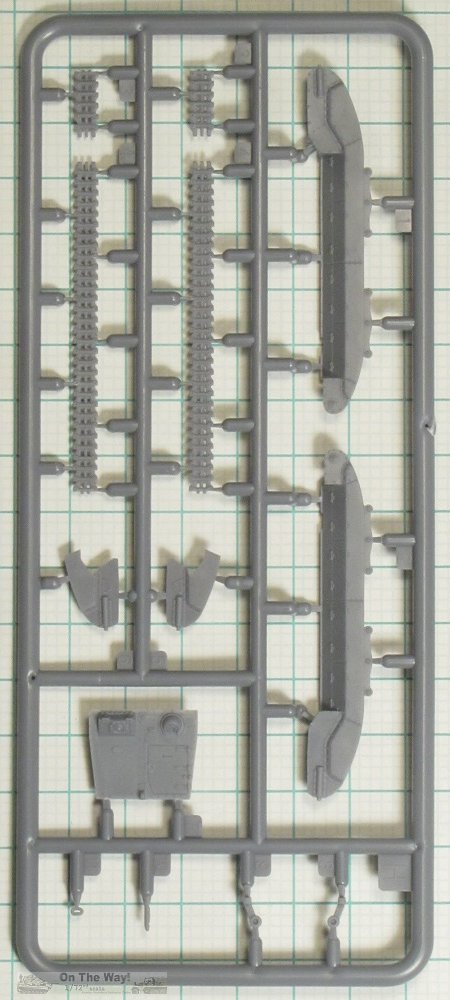
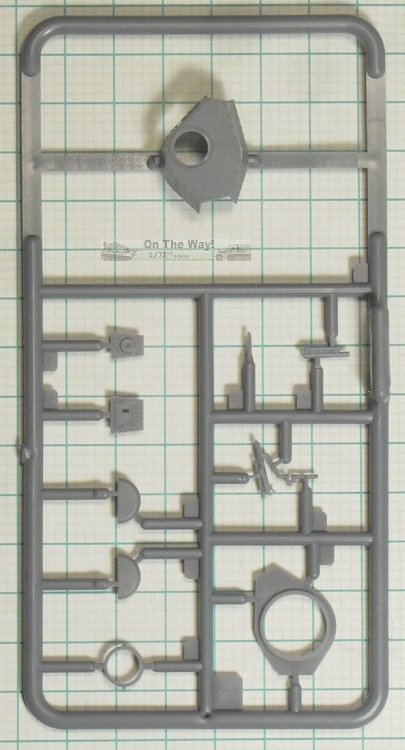
I'd heard good things about IBG's latest kits, and when I got my hands on the type 89 I immediately started building it. Inside the rather large box one finds seven sprues of crisply moulded grey plastic parts, a small photo-etched fret, a tiny decal sheet, and a full colour glossy A4 instruction booklet. 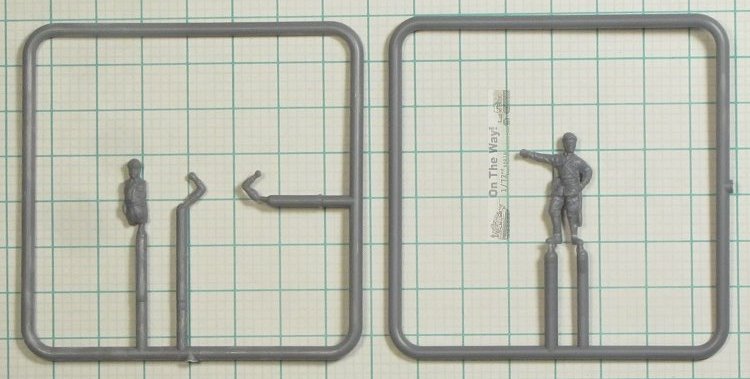
Two small sprues not mentioned in the instructions provide a standing crewman and a half figure with separate arms for the turret - a nice and rare inclusion these days! The standard of moulding is first rate. The turret, upper hull and sponsons all make use of multi-part (slide) moulds to show rivet detail on all surfaces. My only complaint with the moulding is the heavy (and numerous) sprue gates used on all the parts. While these help ensure the parts are fully moulded, removing the parts from the sprues and cleaning them up can be challenging. The photoetched parts provide a couple thin reinforcing strips for the unditching tail, and a mesh muffler guard. Two other unidentified parts on the fret are external braces for the fenders, used on the earlier version of the type 89. 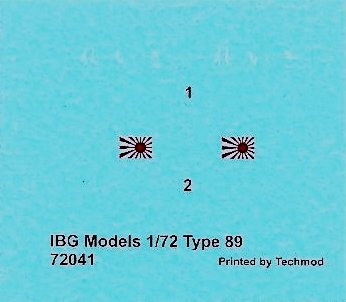
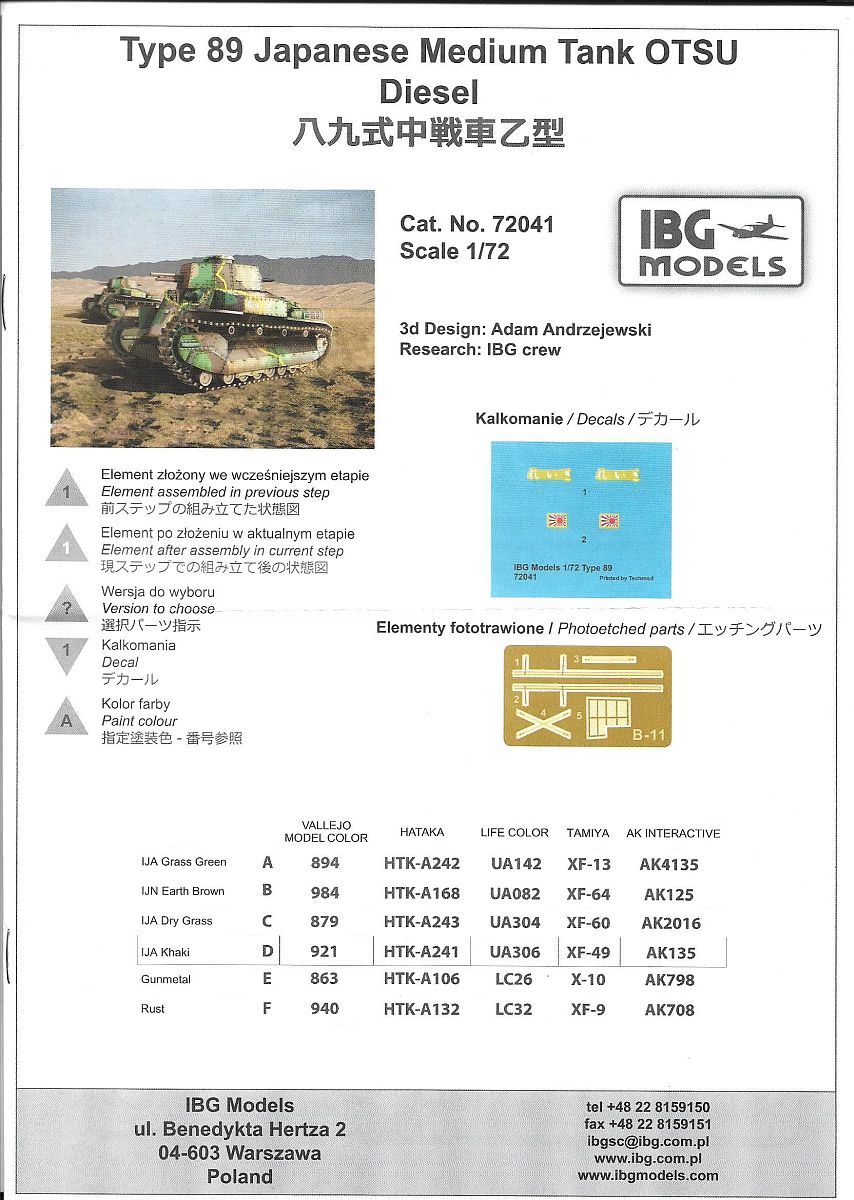
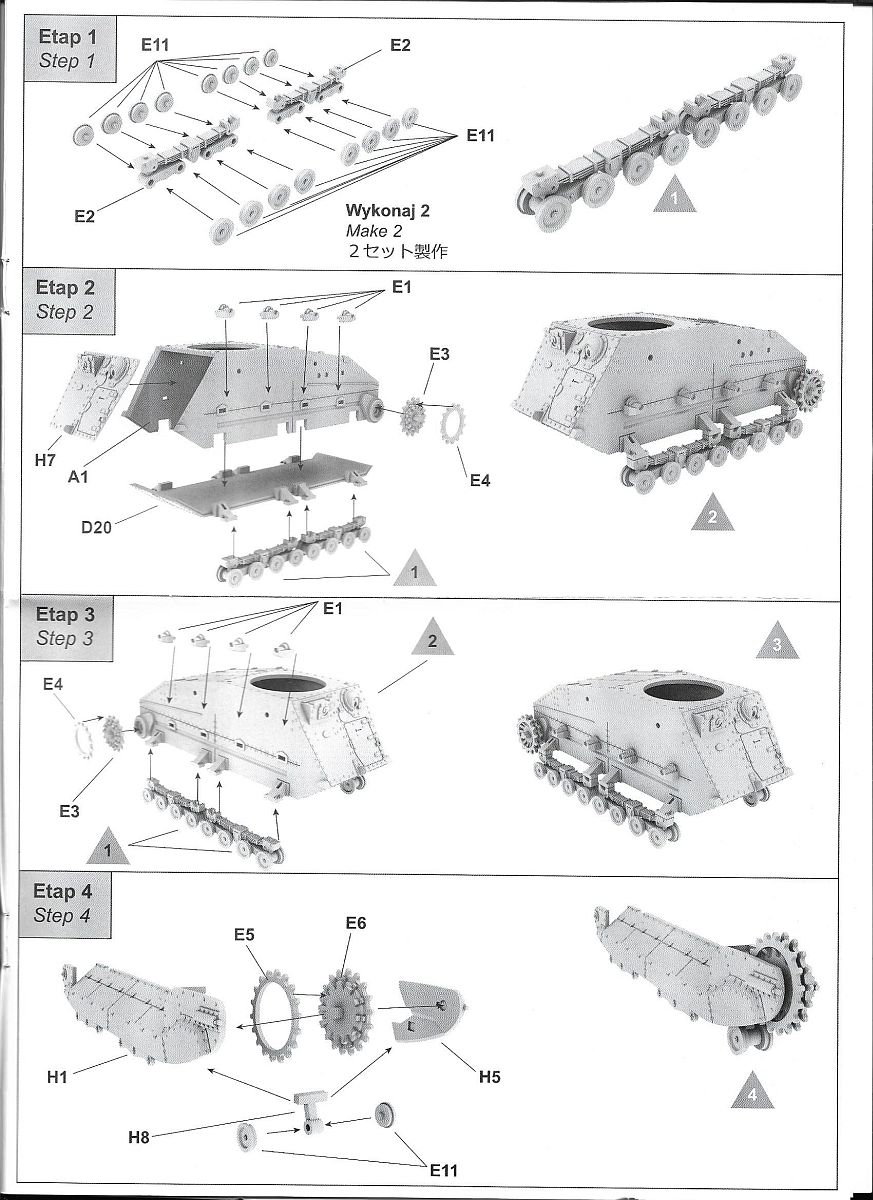
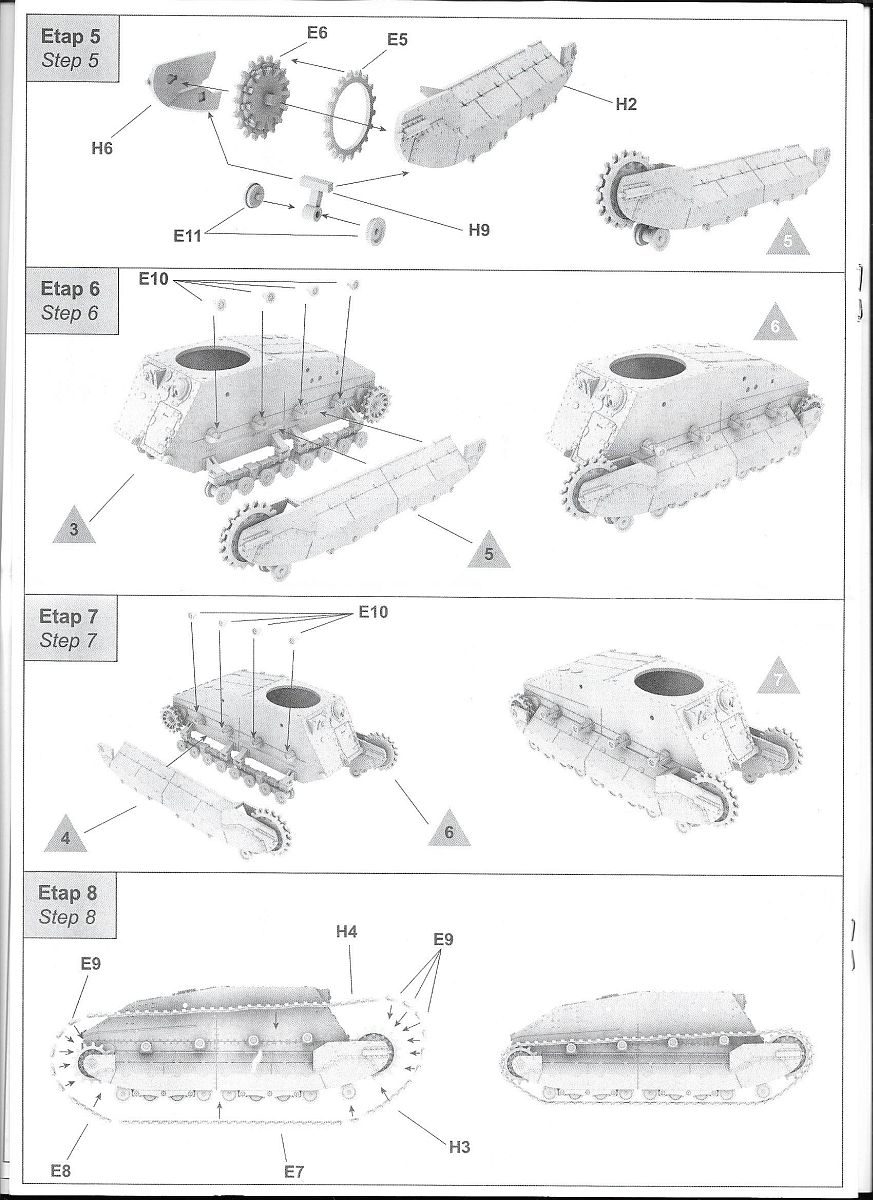
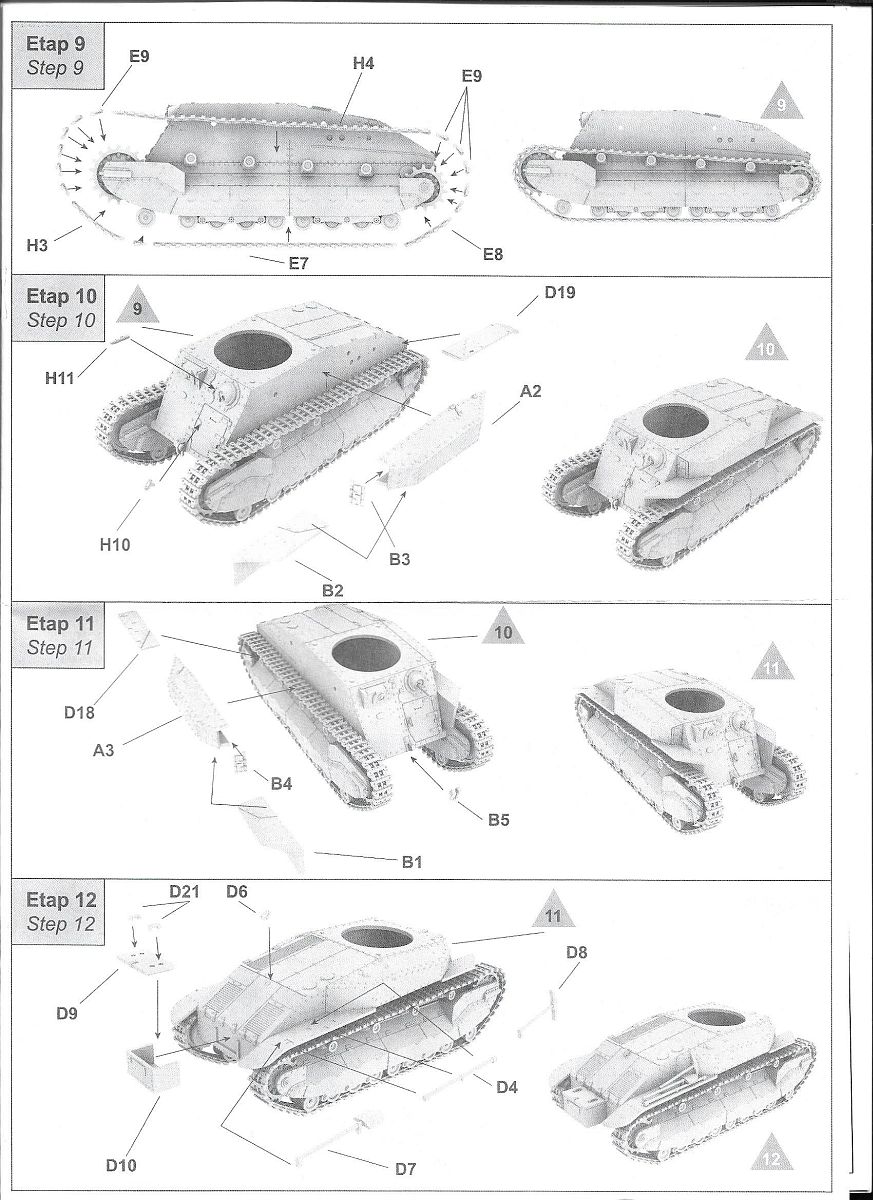
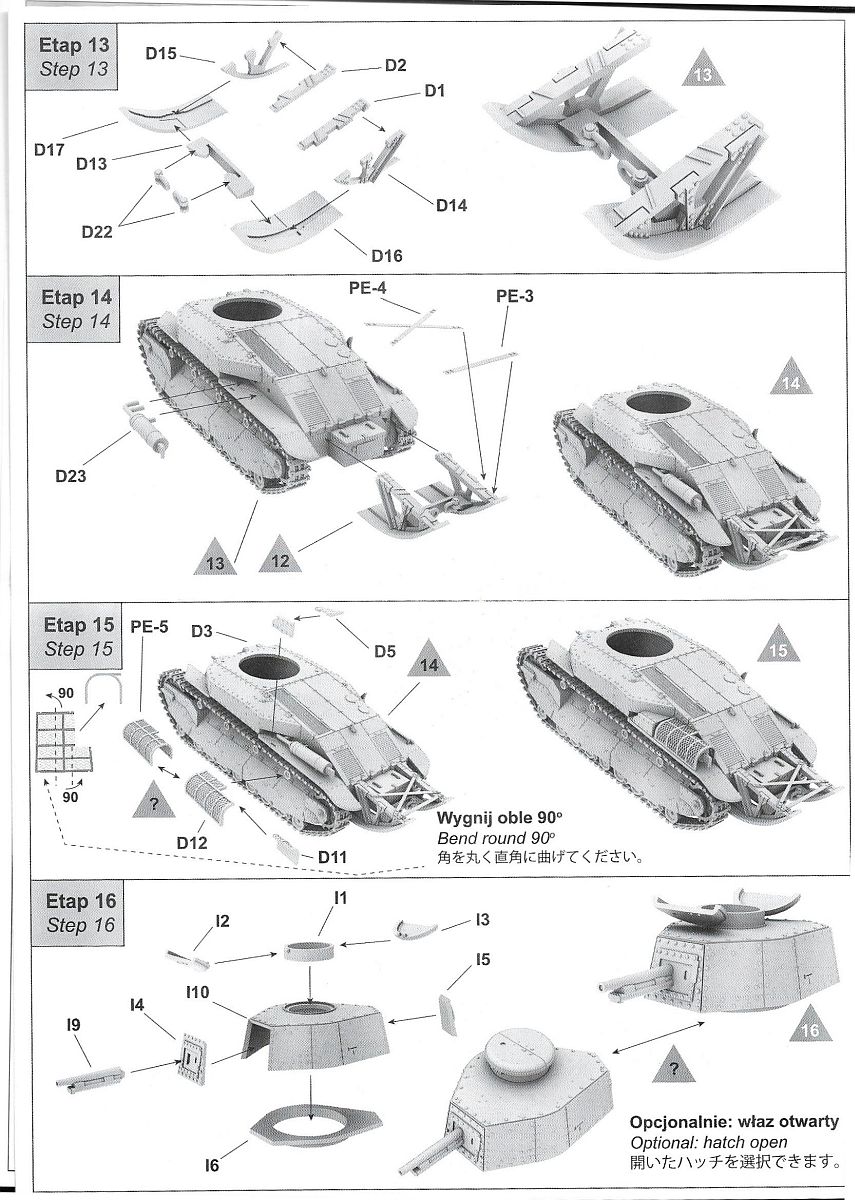
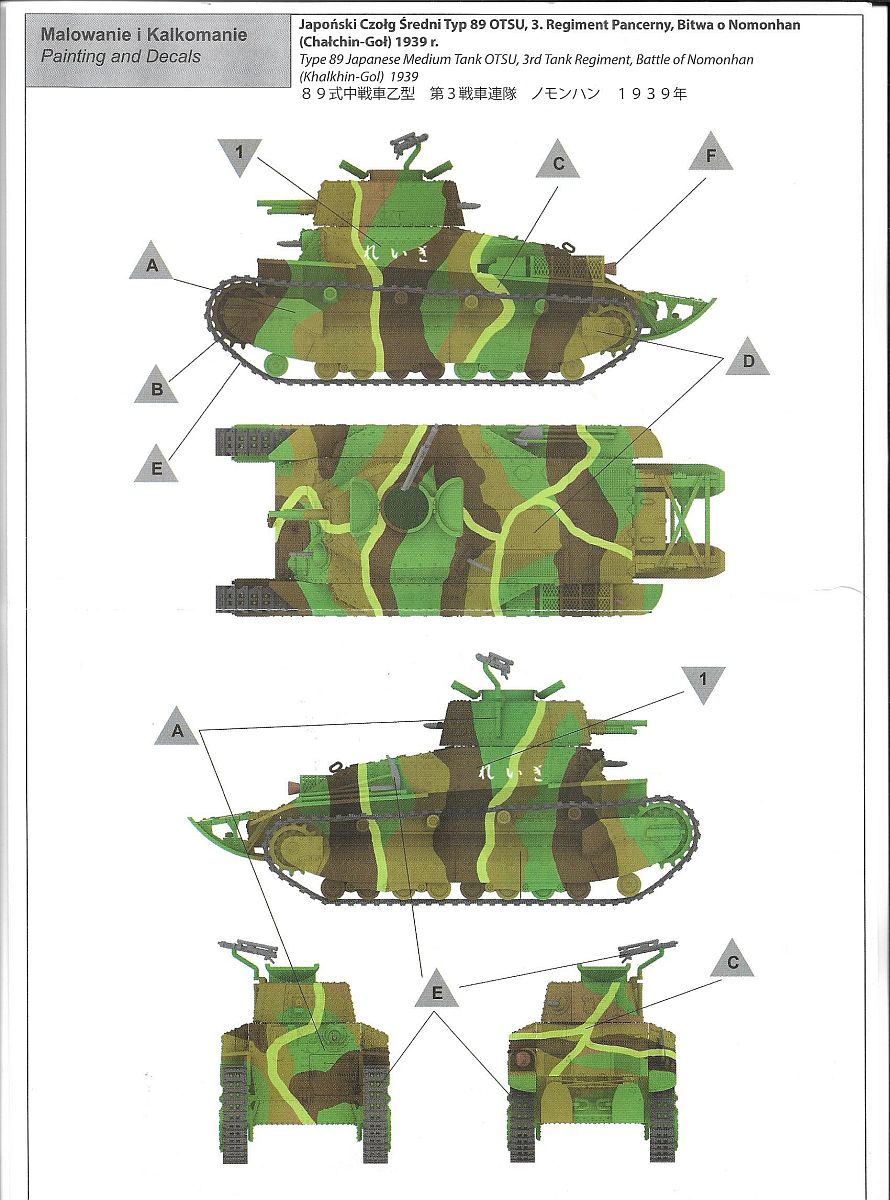
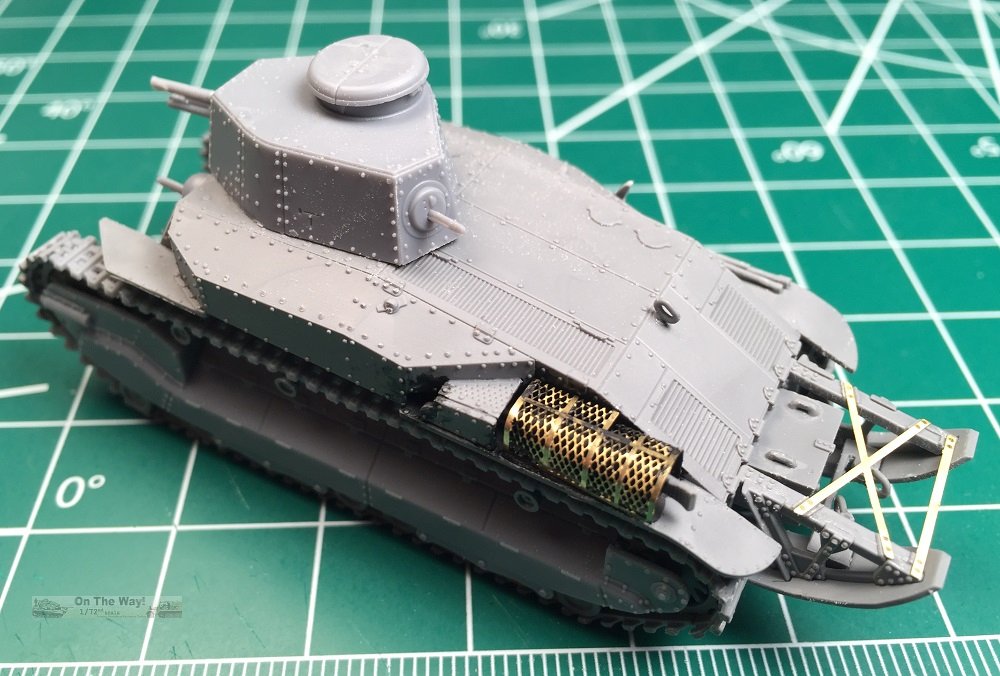
The decal sheet provides 4 decals, two for each of the two finishing options - overall khaki from an unidentified Imperial Japanese Navy Land Forces unit in 1941, and four colour camouflage from the 3rd Tank Regiment during the battle of Khalkhin Gol in 1939. The instructions provide paint references for Vallejo, Hataka, Life Colour, Tamiya and AK Interactive colours. Construction begins with the suspension. Each of the roadwheels (E11) is attached to the sprue at two spots, and the sprue attachments need to be carefully trimmed from the wheels. The fit of the roadwheels to the bogies is imprecise, so I used a length of rectangular plastic strip as a guide to keep all the wheels aligned. The bogies (E2) have very substantial sprue attachments to be cleaned up. The sprockets (E3/E4) and toothed idlers (E5/E6) are each attached to the sprue at four points, which overlap the sprocket teeth. I broke one of the outer idler halves separating it from the sprue, but this was easily fixed. There are no alignment aids for the sprocket and idler halves, so take care to keep the teeth aligned. The outer return rollers (E10) are attached to the sprue on the ends of their axles. It's not quite clear where the axle ends and the sprue starts, and the amount of axle you leave will determine the gap between the inner and outer return roller halves. The attachment point of each outer return roller is small, so take care that they all end up aligned. The track is provided as 4 lengths and 10 individual track links for each side. The uppermost length is neatly moulded with sag between the return rollers. The links fit together well. The sprue attachments for the single links impinge on the links themselves, and need to be carefully trimmed away. I found I had to slightly shorten the ends of two links on the lower track run to get them in place, but overall the track assembly was fairly painless. Compared to the somewhat tricky suspension construction, the rest of the build goes easily. The hull parts fit together perfectly, with clever engineering to ensure that capture both the complex hull shape and the extensive rivetting. The turret features a separate two-part commander's hatch. I assembled this in the closed position, and added a scrap plastic brace under the halves to make sure they were level. The 57mm main gun is moulded with an open muzzle. The mantlet is moulded in place, so the gun cannot be adjusted in elevation. Strangely, there are no lugs to hold the turret in place on the hull. I added a strip of plastic across the bottom of the turret ring, and cut corresponding slots in the hull so I could insert and twist to hold the turret in place. Optionally, you can fit a type 91 tank machine gun on an external mount on the turret. This odd-looking MG is well moulded, with its unusual telescopic sight mounted. The pioneer tools are moulded separately. I broke the shaft of the pickaxe removing it from the sprue. I also snapped one of the rear towing shackles, but both of these were easily repaired. The muffler guard is provided as both a PE part and a two-part plastic version with nice mesh detail. The instructions provide a scrap view showing the shape the PE guard should be bent to, but this is not to scale. I used the plastic version as a guide to shape a block of plastic, which I used to bend the PE part. A minor quibble with the kit is that the grab handles for the rear tool box are very heavily moulded - providing these as PE parts would have been a nice alternative. Due to temporary limitations on my ability to paint, I had to stop work when the assembly was completed. I look forwards to painting and finishing this in the next few months. I have no references on the type 89, and so I make no judgement on the accuracy of the model. This kit was really fun to build, and looks great assembled. It is just complex enough to capture detail, but so well engineered it goes together quickly (I spent about a week putting mine together, working an hour or two each night). It's great that IBG are filling gaps with some of the lesser known WWII AFVs. Review sample purchased by the author. 
 

IBG products are available at
|
| Back to IBG Kit List | Back to Construction Reviews |
Article Last Updated: 11 March 2018 |
Back to Home Page |