|
Hasegawa
|
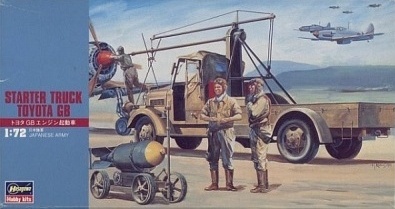
Starter Truck Toyota GB |
|||
| Kit #: MT17 | Review by Pat Clark - pclark442(at)gmail.com | |||
|
Hasegawa
|
Starter Truck Toyota GB |
|||
| Kit #: MT17 | Review by Pat Clark - pclark442(at)gmail.com | |||
 |
|
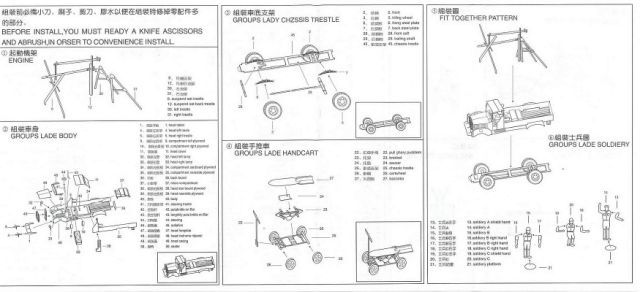
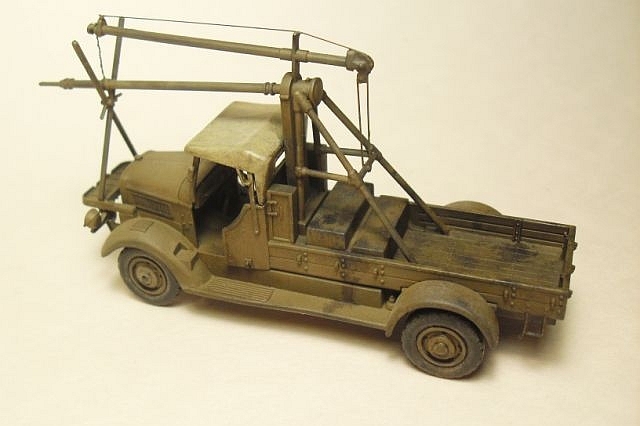
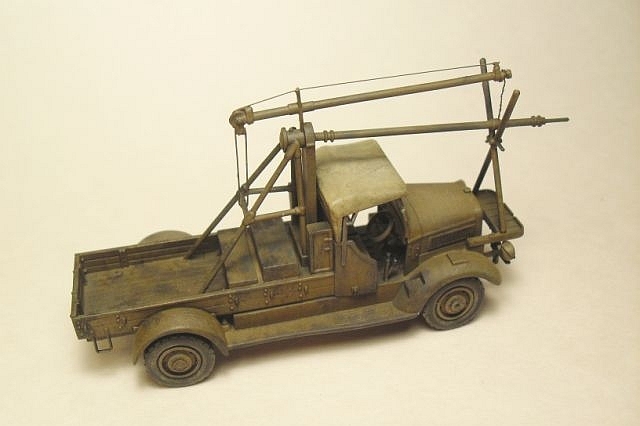
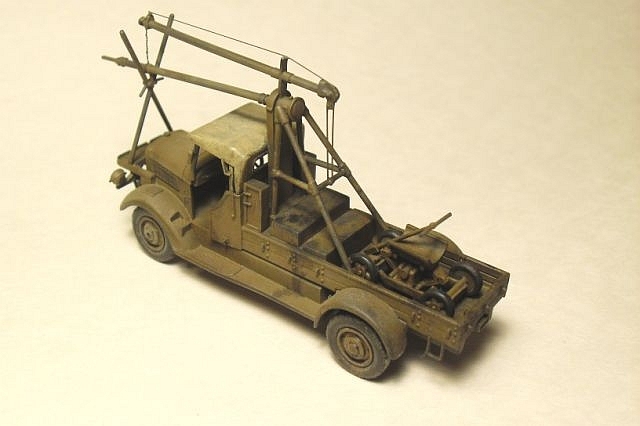
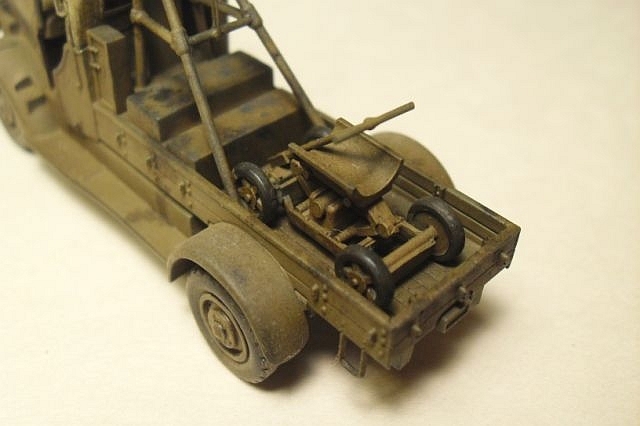
As my usual interest is more in the "Armored and Gunned" subjects, this little airfield truck was a change of pace for me. I picked it up on a whim when I ran across it on the clearance end cap at my local hobby store. Total damage to my wallet, a whopping $2.17. As I wasn't expecting all that much but I was pleasantly surprised when I cracked open the box in the parking lot (everybody does that, right?) and took a quick peek. Although the kit does show its age, the parts appeared to be decently molded in light grey plastic with a minimal of flash. While it looked good in the box, some shape issues were discovered at the build stage. The kit includes three poorly proportioned figures and a bomb cart in addition to the truck. While the bomb cart was a neat addition, the "Popeyes in uniform" were relegated to the trash can.
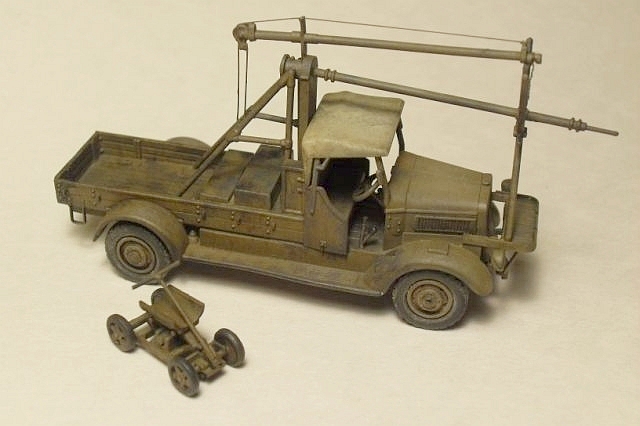
Next up was the scaffolding for the starter rig. The main issues were with all of the round rod shaped parts. They were closer to a football (American style) in cross section than a circle. If you want a more accurate model, this would be a good place to replace the kit parts with tubing. Me being lazy, I just cleaned them as well as I could. The kit is a bit simplified in this area. Looking at the box art, it is missing a cross brace at the back with a pully system on it. I made a facsimile of these parts using stretched sprue. I also used stretched sprue for the tensioning cable than runs along the top of the starter boom. Hasegawa molded the front tie down chain (at least it appears to be one on the box art) as a solid connecting strip. I cut this away and substituted a lightly twisted wire pair. At this point all that was left to assemble was the bomb cart. It went together easily with no major issues. I scratch built the pull handle from stretched sprue as the kit part didn't look that good. In the end I did not assemble the bombs but left the cart empty. Someone with more patience than me would be advised to open the spoke holes in the cart wheels as they are molded solid. I sprayed the entire truck and cart flat black as a primer and pre-shade. I then airbrushed everything using Tamiya XF-49 Khaki. I thinned the paint using Tamiya's yellow lidded lacquer thinner. This makes the paint go on very smooth. If you haven't tried this technique, I highly recommend it. It allows you to (though not used on this particular build) spray at very low pressures to make some very crisp, thin lines. I then brush painted the canvas cab cover Tamiya XF-57 Buff and all eight tires (don't forget the cart) Vallejo 70862 Black Grey. After this dried, the entire model was washed using thinned Burt Umber oils. Oil and grease stains were added to the bed and sides of the truck using Burnt Umber, Black, and Burnt Sienna oils. As the only decals in the kit were the license plates, I left them off at this point. Maybe sometime in the future I will get the urge to finally put them on. Well, there you have it. It's not a show stopper, but with a little work (more than I put into it) it makes for an interesting model that is something different sitting in your case along side all that armored stuff. And at less than $3.00, I think I got my money's worth.
|
| Back to Hasegawa Kit List | Back to Construction Reviews |
Article Last Updated: 21 July 2009 |
Back to Home Page |