| ESCI
|
www.onthewaymodels.com | Panzer IV Ausf F2 conversion from an Ausf G | |||
| Kit #: 8058 | Article
by Jean-Claude Glineur - jc(dot)glineur(at)myself(dot)com |
||||
| ESCI
|
www.onthewaymodels.com | Panzer IV Ausf F2 conversion from an Ausf G | |||
| Kit #: 8058 | Article
by Jean-Claude Glineur - jc(dot)glineur(at)myself(dot)com |
||||
 |
|
IMHO
the ESCI Panzer IV Ausf G kit still holds its own when compared
to more recent productions, even if it suffers from inaccuracies
and lack of details as rightly pointed out by different reviewers
on OTW. I decided to model a DAK Ausf. F2 , which implied a lot of modifications. Construction |
|
|
|
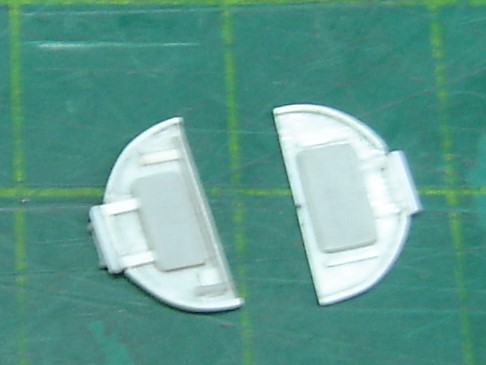
Turret First
of all, features irrelevant for an Ausf. F. (see very useful Panzer
IV Comparison article) are shaved-off from the turret top-plate
and much better detailed turret sides hatches (leftovers from a
converted Revell Panzer III) are used, those from
the kit having no vision blocks at all .
|
|
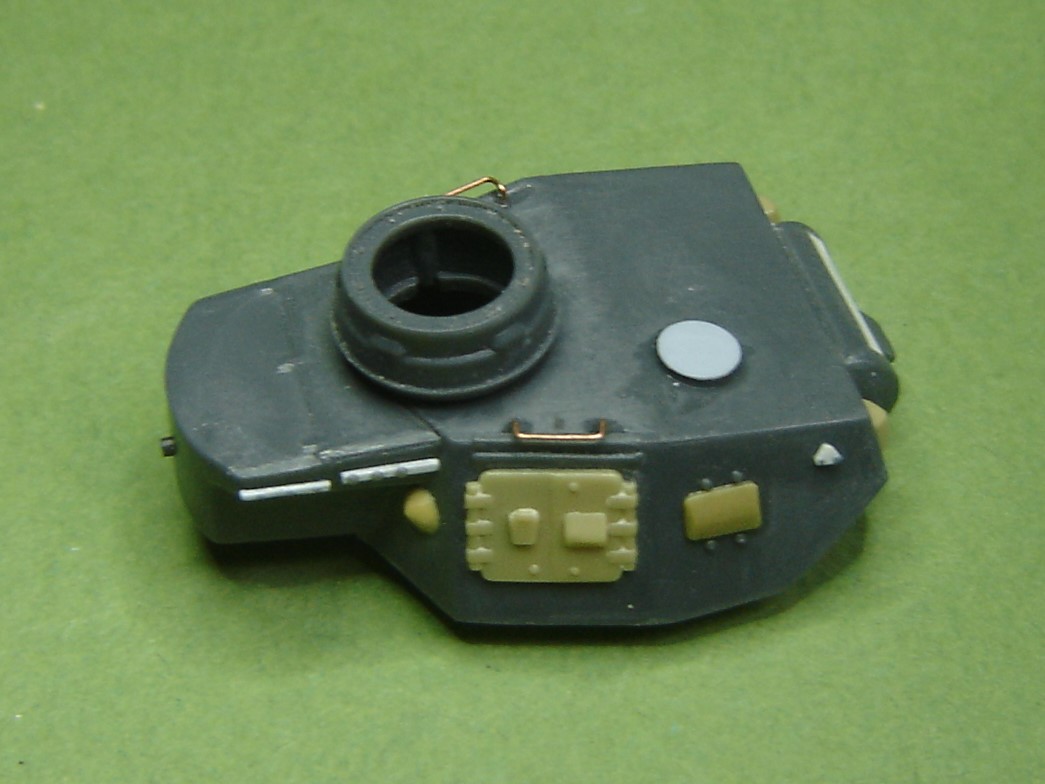
| WIP on turret | |
 ______________________ ______________________ |
|
| Rebuilt
gun mantlet and front plate with scratch-built vision ports (still to
be correctly shaped in this photo). Weld lines from HSP (Heated Stretched sPrue) are faintly visible as is the very small hole next to the left vision port. Viewed from the front, the gun mantlet is slightly offset to the left. |
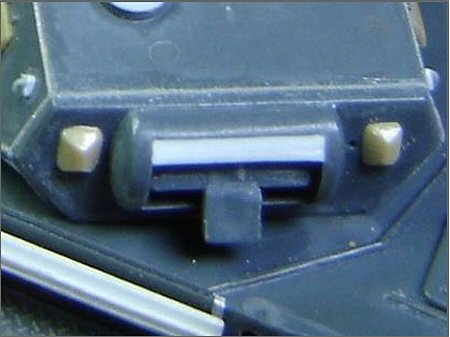 |
Scratch-building the vision ports
|
|
Armament
|
 |
Hull Fuel
caps are visible only on the hull left side between return-rollers
2 et 3. I shaved them off on the right side. The MG front plate ball
is too large, I reduced its diameter by sanding it flat to avoid it
overlapping the front plate. |
|
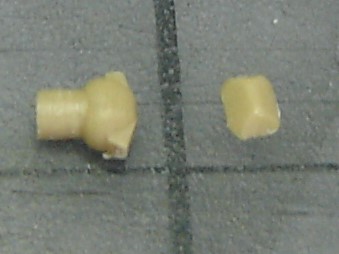
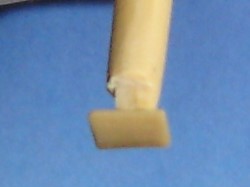
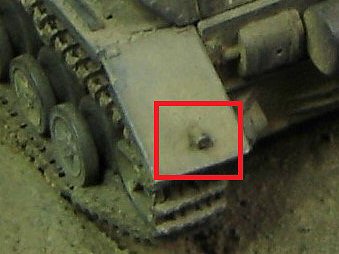
| Lifting-hooks and bolts, again made from scratch, are placed at each front side of the hull, see photo. | 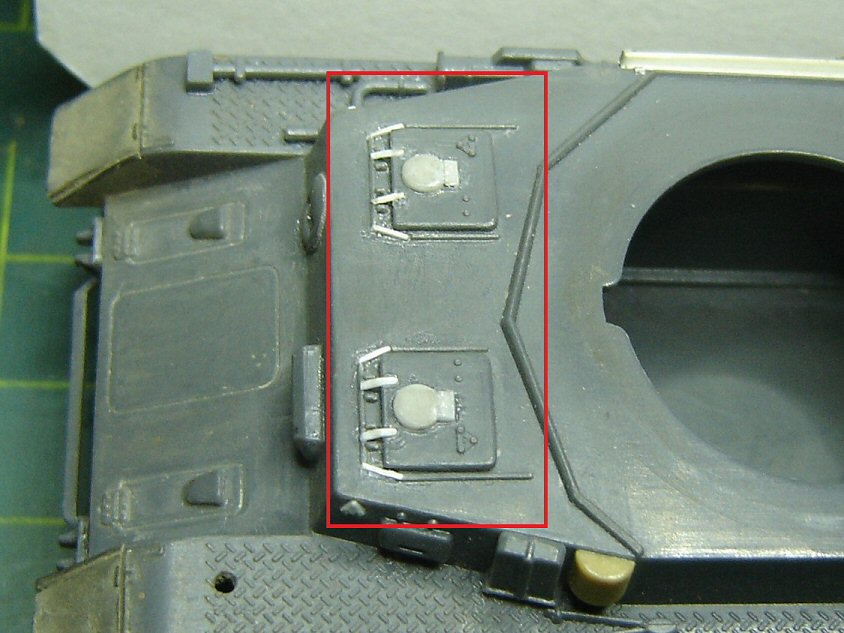 |
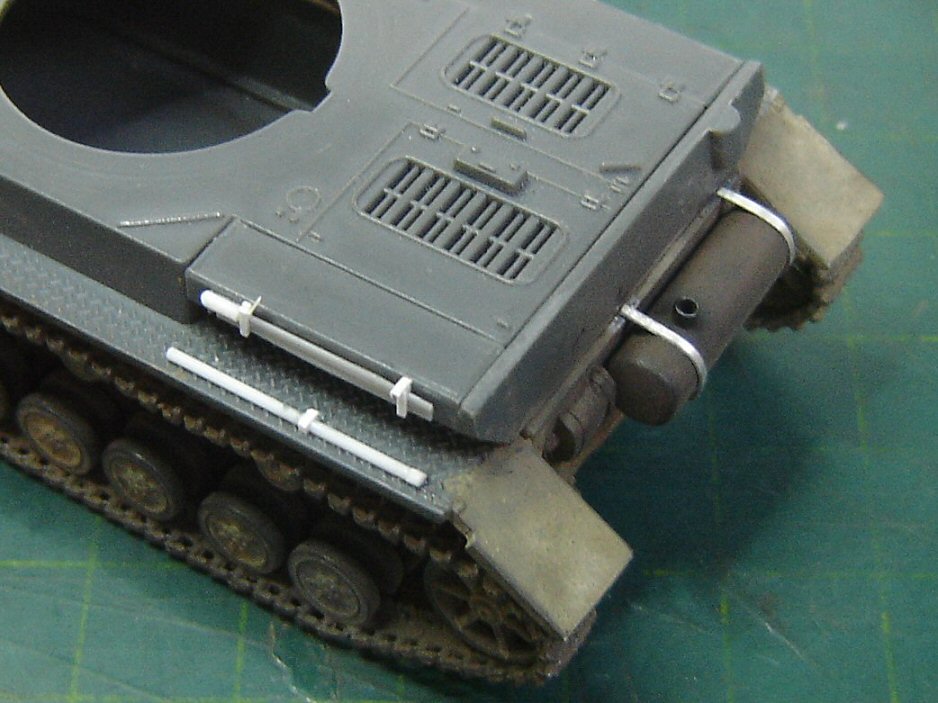
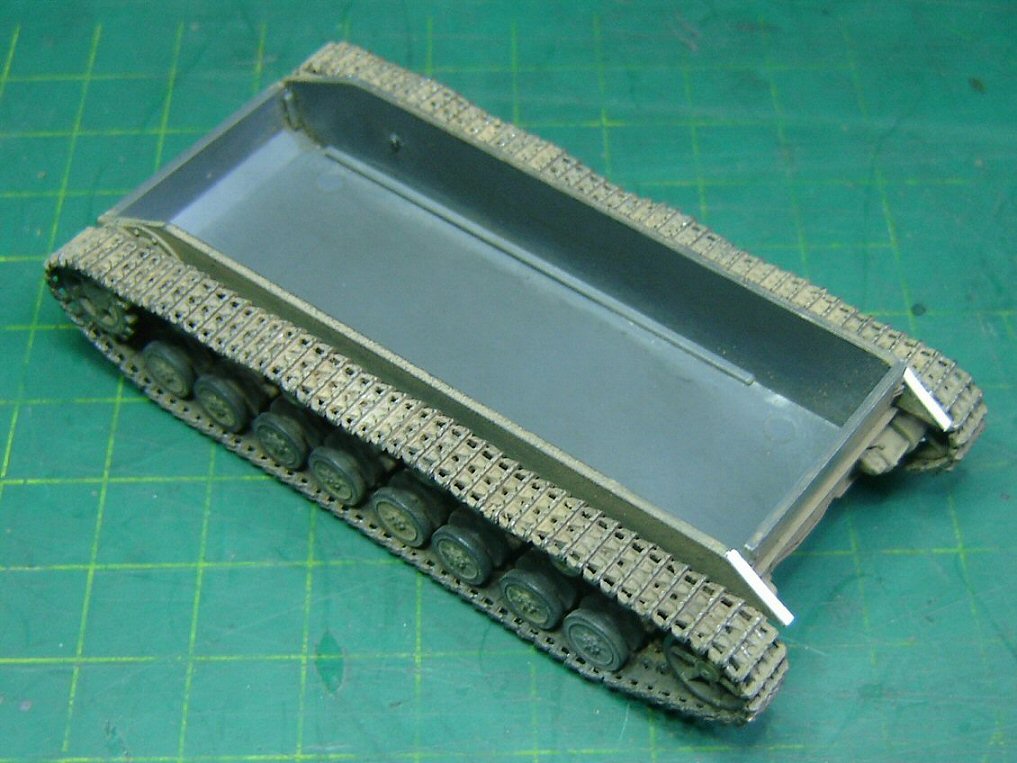
| Mudguards
are thinned down at both ends and slightly distorted, rear-flaps are
modified to allow the placement of springs figured by a very small piece
of HSP, springs are also made for the front mudguards. There is a large gap between the rear-mudguards and the rear hull-plate that is filled with a piece of plastic strip as shown in the picture below. |
 |
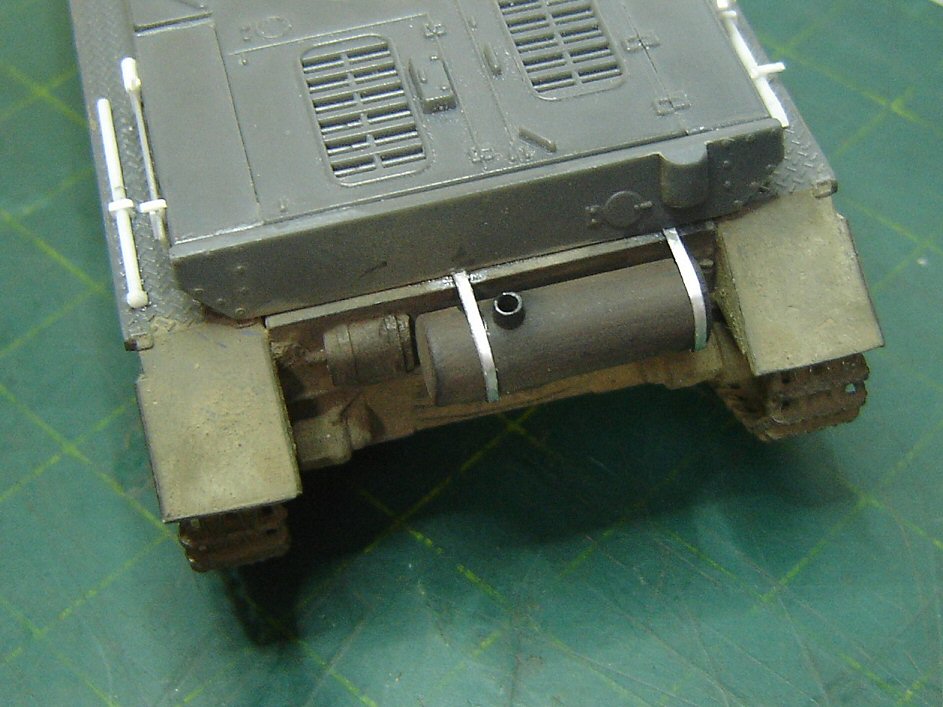
| The missing auxiliary generator is built from scratch and placed on the left side of the exhaust muffler. Strapping for the muffler is made from thin lead foil, all modifications shown in photographs below. | 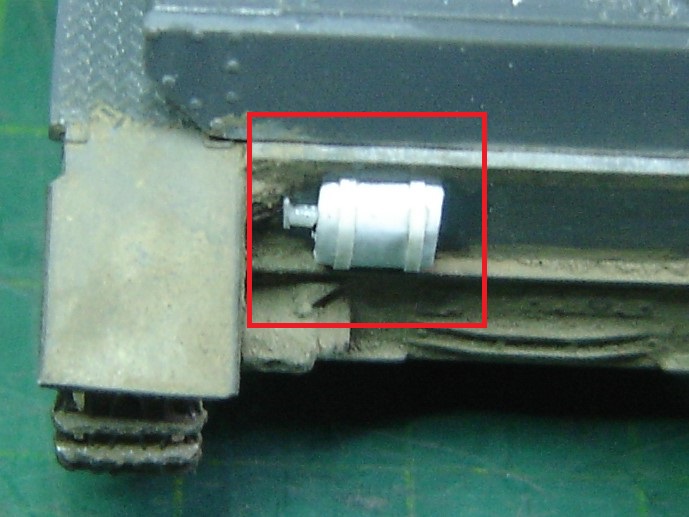 |
 ___________________ ___________________ |
|
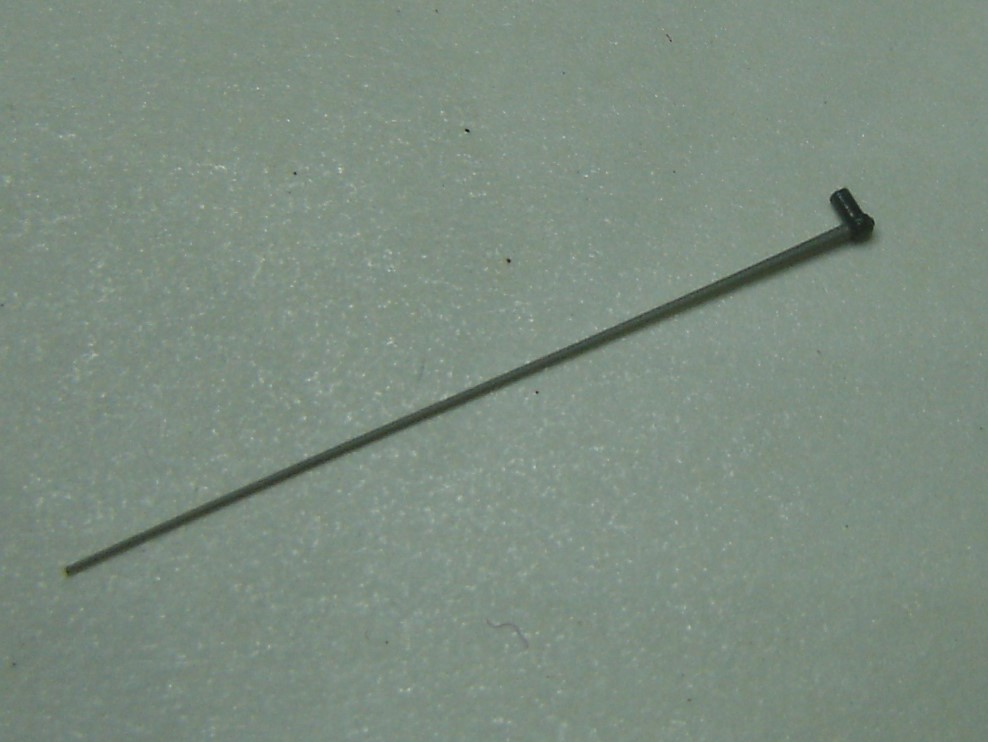
Some
equipment and tools are missing and must be scratch-built or retrieved
from the spare-box : towing-hooks, crowbar, antenna and its rack are
made from scratch. |
|
 _____________________ _____________________ |
|
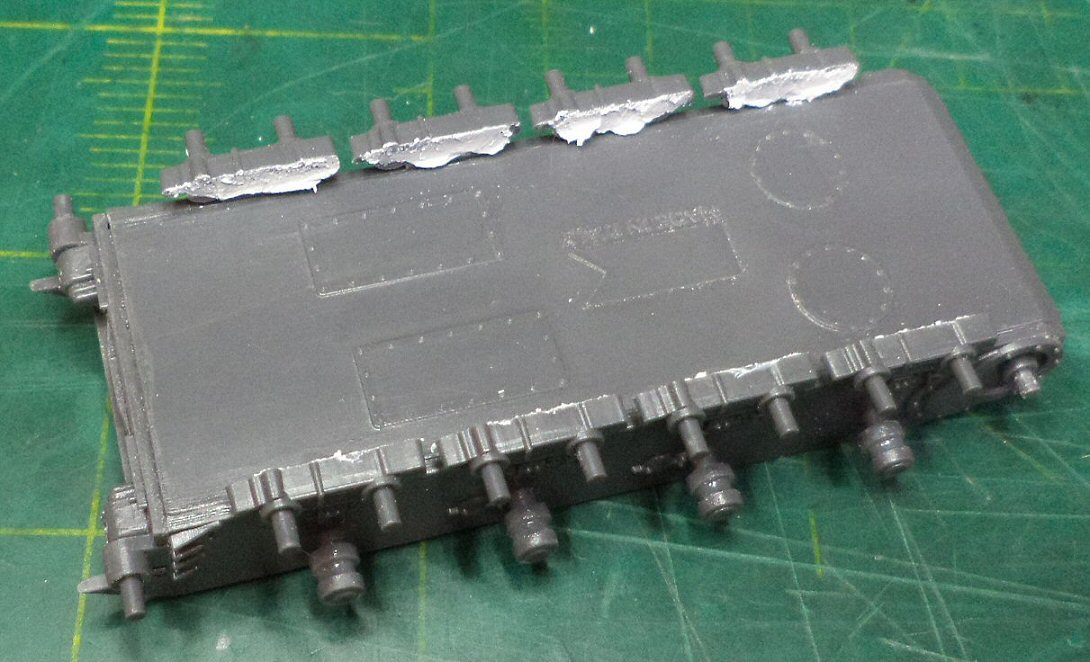
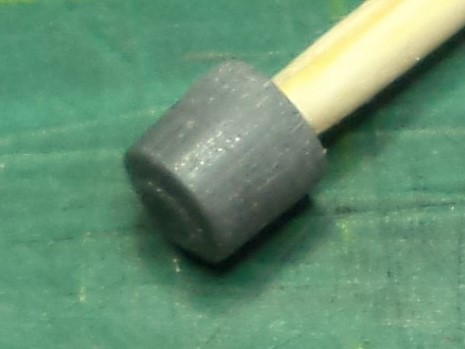
Running-gear The
sprockets teeth, too rounded and thick, must be refined and four of
them on each side of each wheel cut off to help the resin OKB tracks
conform to the sprockets. More
annoying, the return-rollers are moulded in one piece and must be
corrected. This is done initiating a narrow groove with a fine saw,
the job being finished using a straight file to make the groove much
deeper and obtain return-rollers that look the part and allow the
placement of the OKB tracks guide-teeth. |
|
 _____________________ _____________________ |
|
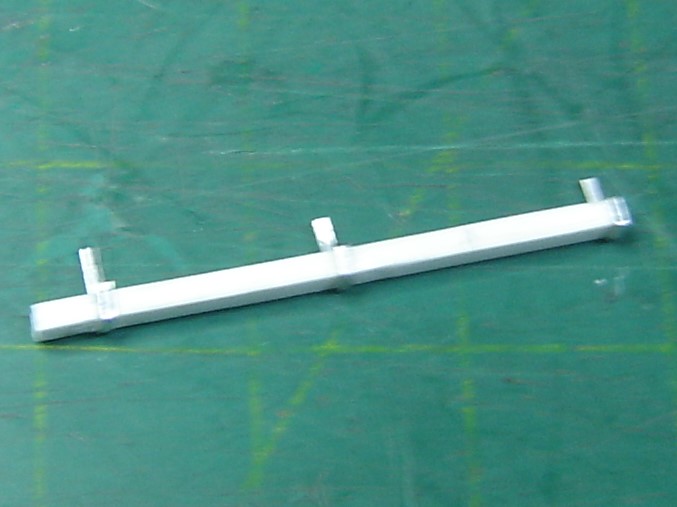
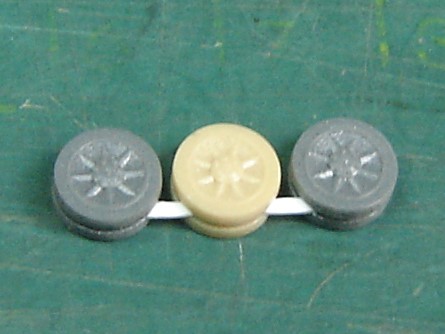
| On
some tanks three spare roadwheels were carried in a rack on the left
side of the hull. I made this rack by cutting a small length of thin copper sheet; the third, light-ochre, roadwheel comes from another Pz IV Esci kit. The three roadwheels are held together with a bit of plastic strip glued between them to help their alignment on the rack. |
 |
Tracks As already
said, the kit stiff polythene tracks were replaced by OKB Grigorov
72053 resin tracks for Pz III/IV Type 40 cm with hollowed-out guide-teeth.
|
 |
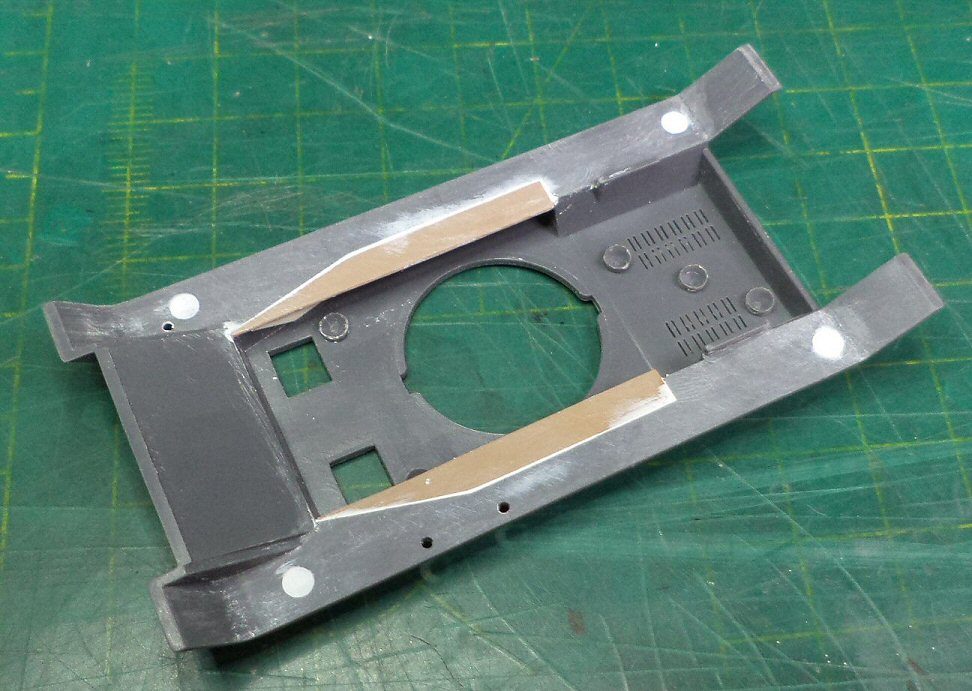
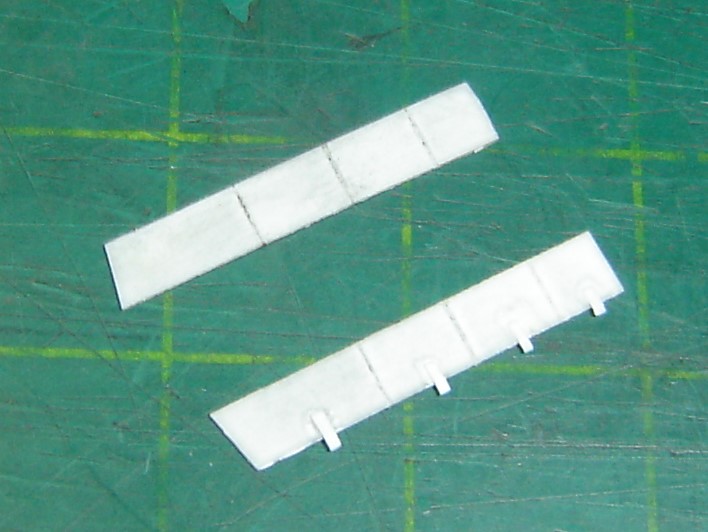
Other details I noticed
on photos and plans that there are some sort of "covers"
on top of the rear mudguards, under the engine deck. They are made
and detailed with plastic-card. |
 |
 _____________________ _____________________ |
|
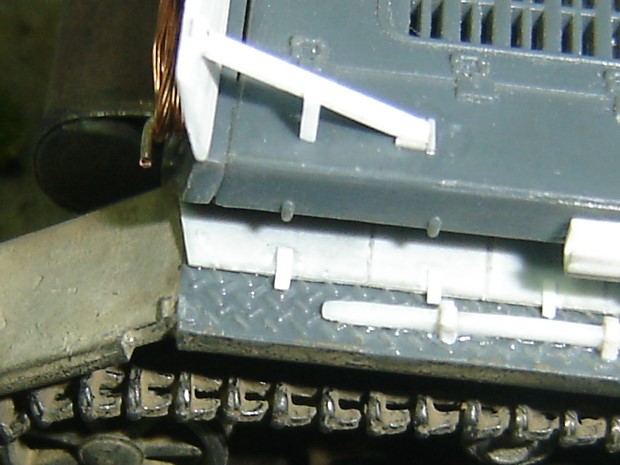
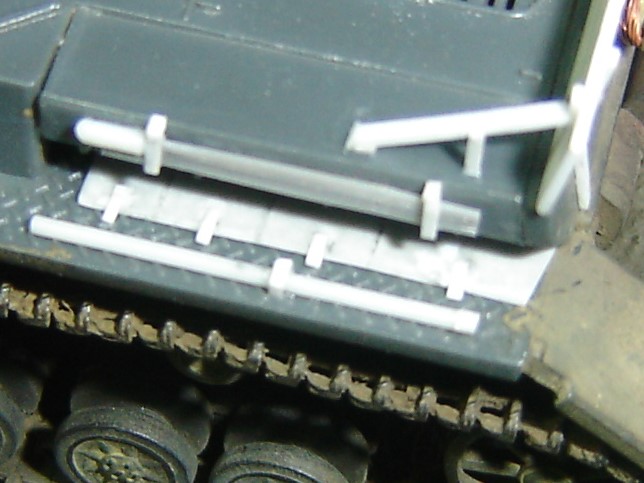
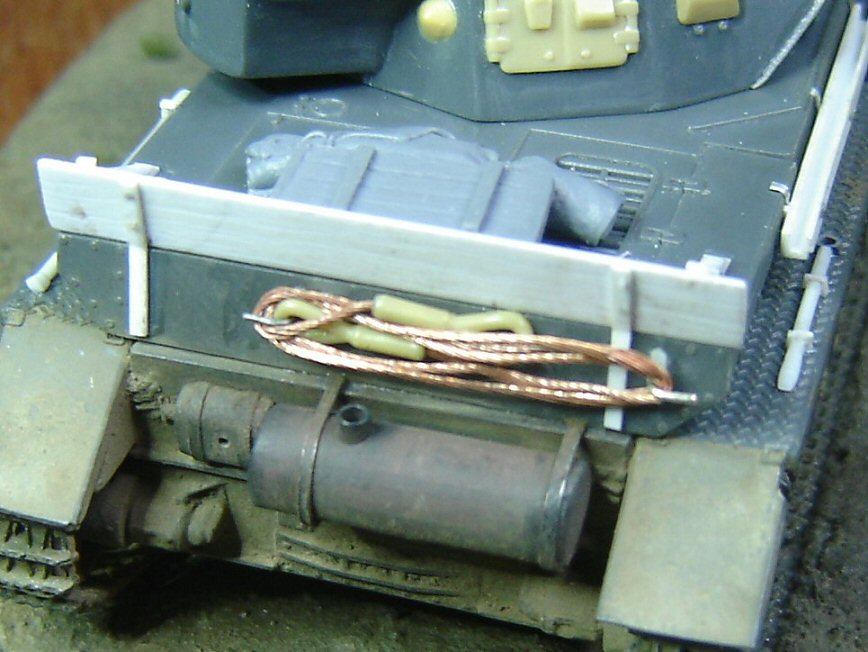
| In
addition to scratch-built tools, I gave my model a personal touch by
making a rudimentary rack at the rear of the engine deck to hold the
crew's usual paraphernalia in place: tarps, jerrycans, crate. The towing cable from EUREKA XXL is held in place with two small scratch-built hooks in copper. |
 |
| There
are no rear-lights provided and once again they were scratch-built from
convenient small pieces found in my spare-box, in this case they were
meant to represent the projectors of a small-scale ship as far as I
can remember. Being old-school I always apply the golden rule : "never throw anything away". |
 |
| Photograph right shows WIP, the running-gear and part of the hull have already been painted. | 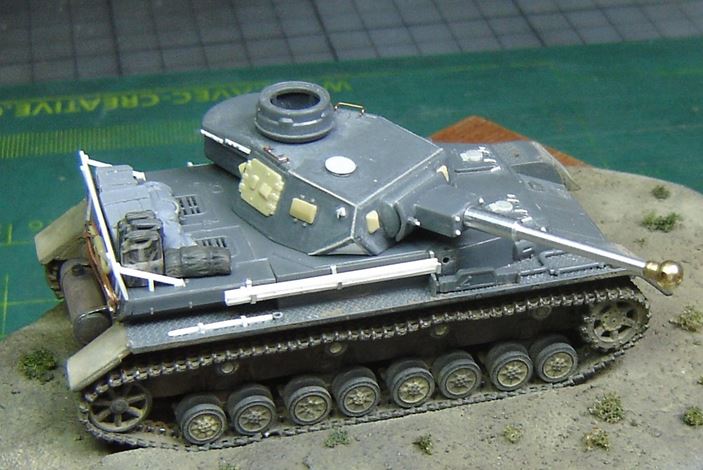 |
Colours and markings The
model was brush painted using enamels, oils, pastel powders and graphite
on salient points to give a worn look to the vehicle. |
|
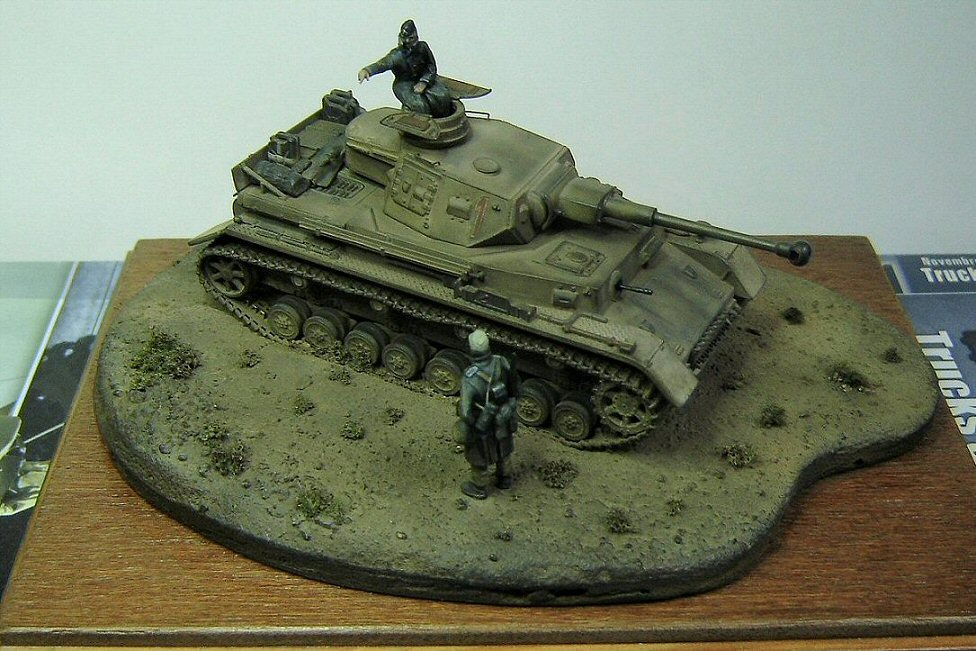
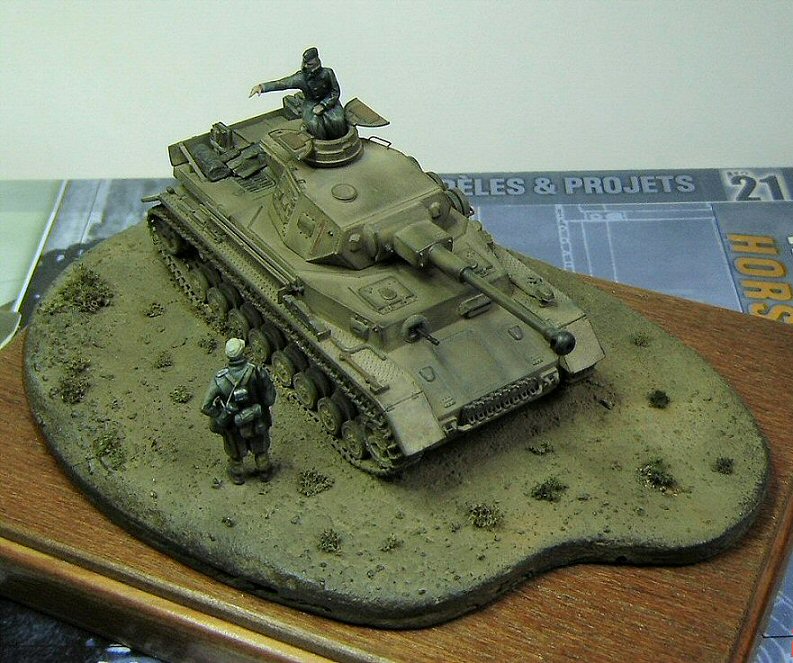
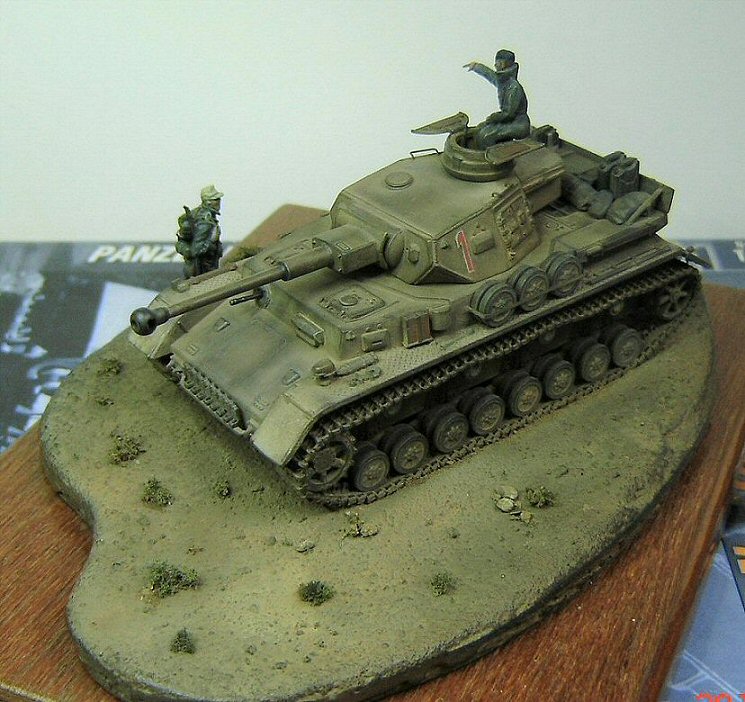
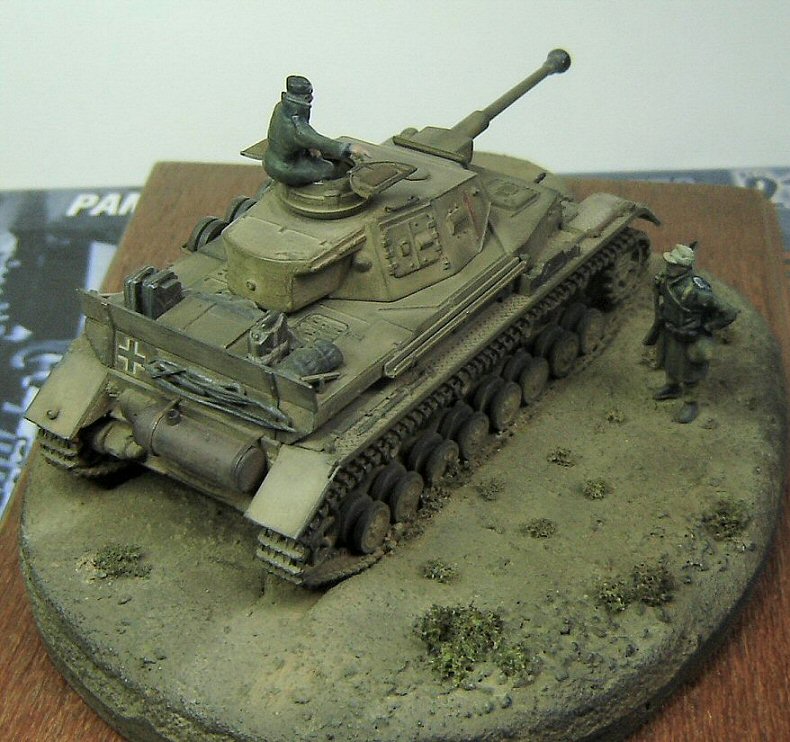
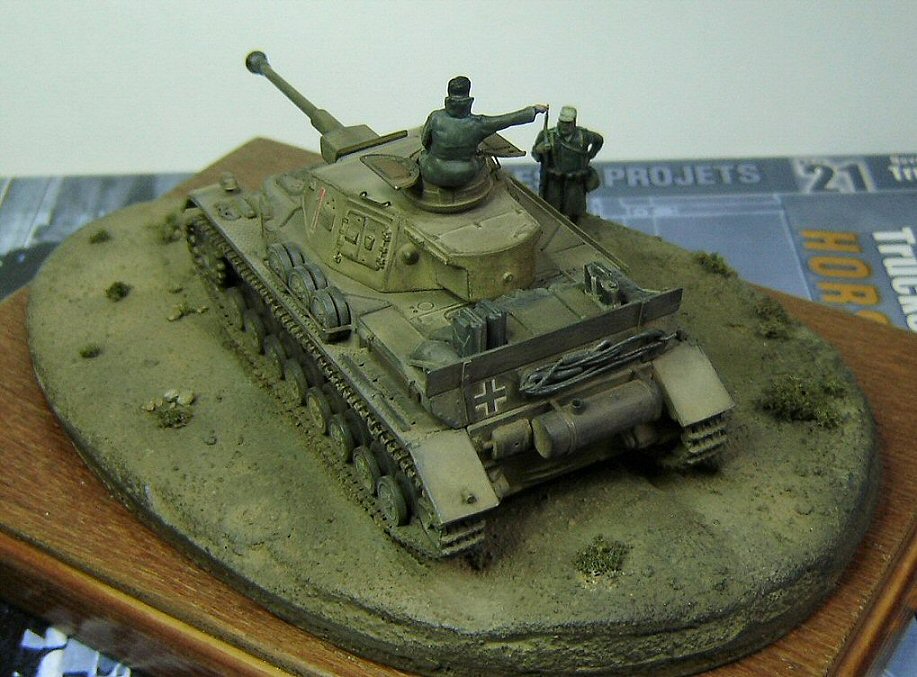
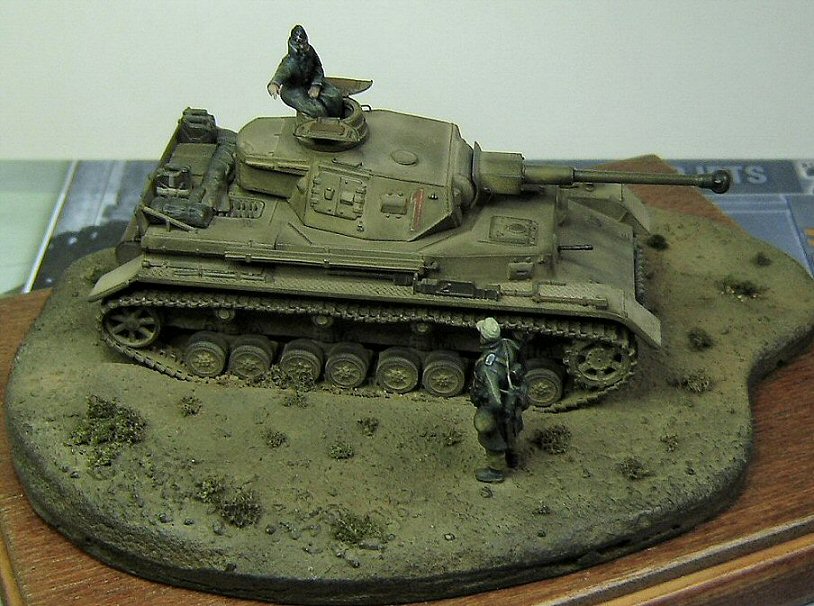
The completed mini-dio with two figures. It depicts
an Auf. F2 end of 1942 in the Libyan desert. The tank commander is
a modified Milicast figure, the infantryman is a much reworked civilian
worker from Preiser set N° 7251, right arm and equipment from
set N° 72527, Milicast head. Both men wear the long overcoat due
to the cold temperatures at dawn in the desert. |
|
 _____________________ _____________________ |
|
 _____________________ _____________________ |
|
 |
|
Conclusion Since
I wanted to have a Pz IV F2 in my collection and, with the costly
Dragon Pz IV Ausf.2 impossible to find, I finally decided to stick
to this old ESCI model. |
|
References (English-French-German-Polish languages publications)
This
model can be purchased from
|
|
| Back to Articles List | Back to Home Page |
Article Last Updated: 15 December 2017 |