Corporal Overby's Motor Pool


www.onthewaymodels.com

M8 HMC

Kit # MP039 and MP072

Construction Review by Rob Haelterman

Introduction

Ever since I laid eyes on the diorama with the M8 HMC in Verlinden's Showcase N°1, I was smitten by this cute little howitzer carrier. Alas, kits of this vehicle in 1/72 were nowhere to be found and as my modeling interests drifted to the dark side of German AFVs, my love was put on the backburner.
Then came the PSC release of the M5A1 Stuart and the conversion set by Cpl Overby's Motor Pool.


The parts in MP039, the M8 HMC conversion for PSC's M5A1. Note that my set came with some extra parts for a late M5A1, which are not shown on the manufacturer's FB page.


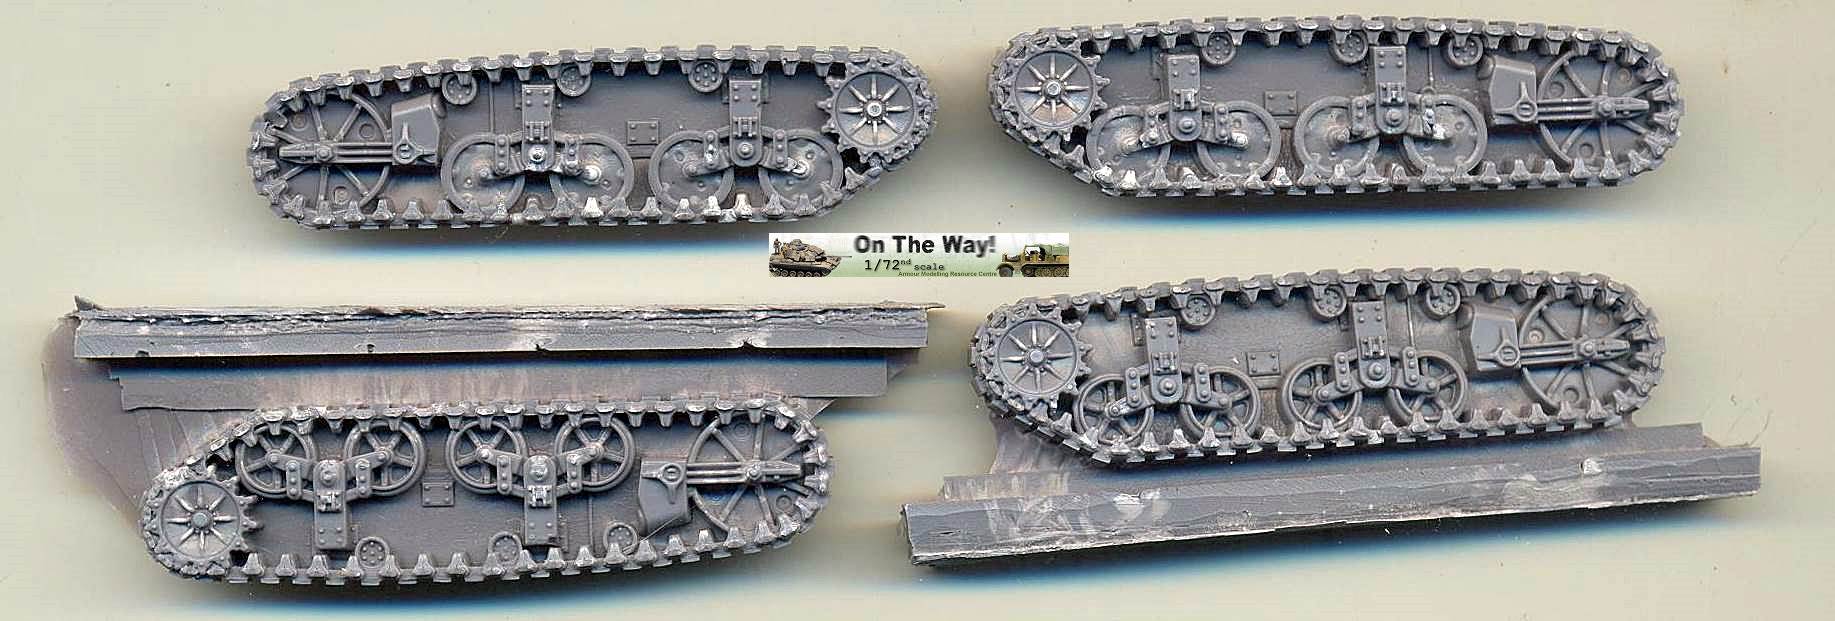
While I was at it, I also ordered the improved tracks for the same kit.

In my opinion, the top run of the tracks is too straight. Furthermore, when installed, the vehicle doesn't have the nose-down stance seen in pictures of the real vehicle.
Both issues can be traced back to the original PSC kit and are not, as such, a fault of Cpl Overby.


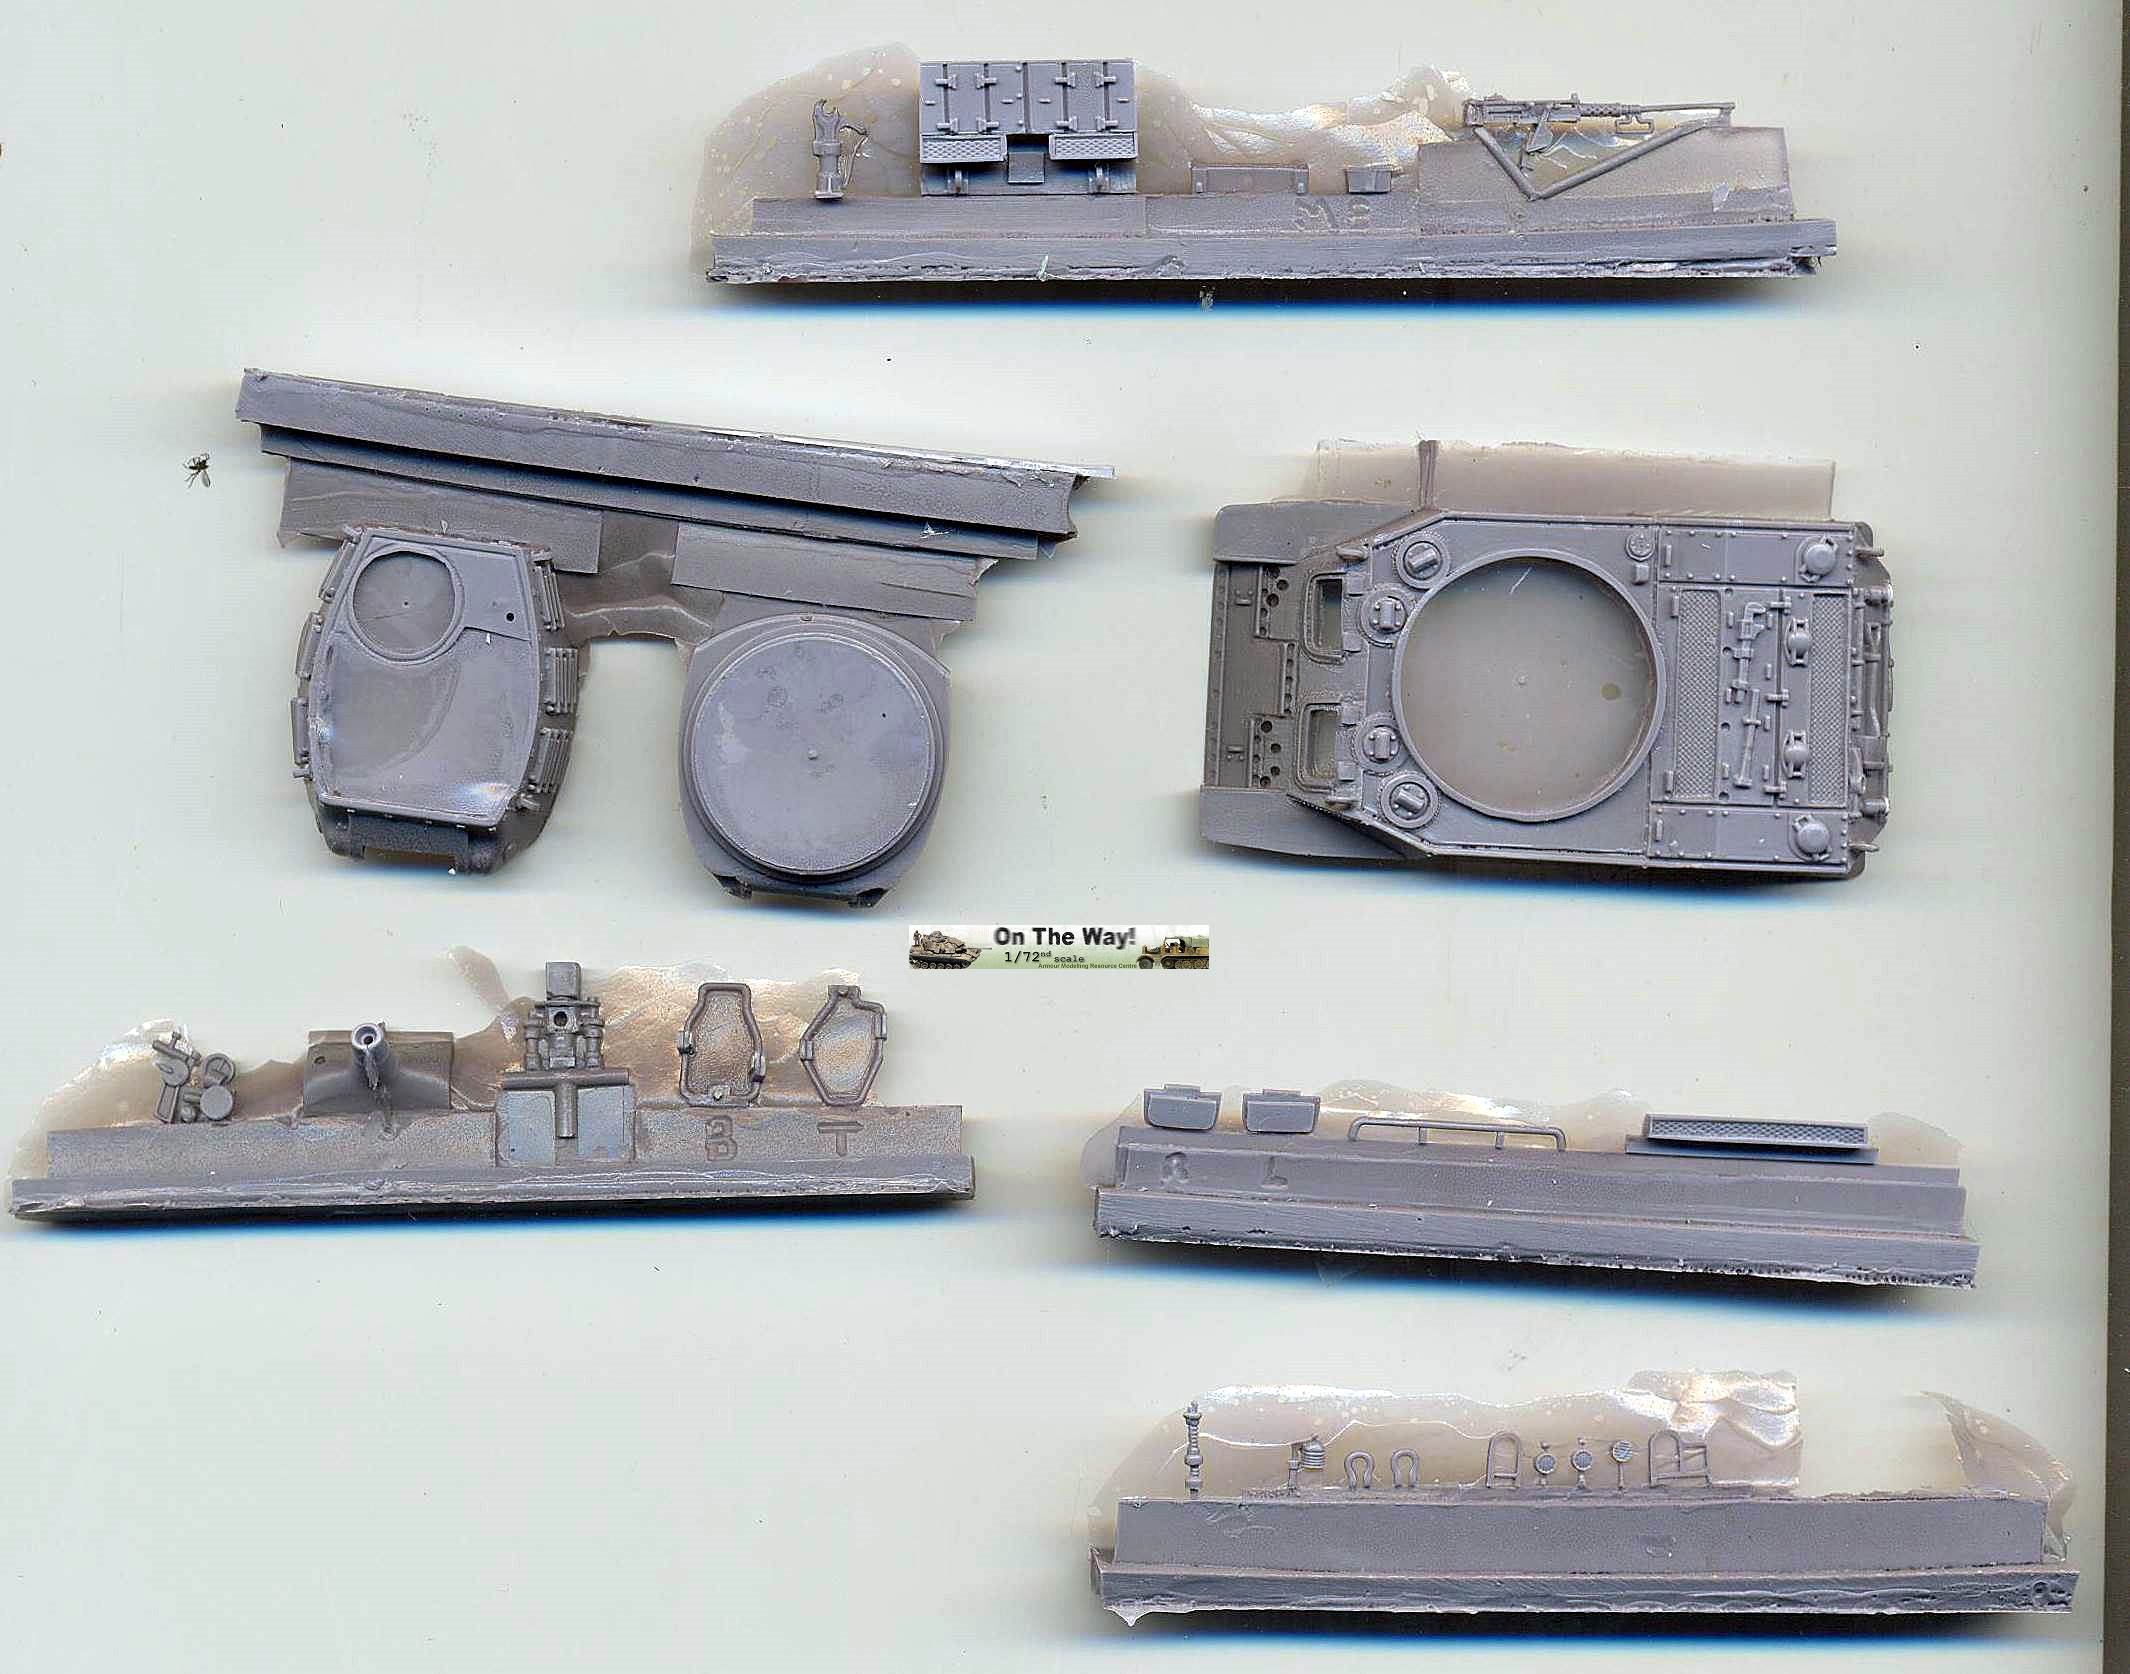
As can be seen, when using all these parts, little is left of the original PSC kit (basically only the lower hull), so I convinced Ken Overby to also sell me the lower hulls that were left over from the PSC kits that he used to make the masters for his conversion. As the M8, aka Scott, is an open topped vehicle, I decided to add an interior, based on pictures found on the internet (and in Verlinden's Showcase, obviously). In my opinion, since the turret interior is very convincingly done, Cpl Overby should have gone the whole hog and also added a detailed lower hull, making this a complete kit.


Construction

Turret 
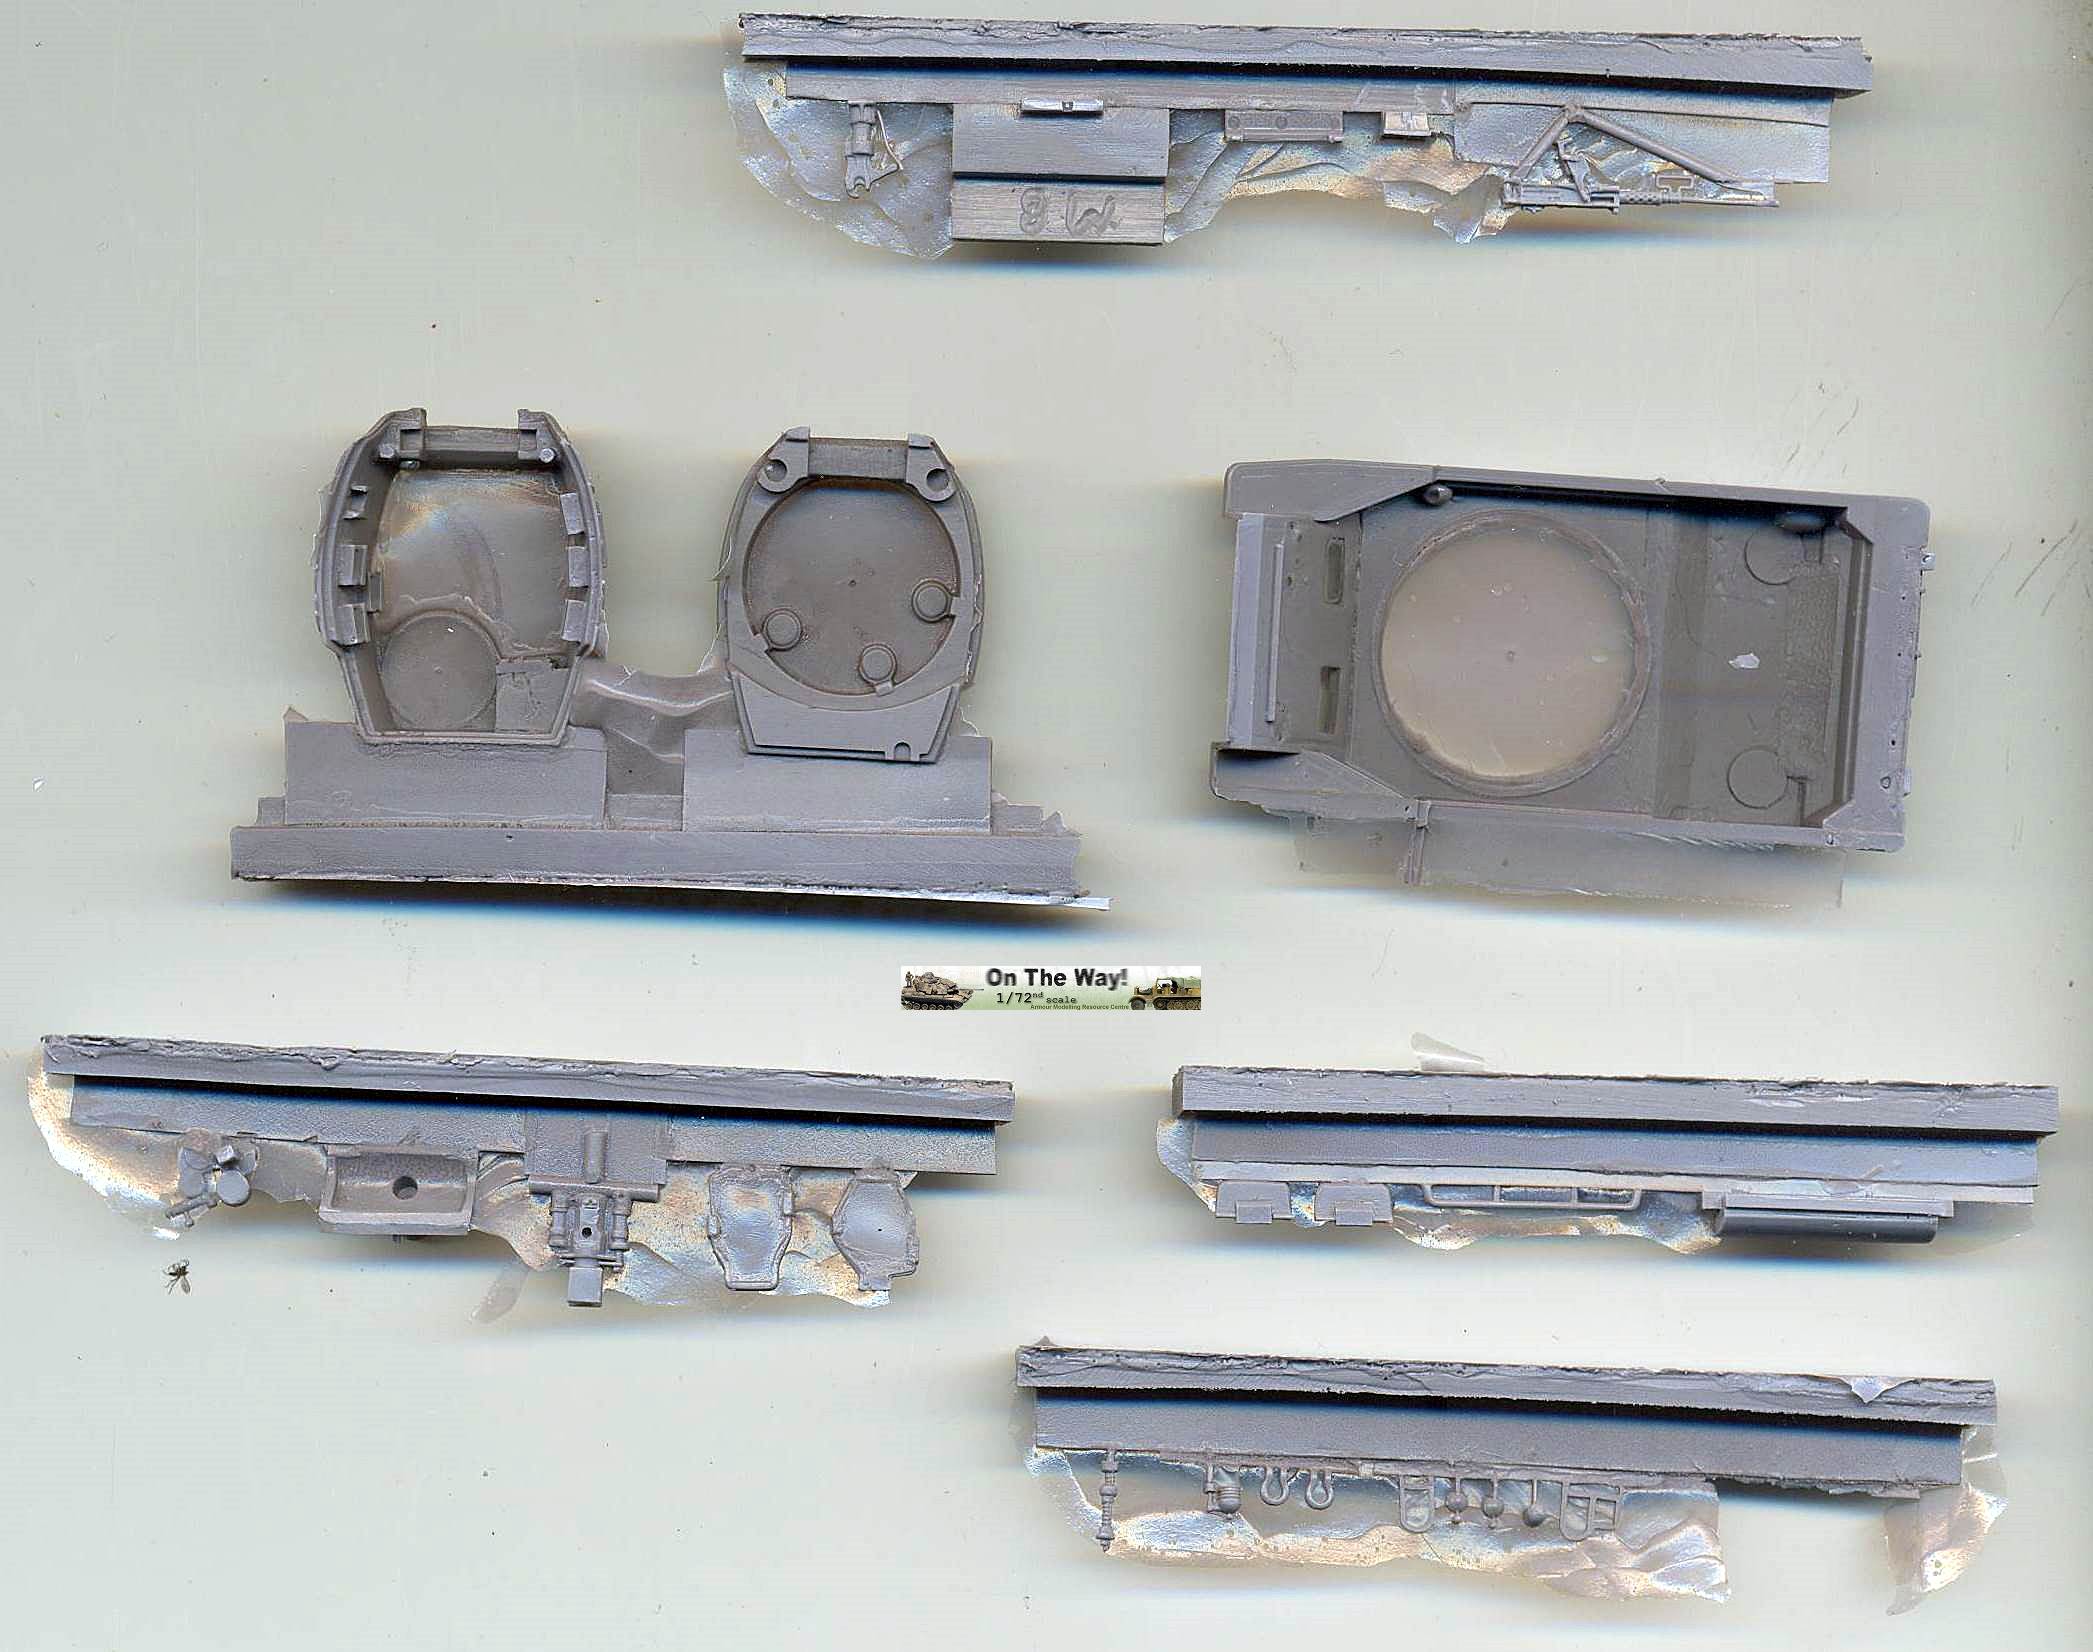
assembly is straightforward, when one remembers to keep the breech opening to the left and check with pictures of the real machine. (A construction manual is not provided.)
A thin casting film needed to be removed and some putty was required along the mating surfaces of the upper and lower turret parts, but that was about it.
The MG on the turret is not too bad, but I decided to replace the barrel with a section of brass tubing. I also broke one of the firing handles in the process.
Note that early vehicles did not carry the typical grousers on the turret sides. As these are cast integrally with the turret, removing them will require some elbow grease, if the modeler so desires.
The breech guard is admirably done for a resin piece, and after some sanding is the equal of what any plastic kit could ever give us, but purists might want to replace it with slightly thinner metal tubing nevertheless.

The hull interior was detailed to the best of my ability and mated with the upper hull of the conversion set. While the latter shows no warping or other casting deficiencies, some strips of plastic were needed to have a smooth joint in the nose area. In my opinion the pronounced lip on the nose of the M8 (or the M5 for that matter) is a bit on the sharp and thin side in this kit. I added a strip of plastic, sanded to shape to make it conform more to my taste.
I left the visors open, but didn't add the opening mechanism. Perhaps I should have.

There are some "dimples" on the side walls of the engine compartment. In hindsight, I should have filled them in, as I the real vehicle had flush screws in these places. Filling them would still have shown a slight variation with respect to the hull if not taken too far, and this might have been more realistic. The weld beads are also overdone, but as they looked nice, I didn't bother to modify them.
One of the lifting eyes at the rear of the fighting compartment was broken in my kit, and this was replaced with metal rod, bent to shape. I also replaced the lifting eye on the other side, to keep the symmetry. In that same area I should perhaps have added the small deflector strips around the filler caps, but I got lazy.
The rear hull plate in my set was slightly warped. (In fact, it was the only part that was warped.) Careful heating in hot water and bending solved the problem. Note that this plate is the late configuration, modified to accept a towing pintle. Earlier vehicles didn't have this towing pintle which allowed the lower engine grille to be a single, continuous part. My set also came with an exhaust deflector (that fits underneath the rear upper hull), which is also typical of later vehicles.
Based on the pictures I have of the real vehicle, the position and type of antenna mount varied enormously, even though the right rear hull seems to be a common position for the antenna. I decided to put a small antenna just above the radio set in the turret, where a small hole is present in this kit.


The replacement tracks come in two types: open and solid wheels. I chose the ones with the solid wheels, as these seem to be a bit more common for the Scott. (Both track sets come with a solid idler, if you are wondering.) Many M8s were also equipped with steel tracks, while PSC and Cpl Overby only provide rubber tracks. Note that late vehicles could carry sand shields, which can be taken from the PSC kit, but which are rather rare on the M8.
While the tracks do correct a blatant mistake in the PSC kit, i.e. the relative position of end connectors and trackpads, these track pads and end connectors are not always as perfectly aligned as I would like. The PSC tracks also have the area between the two track teeth filled in (thus blocking the passage of the wheels). The Overby set doesn't correct this. Apart from painful cutting and sanding, a solution might be to start from the Mirage kit of the M5A1, even though this raises the total price and even though I am not sure how well the Cpl Overby set would fit that kit. Incidentally, Ken Overby mentions in that same review that Mirage might have plans to release an M8 themselves, based on the parts lay-out.

I decided not to add any stowage, except for a small blanket in the rear turret basket. Scotts can be seen with a lot of stowage, but not consistently.
If desired, a Culin hedgerow device can be fitted to the nose, which can be sourced from the PSC kit.
I have not found pictures of M8s equipped with the boxy exhaust (the one that reminds of a bulky airconditioner).


As mentioned previously, I didn't start from the complete PSC kit and can thus not judge truthfully to which extent the Cpl Overby parts are an improvement. Those who would like to learn more about the background of these sets can find more on Missing Lynx (here and here).

The only scale plans I have for the Scott are those in [1]. Compared with these, the overall kit is within a 1% tolerance in length, but about 3% too narrow. This is most likely because the base kit (PSC), to which the conversion set is tailored, being too narrow.


H8 HMC command version.

6th Armored Division had some of its M8 HMCs converted to the command role by eliminating the turret and putting a fixed structure in its place. Judging from available pictures in [4] at least two were converted. As these pictures only show the general arrangement, my conversion is only speculative.
Note that I lost one headlight guard during construction (which was replaced with a scratchbuilt item) and one headlight. To keep the symmetry, both headlights were replaced with parts from the spares box.
I didn't use the deflector underneath the rear overhang of the hull for this kit, and noticed a bit too late that the left track unit (this time representing open spoked wheels) was slightly warped. If I had noticed this earlier, heating and bending could probably have fixed the issue.


Sample kits bought by author.


References

[1] M5A1 Stuart, Photosniper 3, K. Mucha & G. Parada, Kagero

[2] Steelmasters 42

[3] U.S. WWII 75 mm Howitzer Motor Carriage M8 HMC, M. Franz (Tankograd Technical Manual Series 6014)

[4] US Light Tanks at War 1941-45, S. Zaloga, Concord.


This model can at the time of writing (unfortunately) not be purchased from Tracks & Troops

Back to Cpl Overby's Motor Pool Kit List Back to Construction Reviews Page

Article Last Updated:
30 December 2016
11 January 2017

Back to Home Page