|
Ace
|
www.onthewaymodels.com |
ACE Ford G198T / V3000S |
|||
Kit #:
|
Preview
by Danilo Carli
-
172normandyafv(at)gmail(dot)com Edited by F. Giovagnorio |
||||
|
Ace
|
www.onthewaymodels.com |
ACE Ford G198T / V3000S |
|||
Kit #:
|
Preview
by Danilo Carli
-
172normandyafv(at)gmail(dot)com Edited by F. Giovagnorio |
||||
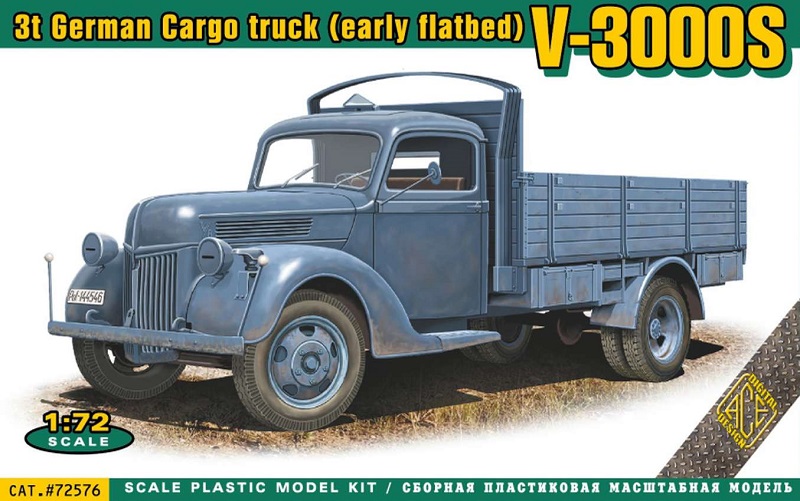 |
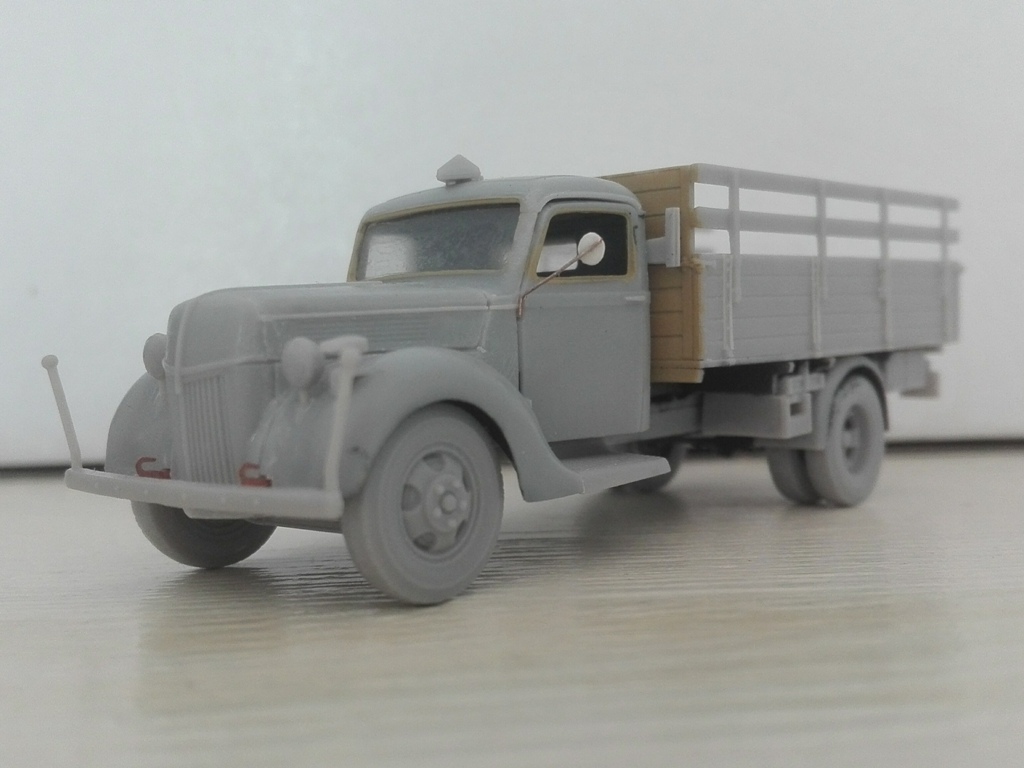
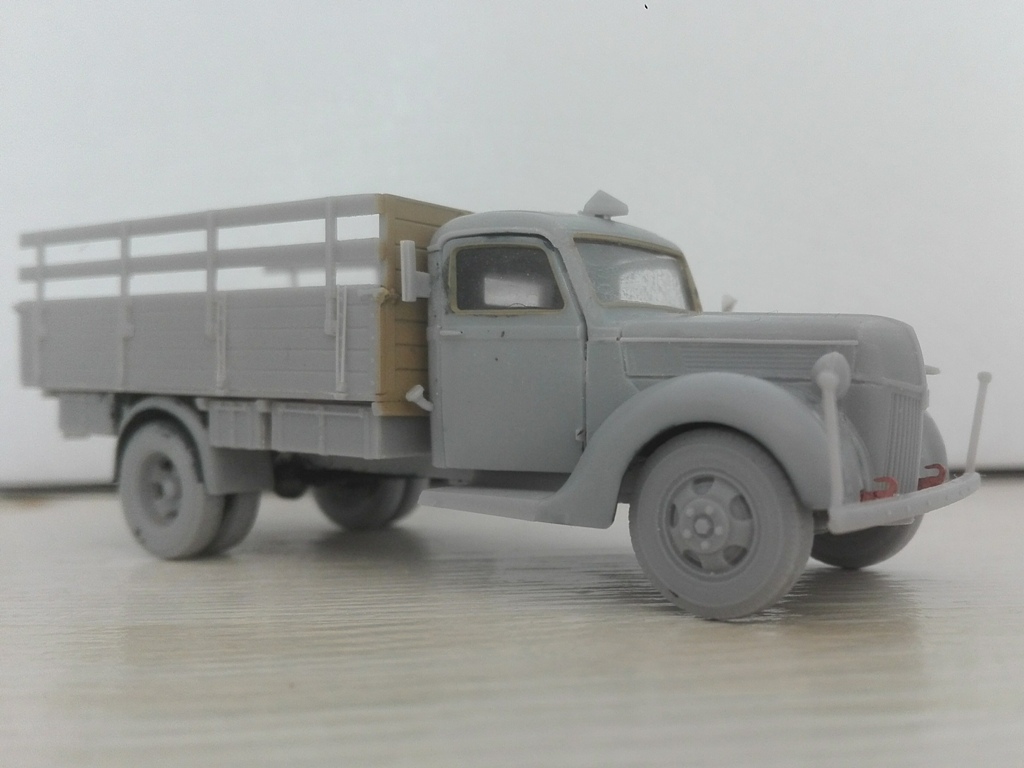
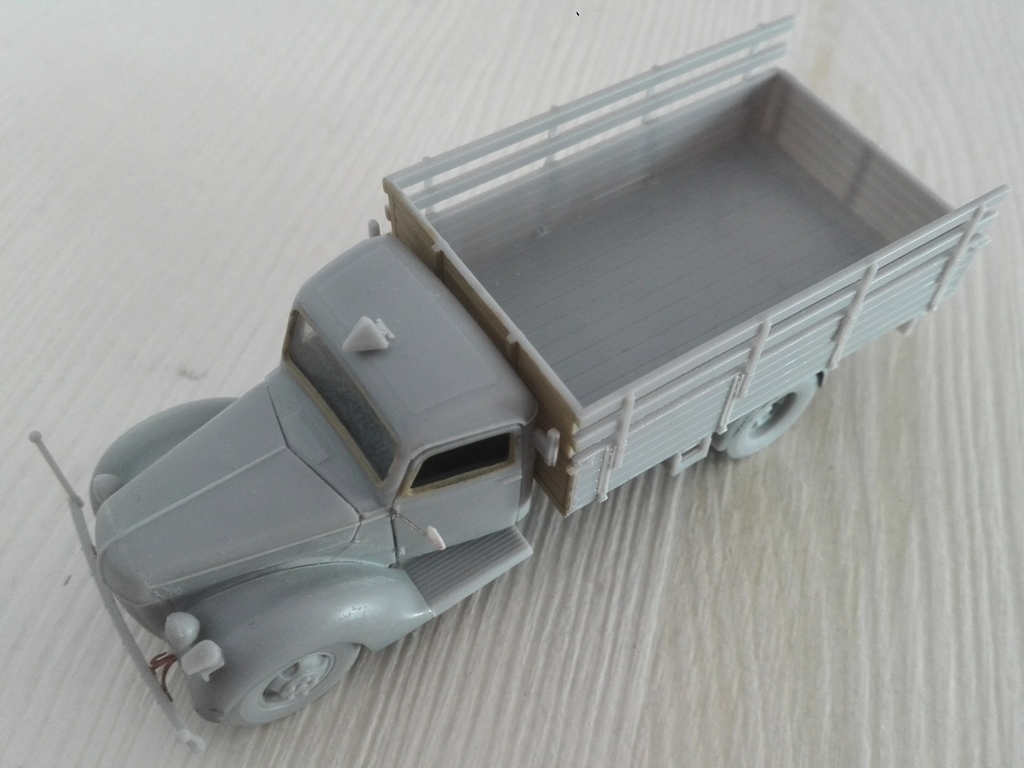
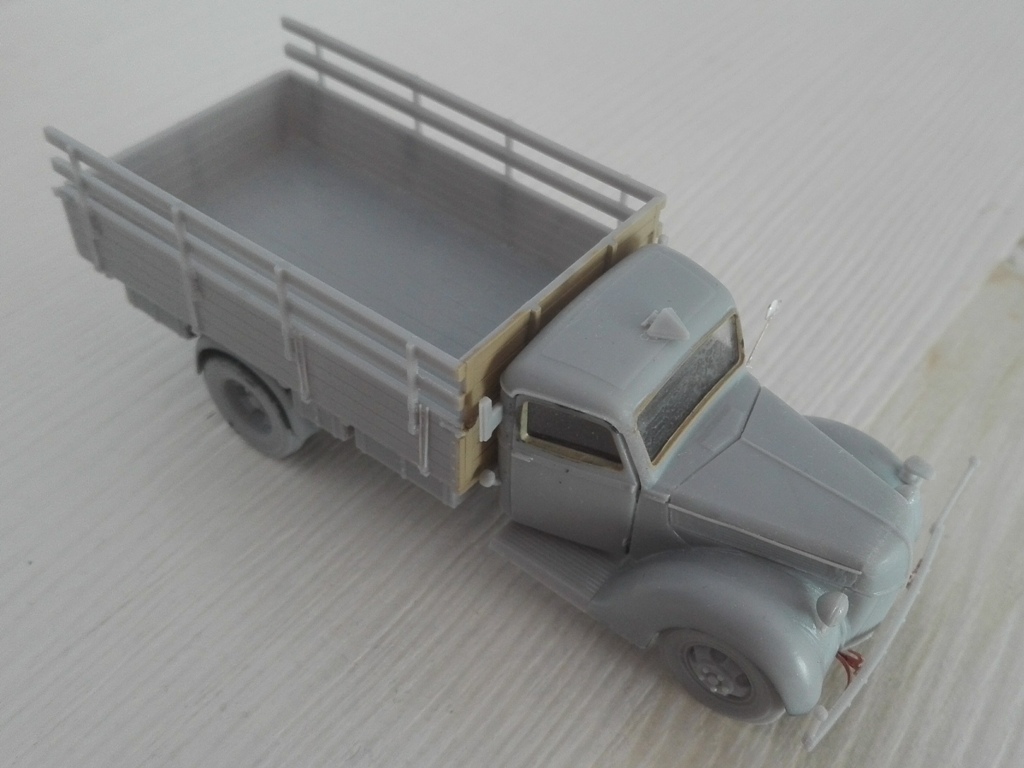
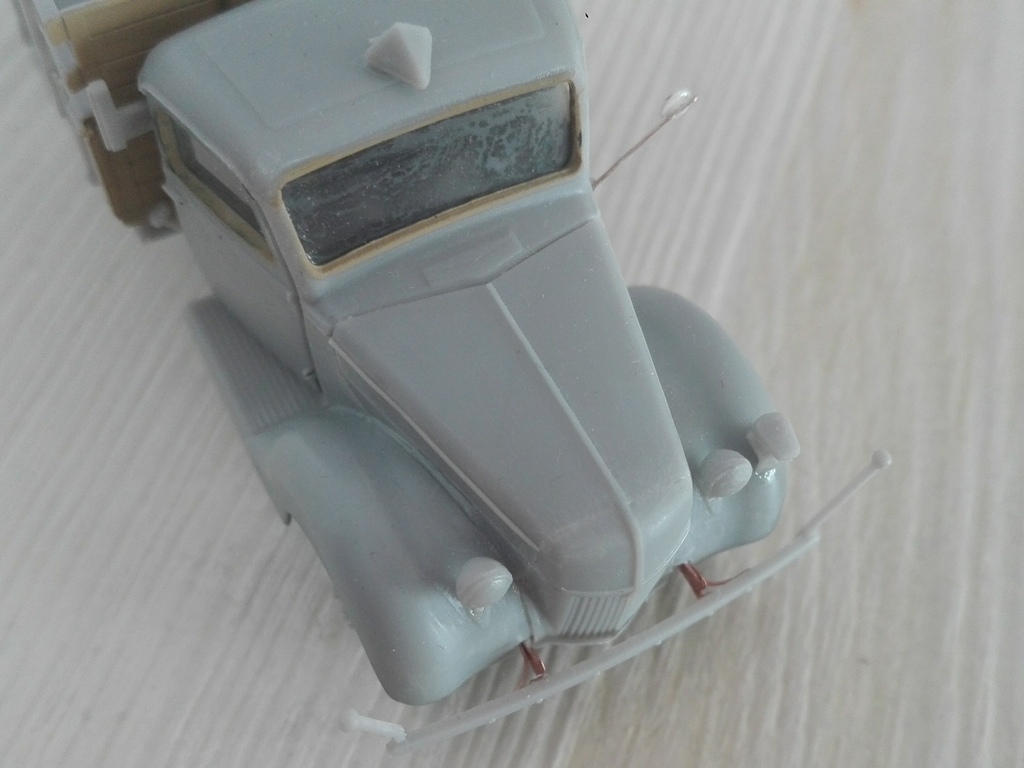
| Ford trucks equipped not only the Allied military forces. In Germany there was a production plant that produced not only civil trucks but also military ones, it is the case of the 4x2 G198T aka V3000S. Its Ford code wasn't casual, it identified the vehicle in this way: G - place of production (Germany) 1 - year of model design (1941) 9 - engine (V8 3.9L) 8 - wheelbase (158") T - truck. There was also a 4x4 variant, the V3000A (G198TWA) which anyway had a completely different look because its "cab over engine" layout. Aside from the V8 V3000S/G198T, Ford also produced the sister G188T/B3000S, a four-cylinder truck which was exclusively made for the civilian market. Other Ford plants produced the 198T truck type. Some Belgian, Dutch and French built 198T's went in German service as beute vehicles. Belgian and Dutch Ford built 198T's can be recognized by the split windshield, while the French ones had a single piece glass as well as the German-built. However, as far as I've found, French-built 198T's had a larger cab (and windshield) and there was a well visible gap between the bonnet and the doors. Differences can be found on the flatbed body style too. Other minor detail differences look to have generated some confusion about the correct identification, as can be seen in some restorer forums. If one is depicting a vehicle from a period photo, a correct identification is compulsive to have a correct model. The ACE kit depicts a German-built truck. Three light grey plastic moulds (B and C are moulded together) have a lot of small and detailed pieces, some of which will remain unused being made for the sister truck G917T. Here and there, very small flashes need to be sanded off while my kit is sink marks free. A small PE fret has the thinner details. Transparent parts are given in a little sheet, with the shape of the pieces ready-printed to be cut. In the instructions there are the templates too. Generally the impression is very good, nothing comparable to another ACE truck I made, the Renault AH which looks to be made by another kit brand. Instructions are strangely printed in green colour. They don't give a detailed sequence and the modeller is quite free to find its own way to assemble the kit. During assembly, it resulted in some confusion in some points, reporting the incorrect piece number or not mentioning that a couple of pieces, identified by the same number, are not identical but one is right and one is left (see text). Speaking about the G198T, some minor variants were introduced during production. I didn't find a dedicated text, so I used generic books and sites and a restorer site. A V3000S walkaround is here, but it is a G398T model (see below). On the basis of the little info and the photos I found, not having an official timeline, to ease my comprehension of the production variant I divided the V3000S in three fictional batches on the base of the differences notable in 1/72:
Batch 1 - from 1941 to early 1943 early production : a "S" letter was on the radiator grille; the front lower edge of the engine bonnet had a lip-like moulding; mid production : the "S" letter was discontinued; late production : the lip was discontinued. On some war-weary trucks the rear fenders are missing. I did not understand whether they were not replaced or already discontinued during production.
Batch 2 - from early 1943 early production - a simplified front fender type was introduced, the rear fenders were discontinued; mid production - a new front bumper was introduced made by a squared section and endings; late production - the headlights were replaced by a smaller type.
Batch 3 - from late 1944 a new squared cab made of wood and fibreboard (Holzfahrerhaus) replaced the sheet steel made one.
In late 1943 the G398T type was introduced. It had the late G198T features and additional ventilation slots on the engine bonnet. The kit has both fender types, the larger headlight type and no lip on the bonnet. This means it allows to depict without intervention a truck of the late batch 1 or an early batch 2 (using my fictional nomenclature). The "S" letter and the lip on the bonnet could be added quite easily, while the squared type bumper looks to be very easy to do using plastic strips. The smaller headlights, if not available in the spare parts box could be made using the sprue. Also on the V3000S some closed bodies were used, widening the modelling option range. About the dimensions they look to be well respected, being just a fraction of millimetre short and wide.
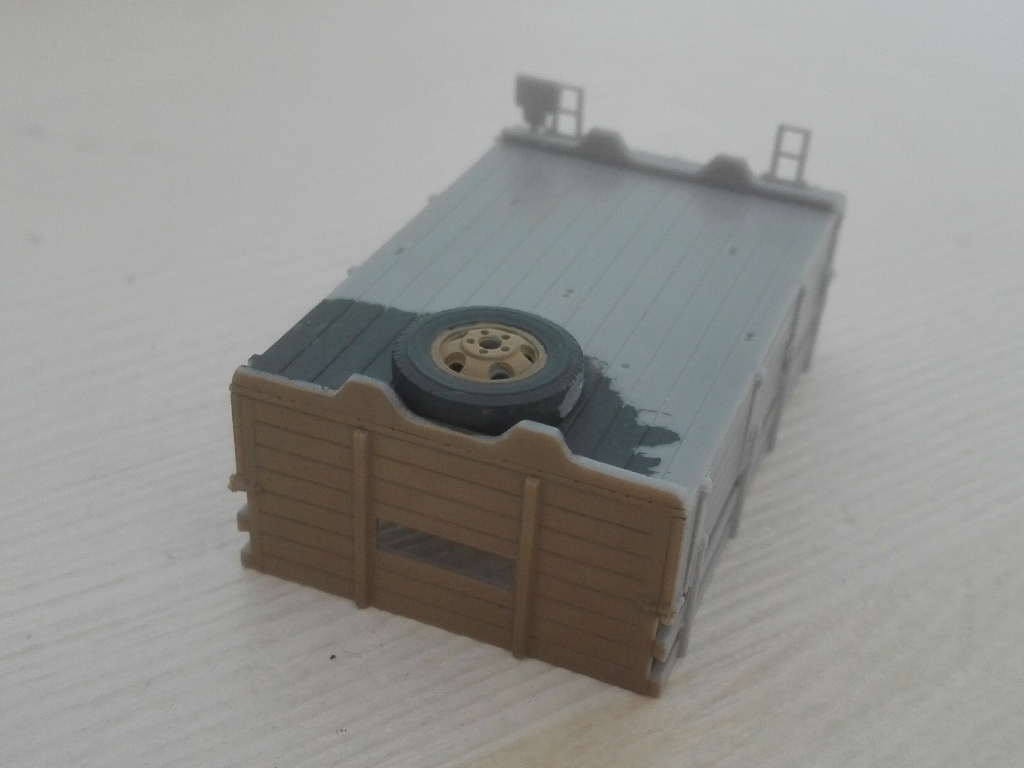
*= 29.5 top of the cab, 30.1 top of the body. After having considered which variant to make, I chose a late variant of the first (not official) batch. If one wonders why the belly is dark grey and the sides are sand yellow, this is because it depicts a late 1942 truck repainted at the unit workshop in 1943.
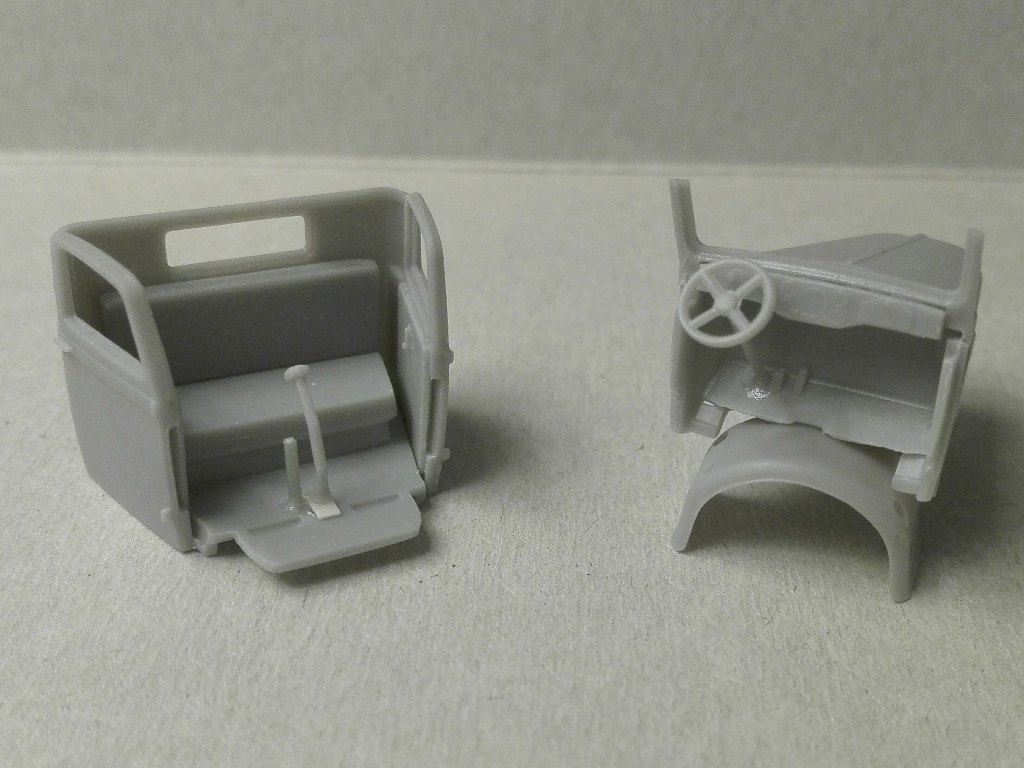
Cab
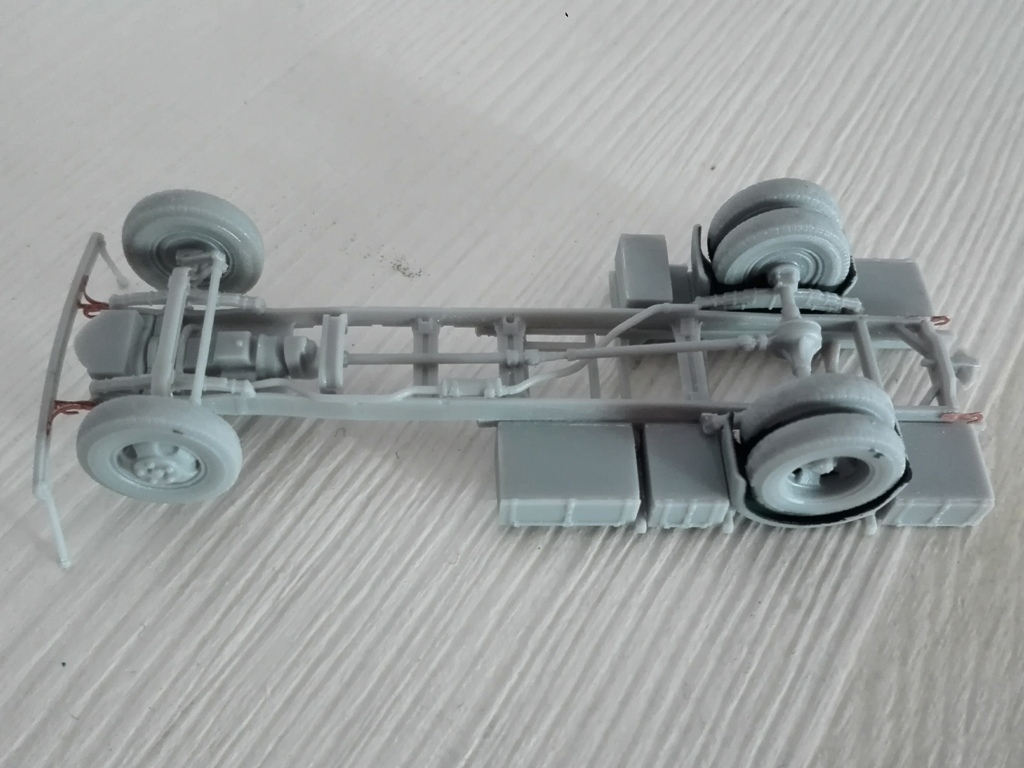
Chassis
Decal Four trucks are depicted, three in German colour and a Russian war booty. Three of them can be seen on the ACE site; about the fourth (Pol-144546) I could not find its photo, or I did find it but the plate is not readable. A nice touch is given by the instrument panel.
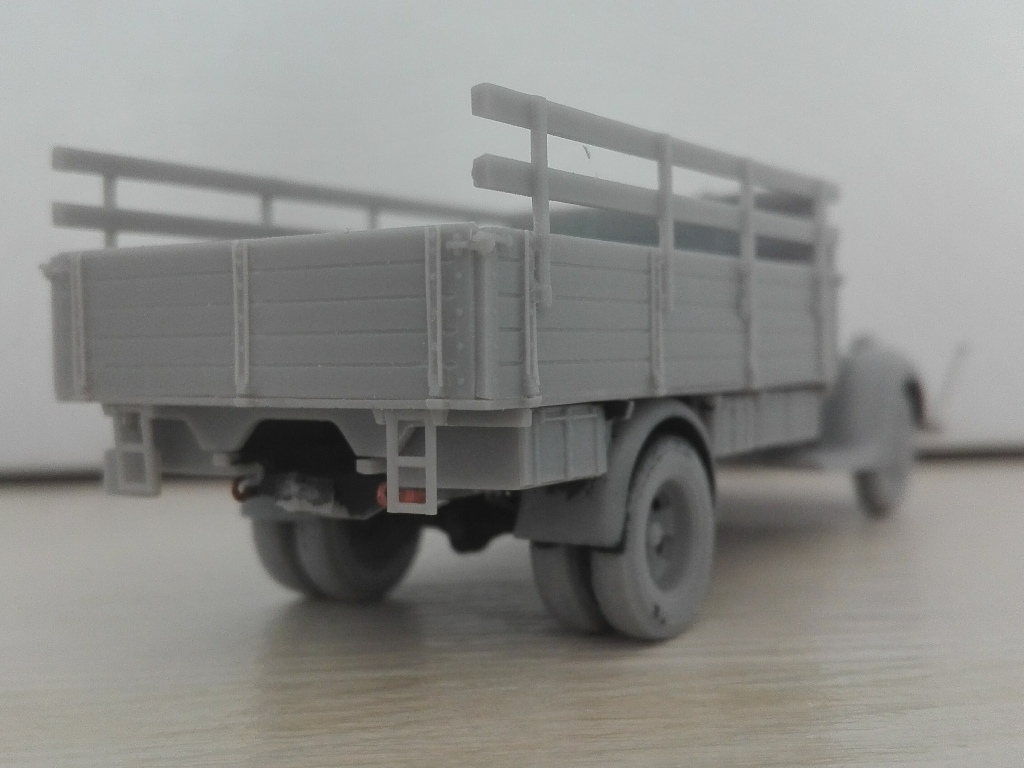
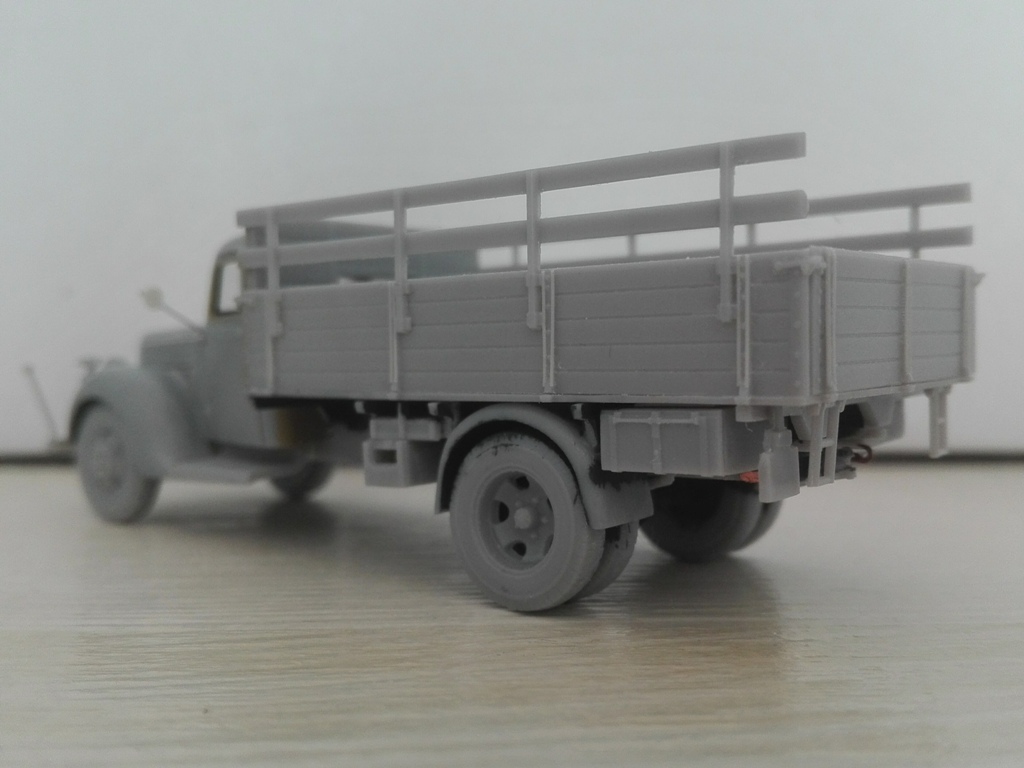
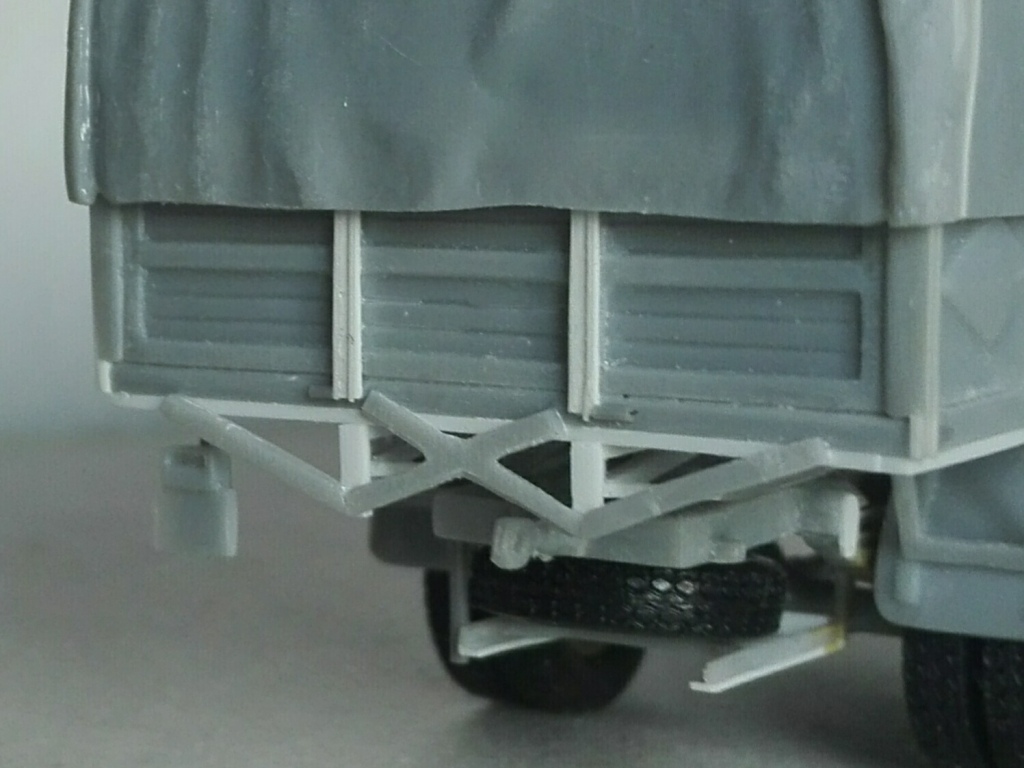
Conclusion It looks
to me a well done kit which required very little intervention. The
only real correction I had to do was on the body bottom frame and
hinges. I bought it after having read some comments in a forum where
the other V3000 kit available on the market (by IBG) was described
as problematic (and after my former experiences I can not exclude
that). After having assembled the kit it seems to depict the original
shapes well. I would have just preferred a deeper engraving of the
bonnet louvers. A very good touch is the presence of the original
trucks photos depicted by the decal set on its page of the ACE site.
A thing every model maker should do.
Preview sample purchased by the author.
Ace
products are available at
|
| Back to Ace List | Back to Construction Reviews List |
Article Last Updated: 29 March 2020 |
Back to Home Page |
