|
|
|
| Article
by
Marc Mercier
|
|
|
|
|
| Article
by
Marc Mercier
|
|
This technique is seldom used with braille scale models, but once you start superdetailing or scratchbuilding models, it certainly can have it uses. Soldering is an excellent way of obtaining strong joints between metal parts, especially those connections that are impossible to achieve (or could never be as strong) with glue. However, there are a numbers of disadvantages, the biggest of them being the fact that it must be done before the metal parts are glued onto the plastic model (which would inevitable melt!), which makes good planning necessary. |
|
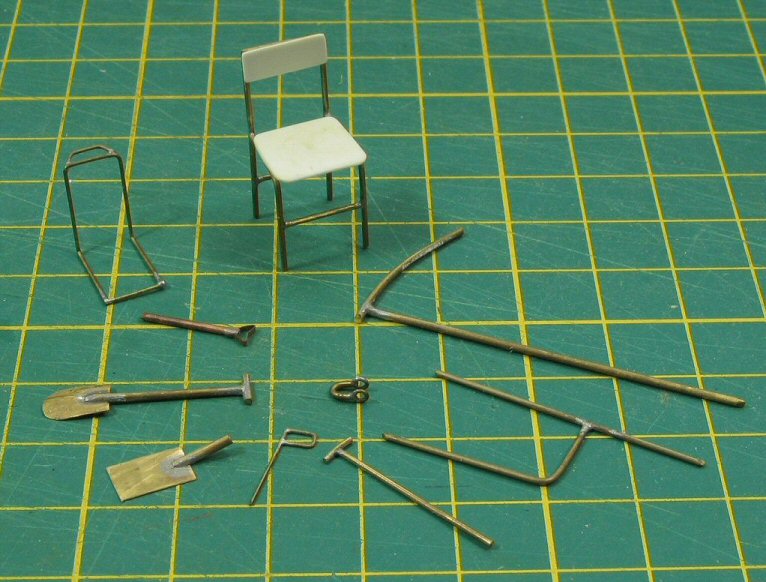
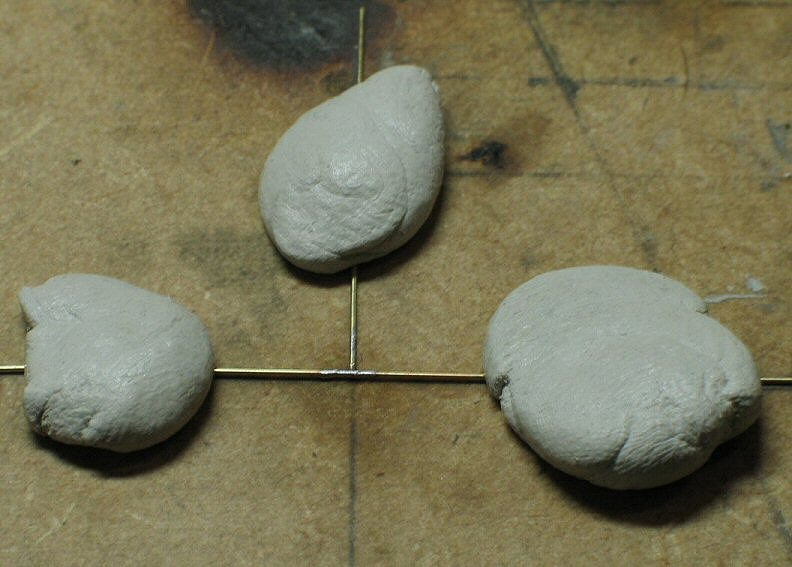
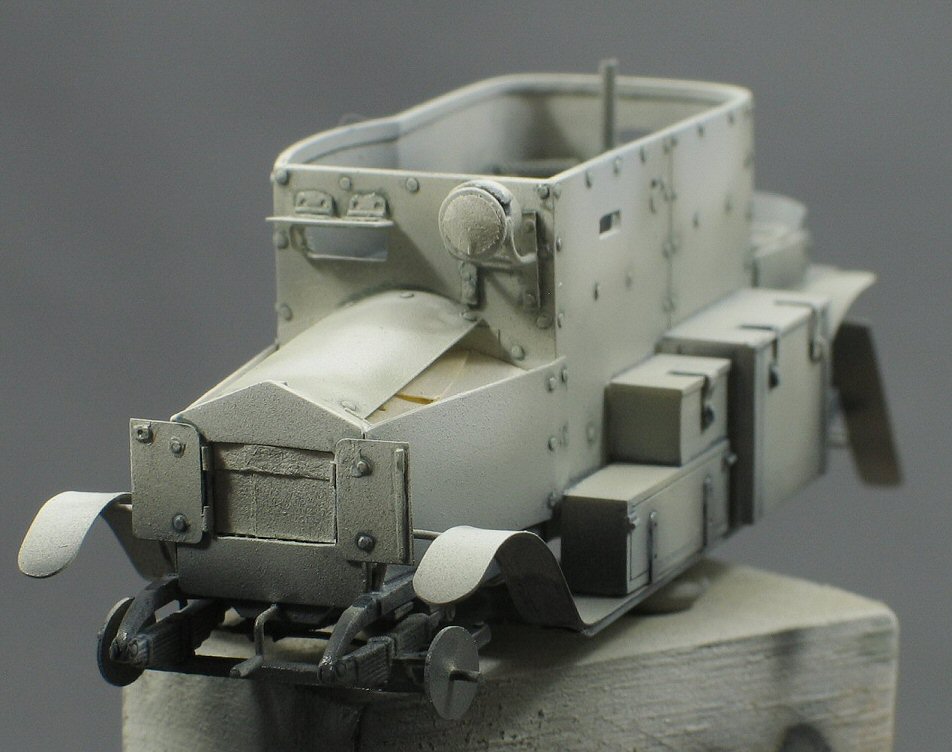
Here you see a number of examples, some parts which I made using solder and heat, in scales ranging from 1/35 to 1/72. |
 |
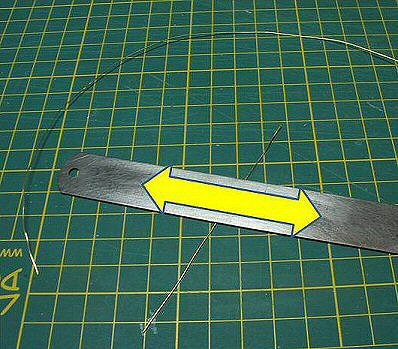
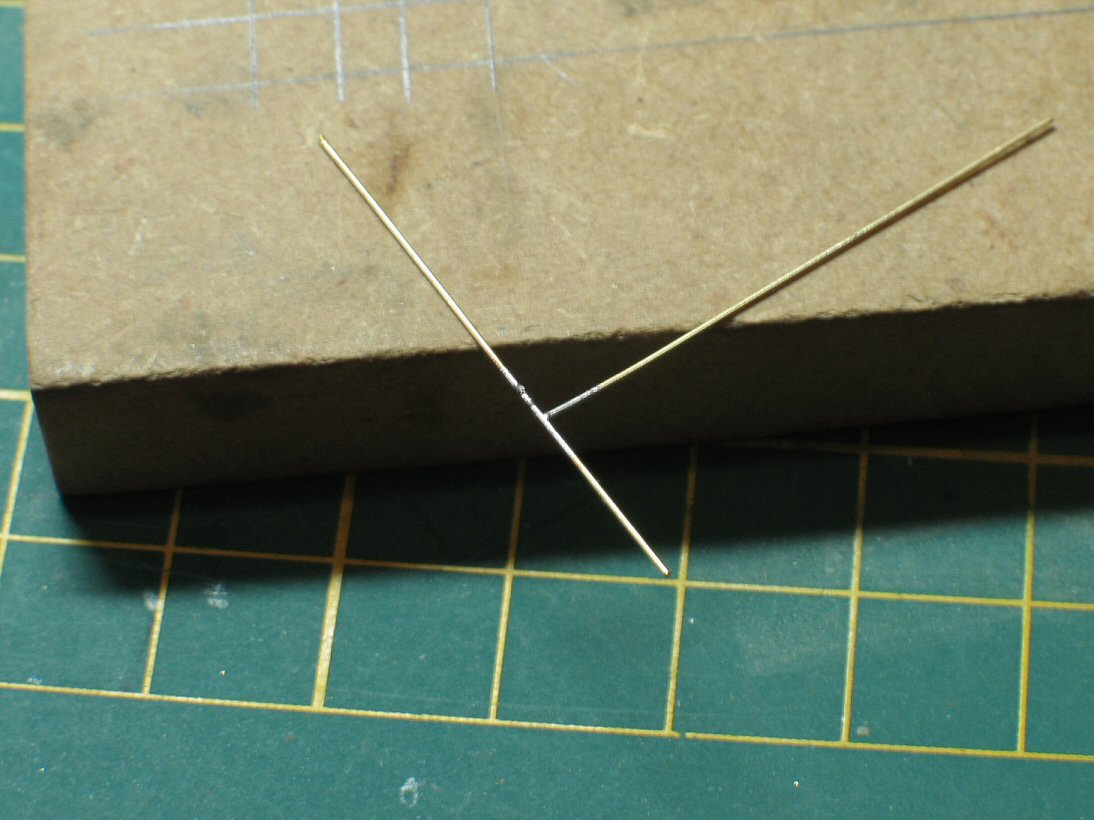
As an example, I'll make a construction using some thin copper or brass wire. This is available in several thickness; for Braille models, I mostly use all sizes between 0,2 en 1 mm |
 |
These
wires are invariable sold in coiled form. |
 |
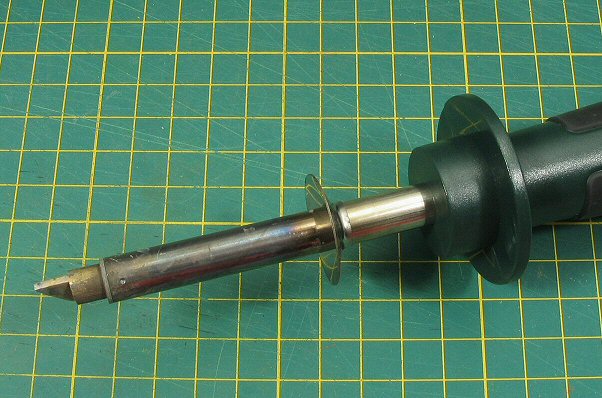
What do you need next, besides a good soldering iron (I use a simple 30 Watt iron with a sharp point) ? |
 |
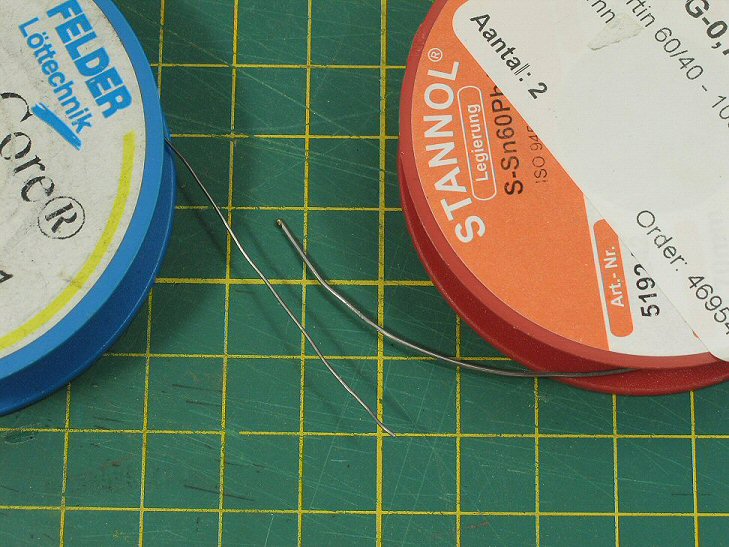
Some soldering tin, "flux" acid paste (available as solder fat or liquid) and Pritt Multi Fix (which is a European variant of Blue Tack). |
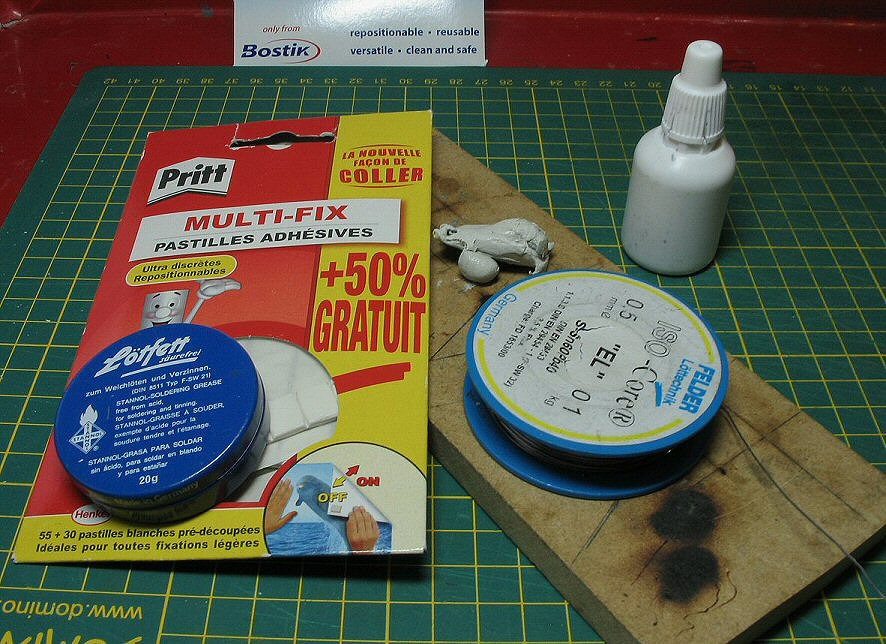 |
DIY shops sell different types of soldering tin, ... |
 |
... but I always look for the finest wire available (my favorite is 0.5mm thick, composed of a 60%tin/40%lead alloy). |
 |
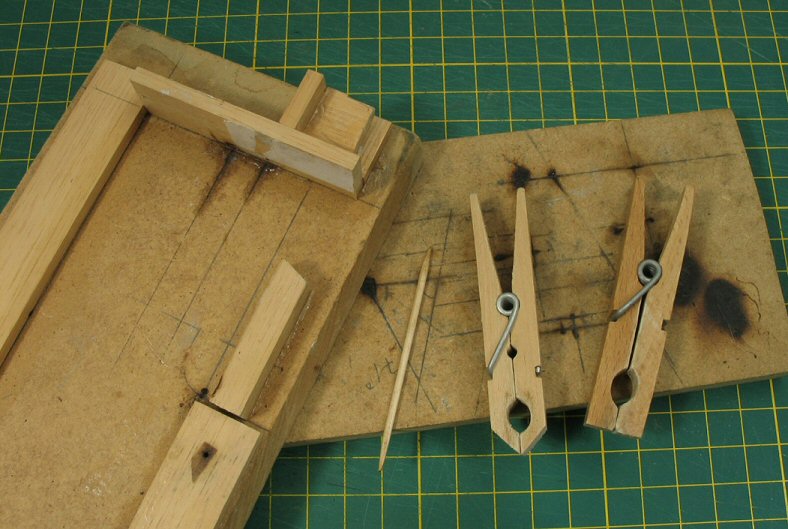
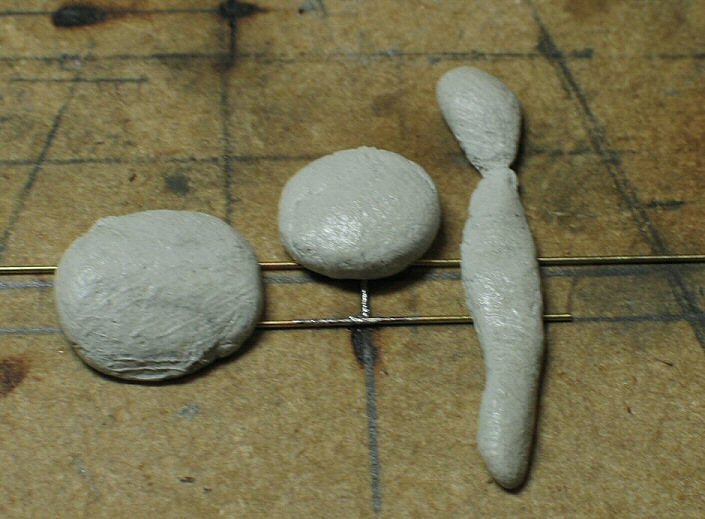
You
also need a small wooden block, a couple of toothpicks and clothespins
to protect hands and table against the heat. I adapt the ends of the
clothespins by cutting of some wood to obtain a better grip. |
 |
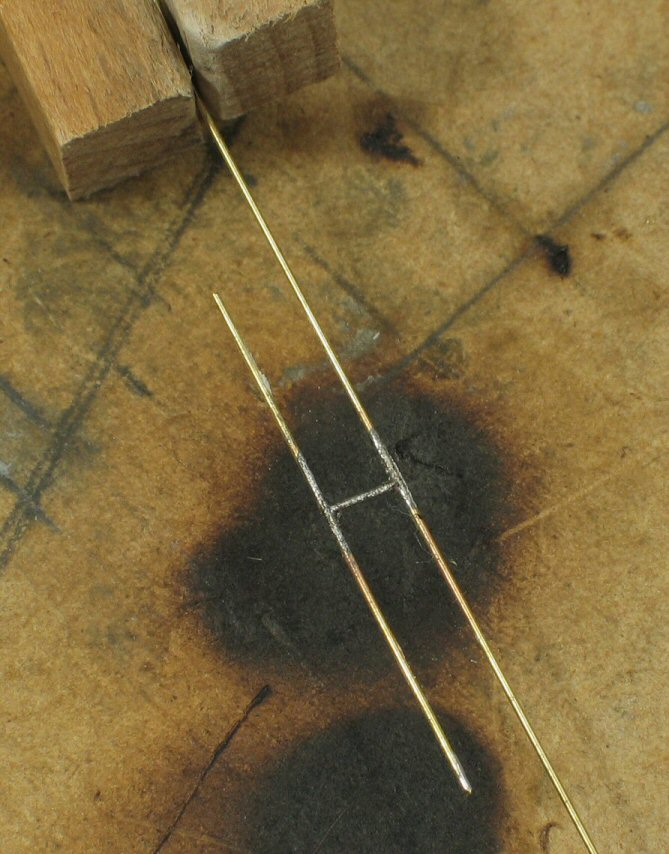
To demonstrate my method, I'll solder a vehicle light support, connecting three wires into a letter "H" Before starting, a word of caution, a soldering iron is hot (200 to 300° C, 400 to 570° F), so use it wisely! The first tip I'd like to share with you : if possible, always cut your brass or copper wire longer than needed! This makes it easier to emplace the (often very small) pieces in the correct angle or position before adding the solder, making your end product much better. |
|
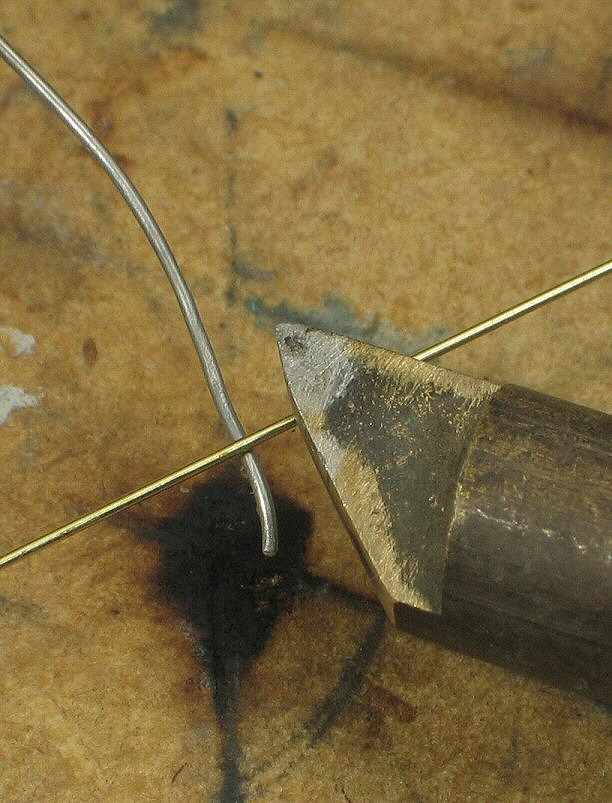
If feasible, you should always "pre-tin" your wire by melting a thin coat of tin on the connecting points. This will make the soldered joint stronger. How to proceed? First, put a bit of flux on your wire, ... |
 |
... then bring the wire in contact with the solder. Next, let the preheated iron touch the wire, as closely to the solder, but not into it. |
 |
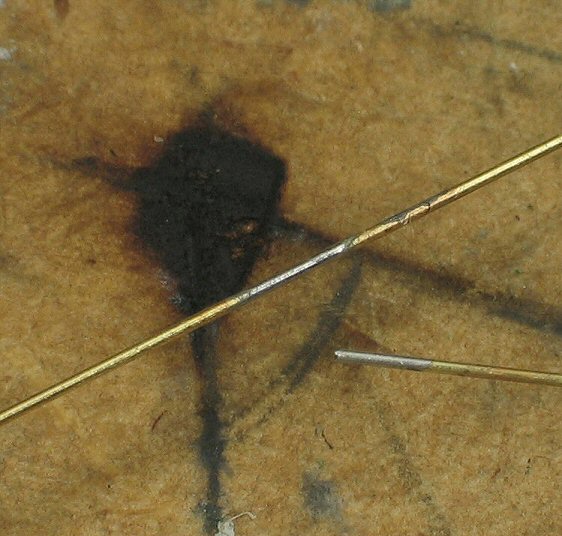
The soldering iron should heat the wire until the latter reaches the melting temperature to make the tin flow and fix itself onto the greased wire. A mistake commonly made is to touch the tin with the iron, thereby melting the tin but without the wire having the desired temperature which will result in a weaker joint. Remember : liquid tin has a beautiful shine, cold tin is matt. As soon as the wire has a nice coat of tin, gently remove the iron from it, which will make the tin turn matt. Repeat this with the other wires, the result should look like this : |
 |
Once all the wires properly tinned, we can proceed with the next step. Using the Blue Tack, both wires are immobilized in the correct position on the wooden block. |
 |
Apply a bit of flux where the joint should come. Once again, let the soldering iron touch one to the wires as close as possible to the fat (but not in it); After a few seconds, the tin present on both wires will become liquid and merge on the greased connection. Taking away the iron will harden the solder.
Check the result and if satisfying, carefully start removing the Blue
Tack. Should this putty be difficult to remove, by gently pressing
another small ball of Blue Tack onto it, the remaining stuff should
come loose. Always try to avoid exercising strong pressure on the
joint, e.g. when filing away some surplus solder. |
 |
Now we can start connecting the third wire. Cut the perpendicular wire to the desired length. Pre-tinning the remaining short end is impossible, because the heat could also dissolve the connection we’d just made. The new wire however will get this treatment. Once again, immobilise everything in the desired position on the wooden block using Blue Tack. Also put a bit of putty on the previously connection made; this will drain some heat away from these wires, preventing that connection to come loose. However,
make sure your iron will have free access to the third wire. |
 |
Next, follow the same procedure : apply grease to the new joint and let the iron shortly touch the third wire until the tin connects with the short wire. Remove the soldering bolt and inspect the result. If OK, remove the surplus tin with a metal file or abrasive paper. Take care not to remove the tin in the joint itself, otherwise you’ll have to start all over again. Once the clean-up terminated, you can cut every wire to the correct length. |
 |
This image shows the work piece installed on the model, waiting for its light to be added... |
 |
... and then with the plastic light glued onto it. |
 |
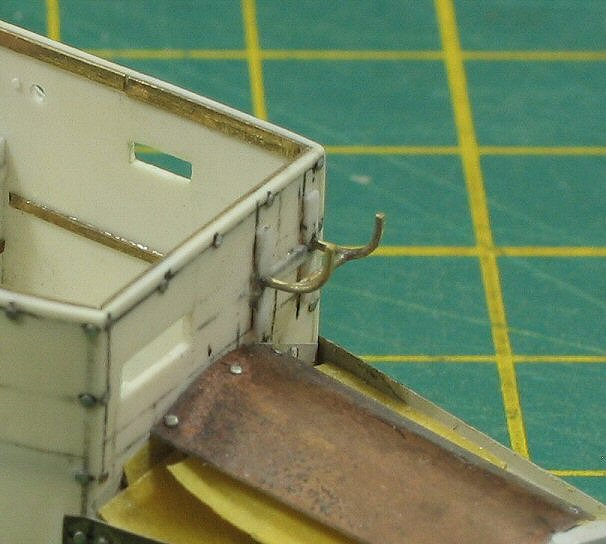
Another example of the soldering technique to get stronger mudguards |
 |
One final tip, soldering goes relatively fast once your iron is hot, so why not make a couple of work pieces more than needed? Then you can choose the best one and thus get a better model.
Happy
soldering… |
 |
| Back to Articles Page |
Back to Home Page |
Article Last Updated : 19 July 2015 |