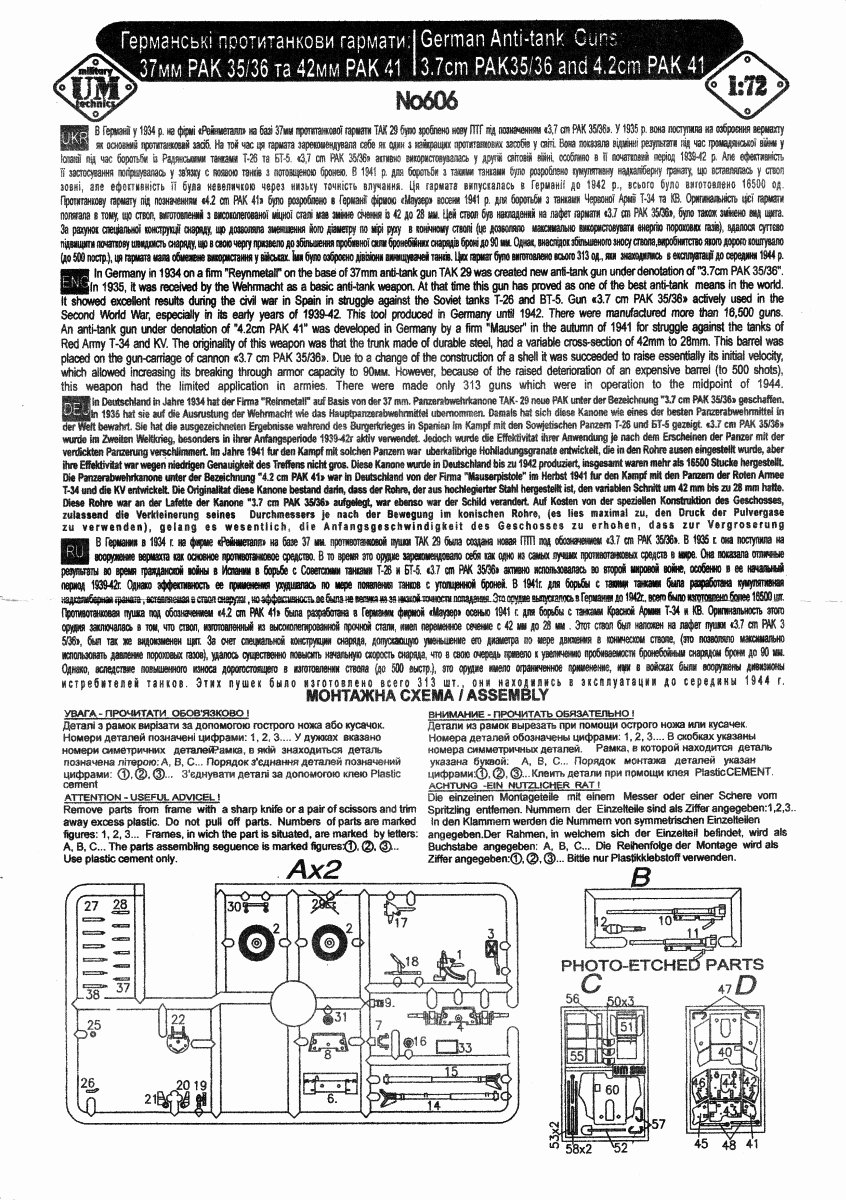
|
A Brief Description
From [4]:
"The 4.2 cm Pak 41 was a light anti-tank gun issued to German airborne units in World War II. This gun was externally similar to the 3.7 cm Pak 36,
and used a modified version of the latter's carriage, but used the squeeze bore principle (in German called Gerlich after Hermann Gerlich who developed
the principle in the 1920s, reportedly for a hunting rifle) to boost its velocity, and hence armor-piercing ability. The bore had a diameter of 42 mm at the
chamber, but tapered down to 28 mm at the muzzle. Production was terminated in May 1942 after the delivery of 136 guns. By November 1944, 41 remained in service."
The squeeze bore design gave a muzzle velocity of 1,265m/sec which was substantially higher than other conventional anti-tank guns in German service.
The small production run was the result of the use of tungsten for the core of the shot. As the war progressed, shortages of tungsten which had more important
wartime uses than that of ammunition, led
to the cancellation of replacement guns as they wore out.
|
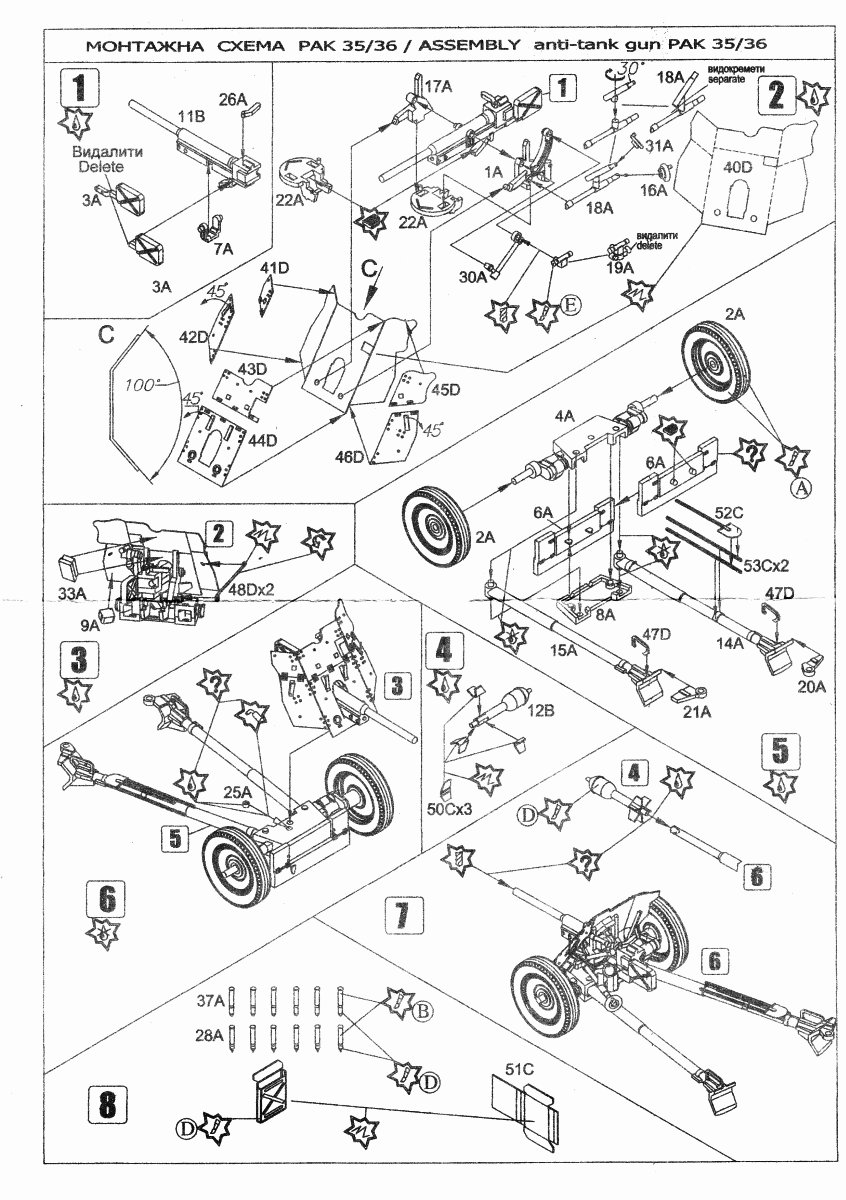
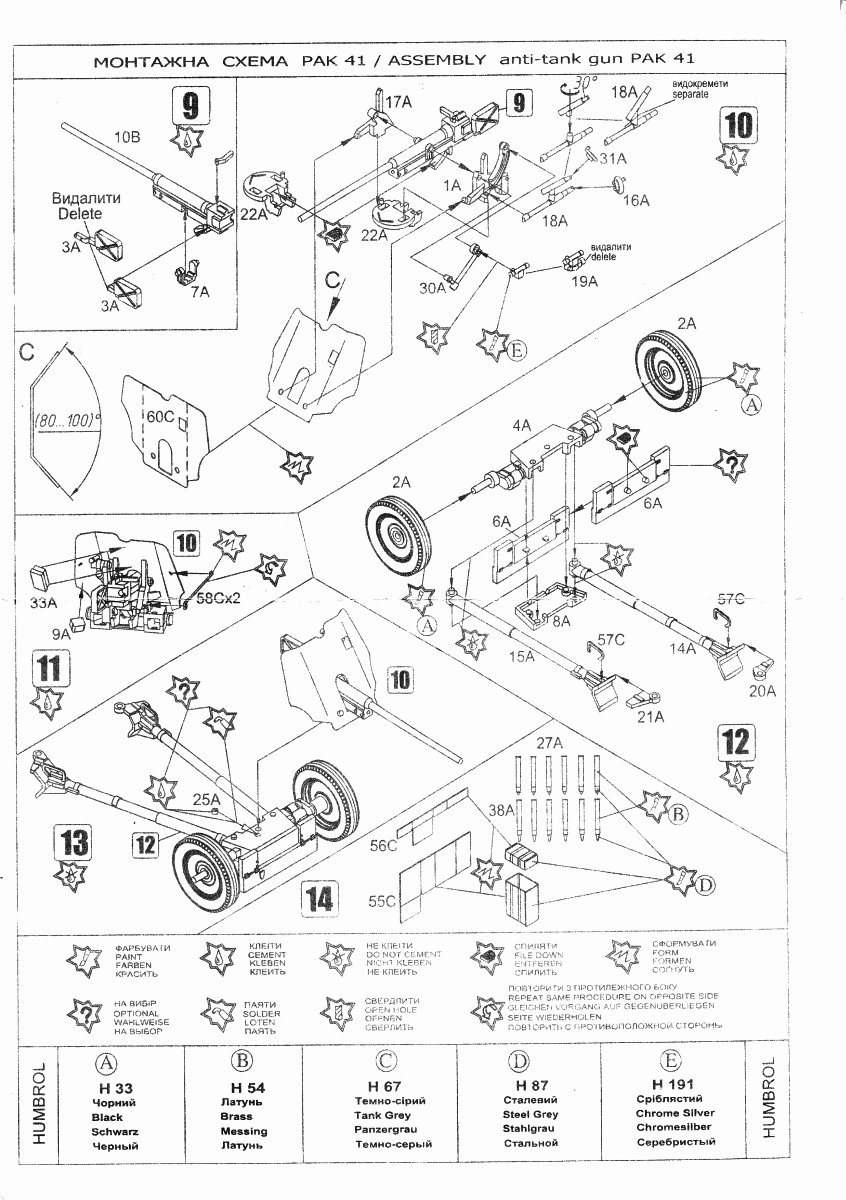
UMmt kit (kit no. 606)
Overall I feel that both the 3.7cm Pak35/36 & 4.2cm Pak41 are mediocre at best. The best part of the kit are the ammunition rounds,
especailly the Stielgranate 41.
For both guns the shield comes
as etched copper. The Pak35/36 has
the shield built up in two layers - a full sized featureless layer, which to the face are added individual panels to provide the detail. Unfortunately these
panels leave seams
that are not found on the real gun and will require filling. With no etched panels for the rear of the shield it is devoid of detail.
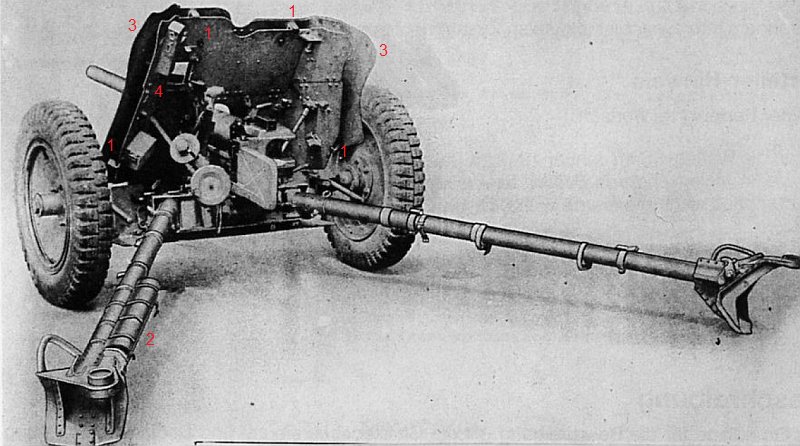
The Pak41 was designed with an extra spaced armour shield that was
fitted over the original Pak35/36 shield (red 3 in the top reference pictures at left).
Unfortunately UMmt only provides the outer shield and to further compound the error the shield they do supply is much too small and incorrectly shaped.
One could attempt to replicate the spaced armour by sacrificing the etched shield intended for the Pak35/36 for the inner portion, and place the Pak41 shield on top,
but the result will probably not look
proper as both shields are about
the same size. This would probably result in having the edges of the Pak35/36 shield sticking out from behind the outer shield.
For both kits the trail legs are molded with a step that should not be there. This step is a result of UMmt's desire to get the maximum different kits from their
molds. They have used the same sprue (numbered 409A) for all of their Russian guns (kit nos. 409 & 605) and for their German Pak35/36 and Pak41 set.
This step represents the extra reinforcing
added by the Russians to the legs of their 45mm anti-tank gun Model 1942, which is as far as I know the only gun to have this reinforcement. For all the other guns it
not present, and thus it
should not be on the trail legs of the Pak35/36 nor the Pak41.
|

|
|
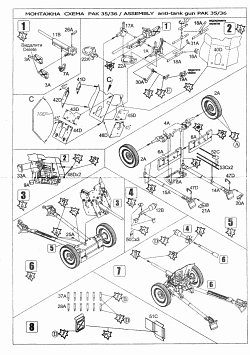
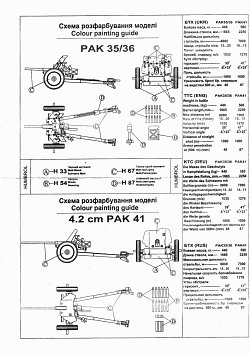
(Instructions for UMmt kit 606 above)
|

|
Building a better 4.2cm Pak41
The base kit for this conversion is the Dragon 3.7cm Pak35/36 (see my review here) with 4.2cm Pak41 donor parts coming from the UM/UMmt kit.
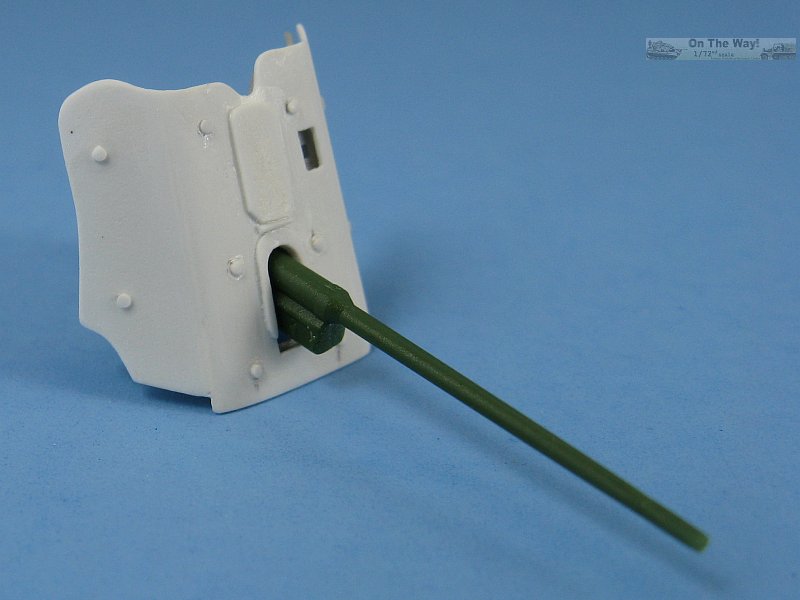
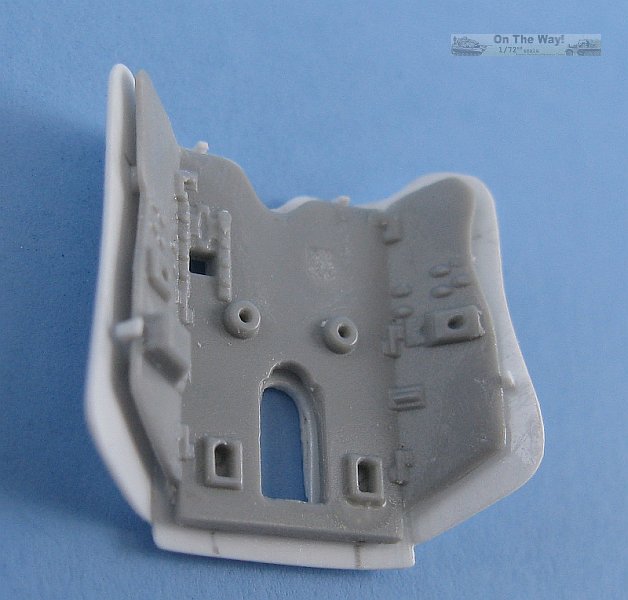
Without a good shield a new one needed to be built. The top left picture shows the etched copper UMmt shield next to my plastic sheet
replacement (before the extra cutouts were added). As you can see my shield is larger and
has the scallops seen on the Pak41 reference pictures above. Also added to my shield is the center line panel that runs from the gun tube to the top of the shield as well
as the U-shaped reinforcement around the upper portion of the opening in the shield for the barrel.
The two lower left pictures show the rear of my new shield (light grey is the Dragon shield). As you can see there is now a
gap between the two shields.
To get the separation I first sanded all the
detail from the face of the Dragon Pak35/36 shield, to which thin plastic strip spacers were added along the vertical edges of the center portion,
and sections of round rod added close to the edges. These provided the necessary
gap between the two shields. To help the new shield fold around the Dragon shield vertical lines were curfed into its backside and then the front shield
was glued in place in a two step process - first the central portion, and once completely dry, then the outer panels. On the real gun the front shield is clipped
into place over top of the standard Pak35/36 shield ( you can see the clips, marked as red 1 in top reference picture). The clips were
represented by small U-shaped plastic channel with one of the arms of the U clipped off.
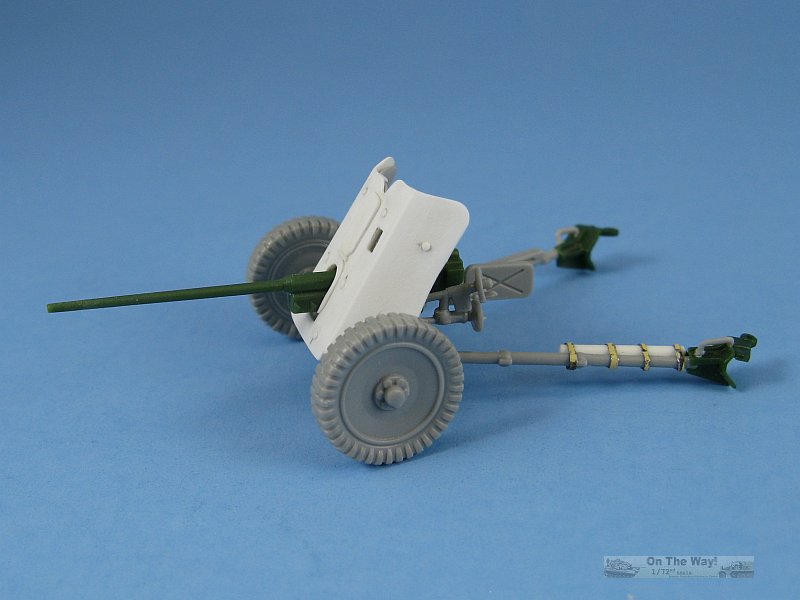
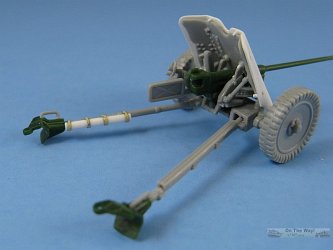
To get a proper trail leg for my Pak41, I used the corresponding Dragon parts and replaced the poor Dragon spades with the spades
cut from the UMmt legs.
The final major modification was the "behälter für reinigungsgerät" (container for cleaning device (red 2
in top reference picture) as seen in reference [1]) to the left trail leg. This was a small length of plastic rod with lead foil straps.
|

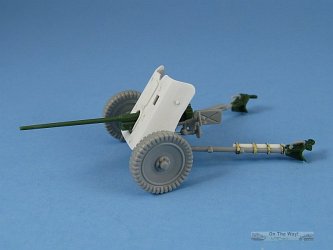
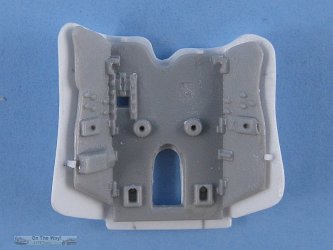
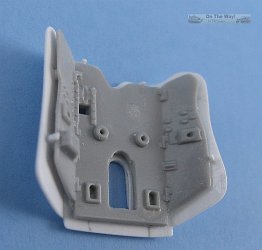
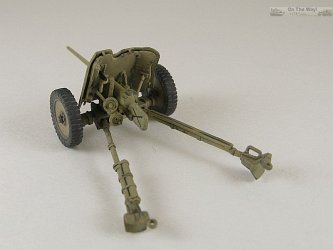
The above photos show the completed model before painting. The left most picture has the gun shield with the semi-circular cutouts. The green parts are from the UMmt
kit, the light grey from the Dragon kit, and the white are scratch built.
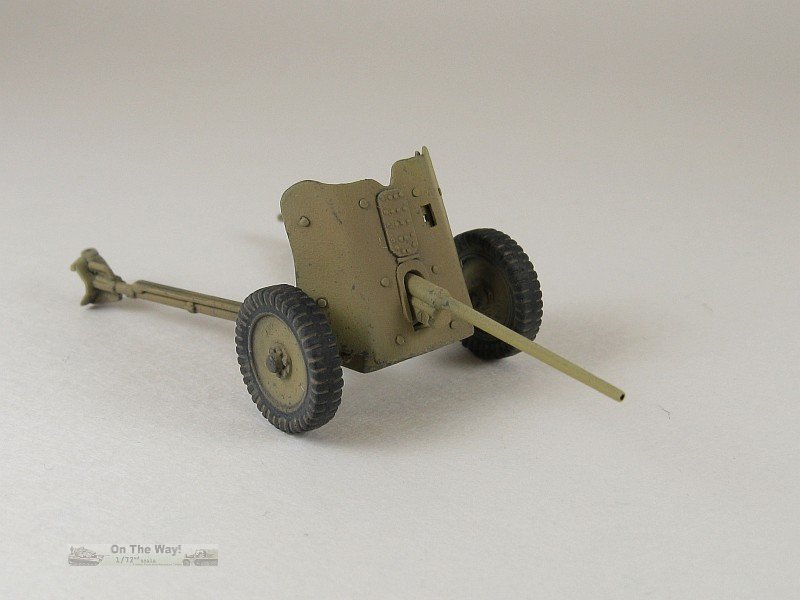
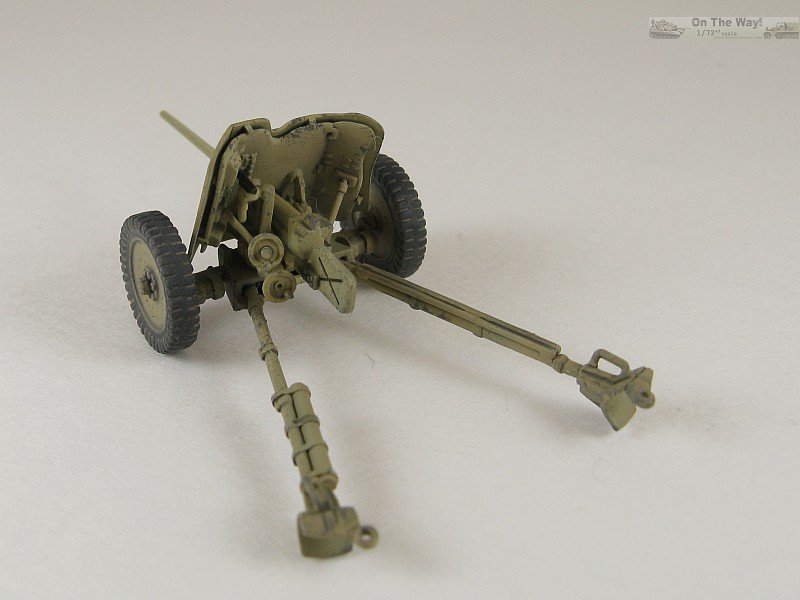
So there you have it. A model of an uncommon German anti-tank gun, that's a definite improvement over the UMmt kit. It's a comparatively
easy conversion with the making of a new two-part shield being the most difficult part.
References
[1] Waffen Review Band 75, Oct.-Dec. 1989, Journal-Verlag Schwende GmbH, Schwäbisch Hall, Germany p.95-120
[2] kingtigerebooks.co.uk
[3] axishistory.com
[4] wikipedia


Dragon & UMmt products are available at

|