UM

T-34/76 Model 1940 w/F-34 gun

Kit #: 337 Review by Marko Mäkinen - mtm66pz(at)yahoo(dot)com
Edited by Al Magnus

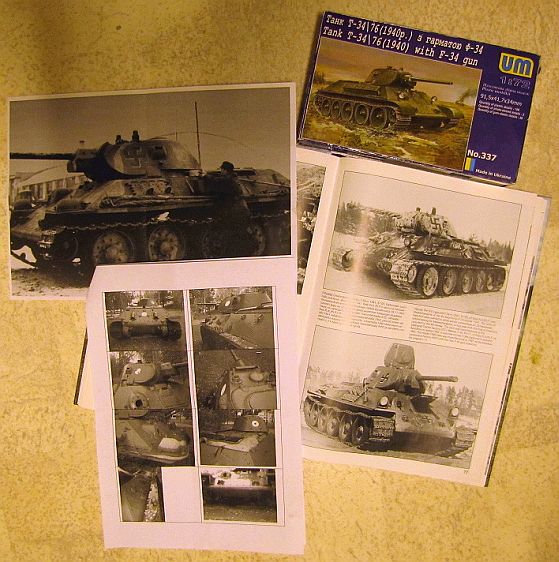
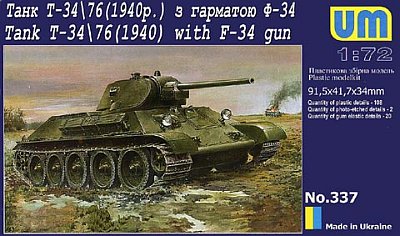
The Kit

Kit number 337 by the Ukrainian manufacturer UM depicts an early T-34/76 variant with the main gun upgraded to the F-34 cannon. Finns captured two T-34s of this 1940/41 type during the autumn of 1941 and subsequently used them against their previous owners. The UM kit in question appears to be the most suitable kit to depict these two Finnish vehicles. The actual vehicle I chose to replicate was manufactured at the HPZ plant in Kharkov, and this particular vehicle still exists. It can be seen here in its current outfit (note that some post-war alterations have been made) at: http://www.andreaslarka.net/ps231003/ps231003.html

I rarely measure my kits, and I did not do that this time, either. According to other reviewers the UM kit is very accurate dimension-wise and measure-wise and the details are not far off, either. The kit looks the part according to photographic reference, is molded neatly with nice details and no flash and it comes with a small PE fret and decent instructions, so I had no reservations accepting it as a starting point. The material is good, not too brittle and responds well to cutting and sanding. The decals are of impeccable quality, but as they covered only Russian subjects, they were useless to me.

Getting Started

I like to put some weight into my tank models, even if there are no bouncy rubber tracks involved, so I started the build by putting the lower chassis together and gluing some air gun pellets inside the hull. While the lower hull was curing there was good time to attach parts to the upper hull, like the drivers hatch, the PE ring around the MG mount and the engine intake grille. I agree with other reviewers that it might be a good idea to cut an opening under the grille to add perspective, but I skipped that. I also scribed some hatch grooves and added a grab handle on the engine deck and a handle on the rear engine hatch. A small ventilation opening on the aft of the engine deck was cut and filed out of a styrene block and glued in place. The rear armor (the block-like part in the kit) is molded far too square and benefits from rounding it a bit.

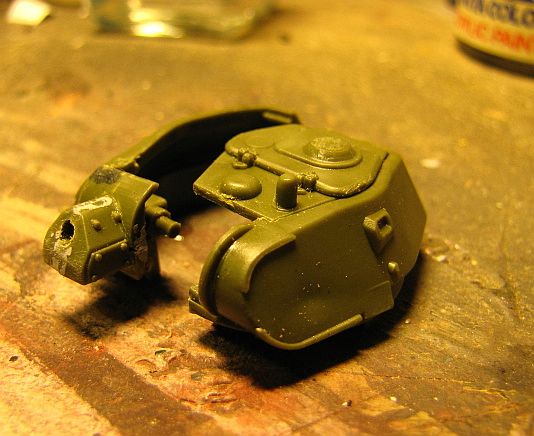
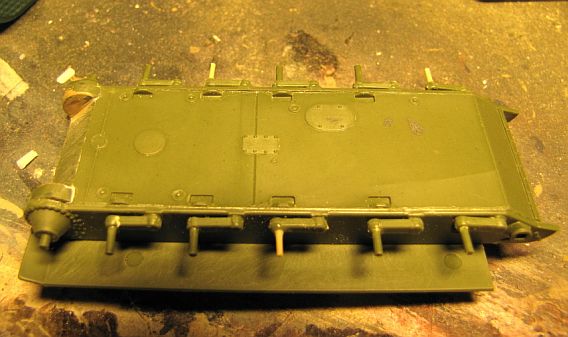
The fenders are cleverly molded as separate strips and need to be glued to the top hull before mating the lower and upper hull together. Although the fit is precise noticeable seams will be left on the full length of the sides. The real vehicles had rather prominent weld seams in these locations, so the seams ought to be filled up with putty but left a bit rough.

The kit headlights are of a wrong type for my purposes, as they should have hinged covers and be placed on the fenders instead of the front armor. I only had one appropriate cover in the spares box, so I formed another as a mock-up out of a styrene block and glued in the not-in-use position. The installation knobs for the lights on the front armor were then shaved off.

The Turret

  Building the turret is a straightforward business because the parts are simple and fit well together. The only flaws with the turret parts are some shallow dents from the cooling of the plastic on the "cheeks" of the turret. These need to be filled and sanded. Also attaching the roof top part leaves seams that need puttying. The vision ports on the sides of the turret are too tall, and could be made narrower with putty or slices of plastic. Details on the turret backside are non-existent and they need to be added by the modeller. The Finnish tanks had prominent bolts on the turret back, which I simulated with pieces cut from stretched sprue. I also scribed some panel lines adjacent to the bolts and drilled a close defense port in the back panel.

Finnish T-34s had a different periscope layout than the kit offers, and to imitate it I cut off the periscope on the commander's hatch which I then sanded flat. Another periscope was made out of stretched sprue and added on the front roof top. I also added three lift rings on the turret top made of small chain links. In addition, I wanted to enhance the look of the rectangular welded-on armour plates on the sides of the turret, and so I glued on new plates made of aluminum foil. The cannon mouth was drilled open, of course.

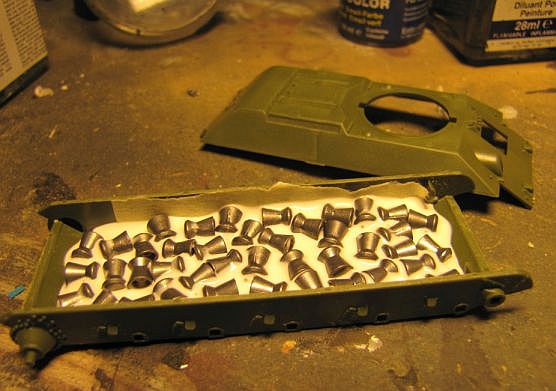
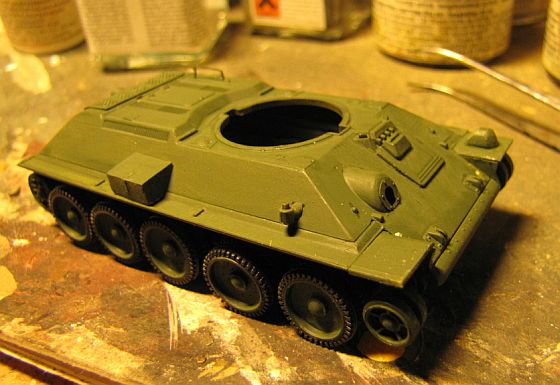
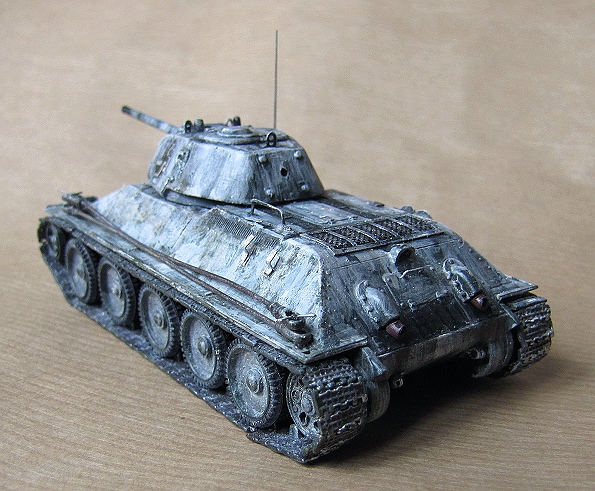
Running Gear and Tracks


The wheels have separate rubber tires, which is a smart layout innovation by UM and looks good assembled. The instructions tell specifically not to glue them on, but it might be a good idea to disobey this suggestion, because they tend to slide off quite easily. The T-34 has a simple road wheel assembly and there were no particular problems in constructing it. However, the wheel axles are very thin and prone to breaking. I had to repair four of them.

The illustration on the box cover shows the tank with older "smooth" tracks but actually the kit comes with later "waffle" style tracks. The Finnish tanks were originally equipped with the older tracks, although they were replaced later. I cannot confirm at which point this happened, and so I used the kit tracks, although this is almost certainly wrong for the intended timeline of the model. The tracks themselves are beautifully thin and detailed and link joints are exceptionally precise. However the alignment of the road wheels has to be exact for the tracks to fit tightly and this is where I had some problems.

Finnish Modifications

The build of the kit is possible almost out of the box, but some additions and changes are needed to make the model look more Finnish. In addition to the earlier mentioned details, the early Finnish T-34īs had short fenders, both front and back, which means they have to be cut shorter. This is a simple enough affair. I also added support braces made of copper to the front fenders to enhance their looks.

The Finns stripped off most of the Russian storage boxes and added one slope-topped box on the right rear fender, as well as two jacks. These had to be scratch built from styrene. Other Finnish equipment included towing cables, spare track links, an oil cylinder and some pioneer tools. Since the information on these is a bit vague, I ended up in adding only some of these on the fenders rather liberally. The cables are made of a guitar string while the rest is spare box stuff.

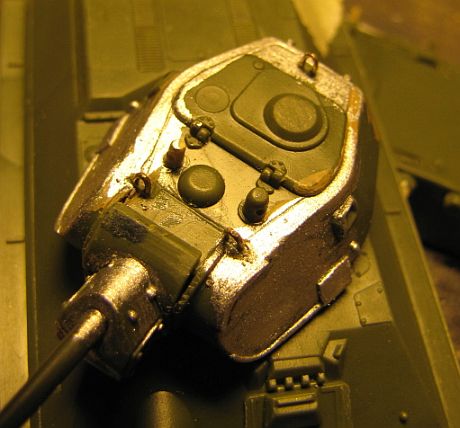
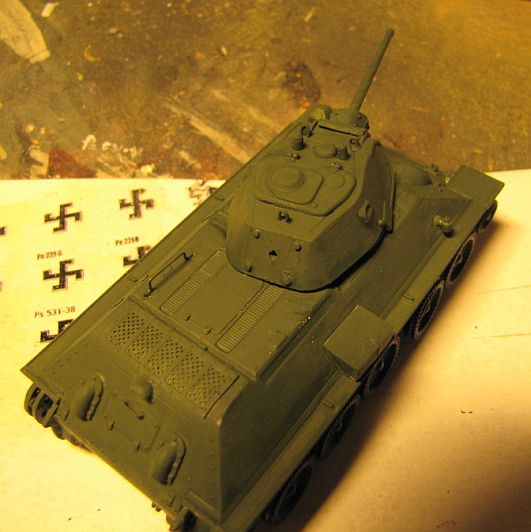
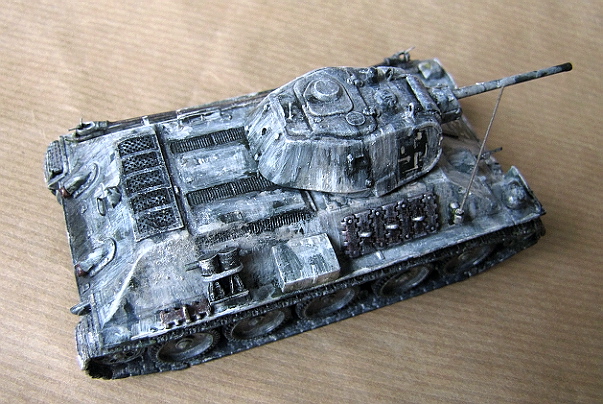
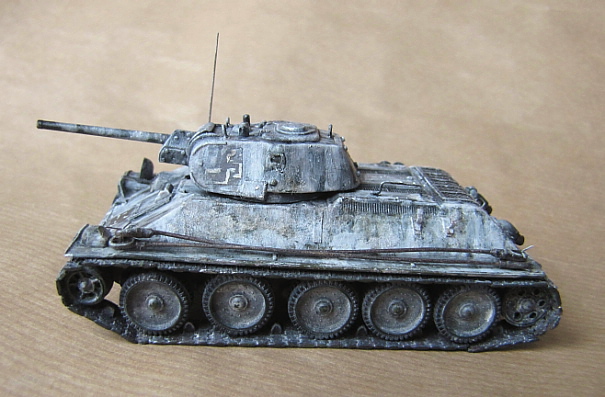
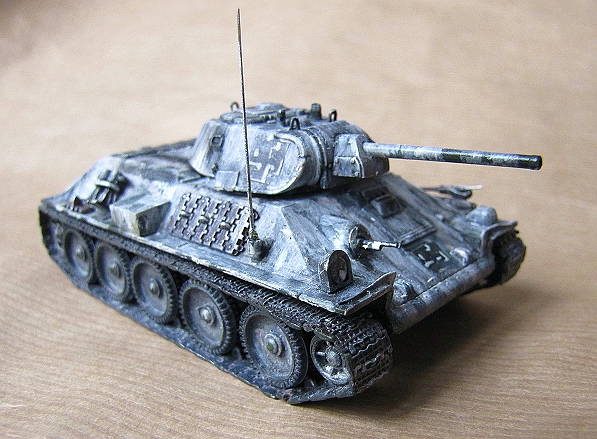
Painting and Markings

Originally the Finnish T-34s - or "Sotka"s as they were dubbed - retained their green coloring with "hakaristi" national markings painted on top of the Russian insignia. In 1943 they were painted in the then-standardized three-tone camouflage and given individual turret numbers.

Occasionally some kits include Finnish markings, but they usually make the mistake of providing the "hakaristi" in blue, which is only valid for the first few months of the Continuation War and from then on it was black with white "shading". This kit has no Finnish markings, and as I have no knowledge of Finnish T-34 markings in 1/72nd scale, I resorted to self printed "hakaristi" insignia. The registration marking is not visible in my reference photos, but it was most likely painted on the rear. I produced it as a spare decal mix'n'match. The decals were applied before the camo.

My model is shown in its winter 1941-42 outfit. I have no photographic evidence of this particular vehicle in winter camouflage, although it must have been painted so in the wintertime. At this stage its registration number was R-111, but it was later changed to Ps. 231-3 (likely). The green base color is Tamiya XF-58, not that it shows much under the snow camo (Tamiya XF-2), which was applied freehand with a brush. The finishing touch included a light wash and a white pastel chalk treatment. In the pictures the satin varnish coating is not yet sprayed. It would enhance the appearance of the model quite a bit and also reduce the decal sheen.

Summary

This was only my third build in five years, and I feel I have not entirely regained the skill level I like to think I had before the break. I quite enjoyed the exercise and even if the outcome leaves a lot to be desired, this UM kit was fun and easy to work with. There are several T-34 models around and although I have seen just a few of them, I'm quite convinced that the UM offerings justly belong to the best of the bunch.

Back to UM Kit List Back to Construction Reviews

Article Last Updated: 18 April 2011

Back to Home Page