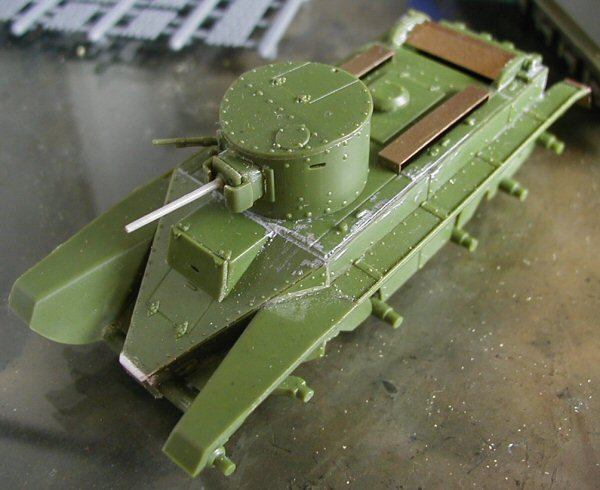
 This was my first UM kit. I was very anxious to do this kit as I love Russian armor and to have the opportunity to do this model was out of range some years ago. The model comes in a soft green plastic that was easy to work. You have a simple photo etch set for the motor ventilation area and rear fenders too.
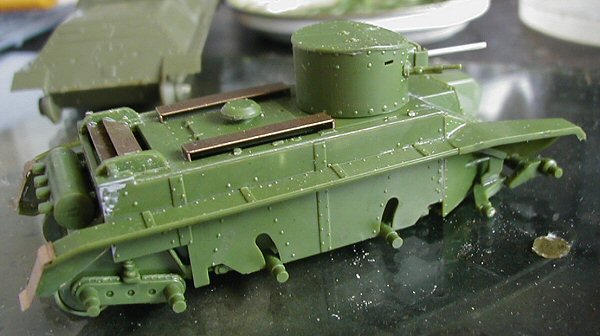
The construction was easy but not without minor problems. The multi part hull requires some care to prevent misalignments. In particular, take your time when attaching the fenders which are difficult to keep perfectly aligned. In my sample the front plate was too short and I needed to use a piece of styrene to close the hull front end. As I said the plastic is very soft and you must use care when cutting small pieces. I was careless and broke the gun barrel. I found a nice substitute from my spares box as the kit gun was not that great. You must consider a metal replacement here. The photo etch parts are a great addition, but the motor grill was very stiff and difficult to bend to the proper shape. Some friends told me that I should have annealed it to make it more pliable. I will try that next time.
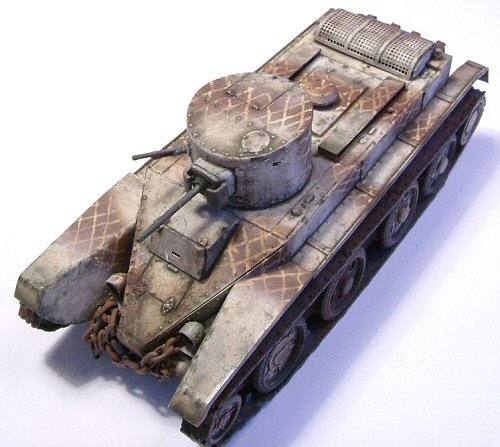
The wheels are very nicely done but they were seldom used on the BT-2s. So I considered to buy the PART photo etch correction set, but I discovered that UM had another BT-2 kit with the correct wheels, which costs less (and is less troublesome) than the PART replacement. So I took the wheels from that kit and gave it, with the "incorrect" wheels, to a friend who is initiating in small scale business. Two modelers are happy now. The tracks are nicely done but I had some major problem here. It is made with female and male attachments. But when finishing the assembly, I ended up with unequal (male x male) parts to close the track. I don’t know if I made some mistake here. Next time I will make some dry assembly to be sure. The solution was to cut flush the link ends to close the track. You must pay attention to the alignment of the wheels when attaching them to the hull. As the track is rigid any misalignment will cause trouble. My sample has a slight misalignment and the problem is visible when seeing the kit directly from the front.
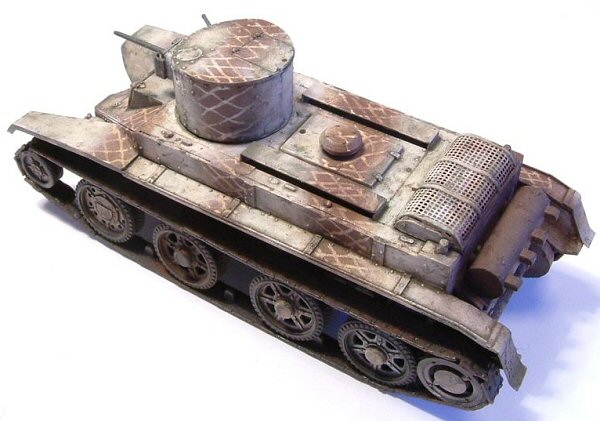
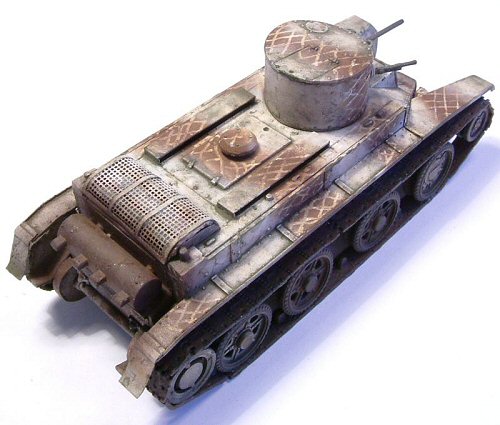
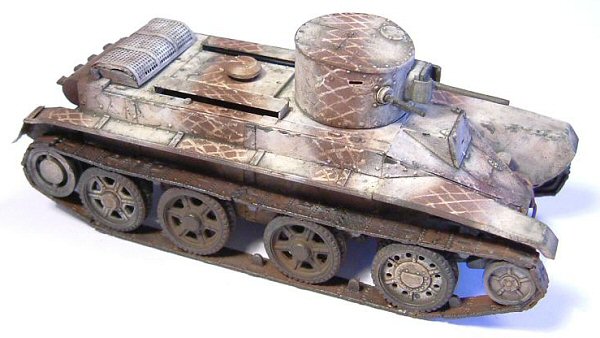
When choosing the paint scheme I had some trouble. I wanted to do the sample that many of you have seen in profiles of many books, showing a blue and white tank. But I had no references that confirm the blue color. But on the other hand, I found in Camouflage of The Tanks of the Red Army, page 15: "When using winter camouflage schemes over a previously camouflage surface, the green patches must be fully covered with white paint, and the yellow-earth and brown patches which will have white applied to them must be covered with a diamond-shaped mesh pattern in white…" So the blue color must have been brown? Brown is blue with red. So perhaps it is a print error that has been perpetuated all this time? May be a wild guess, but I like to live in the danger zone. So I painted my sample with Tamiya colors. The white diamond mesh was made with a white pen. As the whites (from pen and Tamiya) where not the same, I applied several coats of brown wash to even the finish. Some green wash was made over the white parts to simulate fading paint. The wheels where treated with oil and pastel chalk to make them look worn out. The chain comes from fake jewels store and was painted with Humbrol paint.
Conclusion This is a nice kit, and having some care when assembling the parts, you will have a very pleasant result. Recommended for all modelers with some experience. |