|
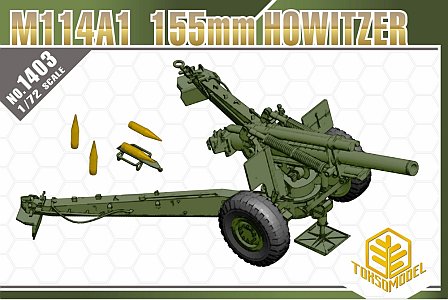
The M114 was the standard US towed 155 mm Howitzer from 1942 until 1979. Prior to 1962 it was designated as the M1 Howitzer.
It saw service in WWII, Korea and Vietnam is US hands, and continues to be used by many other nations.
Al Magnus provided an excellent preview of the Toxso kit here. I referred to
Al's detailed comments throughout my build.
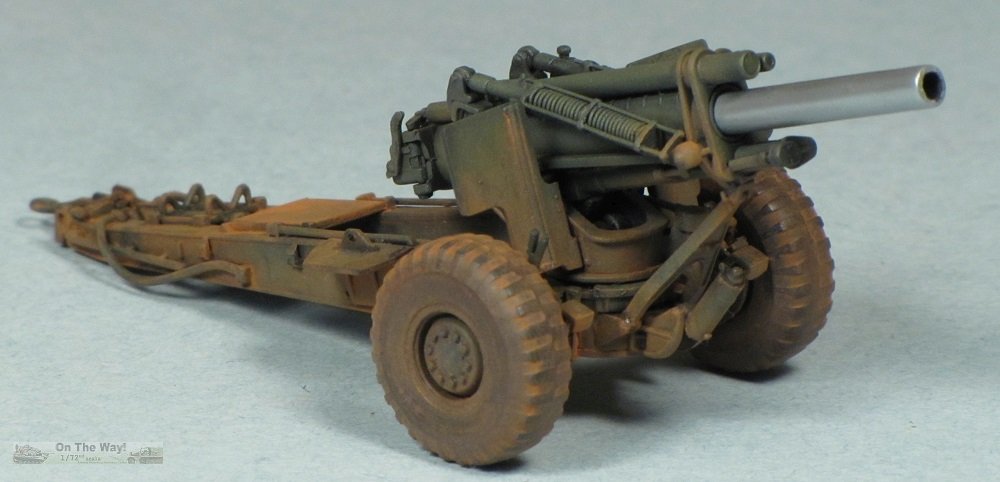
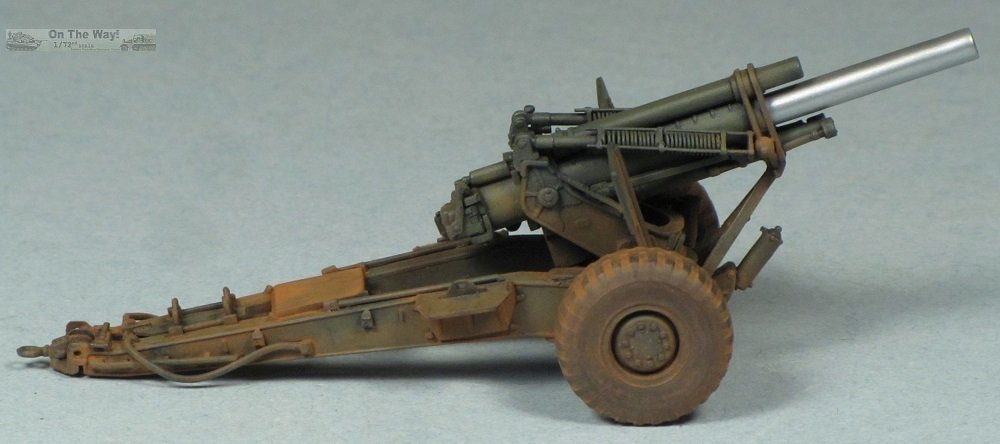
I decided to build my howitzer in towing configuration, so I departed from the instructions in a few areas.
In step 1, the instructions would have you install the breech block (which features really nice interrupted screw thread detail) in a half open position.
The breech block can be left movable on the model, but I believe the position shown for the breech operating lever (part A47) is correct for a closed and
locked breech, while the lever should be rotated about 90 degrees counter clockwise if the breech is open.
I filled the circumferential groove from the end of the barrel - apparently this was typically seen on post-Vietnam barrels.
In step 3, I cut parts B25 and B26 down so that only about 1 mm of the shaft on each remained. These are guide rods for the barrel recoil system. Under
normal operating conditions, only about 1 foot (scale 4.2 mm) of these rods would be exposed when the gun is at full recoil. The whole rod is only exposed
when the barrel is being removed. I truncated these to facilitate adding the barrel later on, so I could easily paint the metal finish on the barrel and
add the painted barrel at the end of assembly.
In step 4, the traverse and elevation handwheels (A20 and A21) could stand to be sanded thinner, but I left them as is.
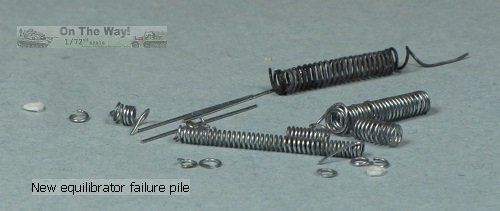
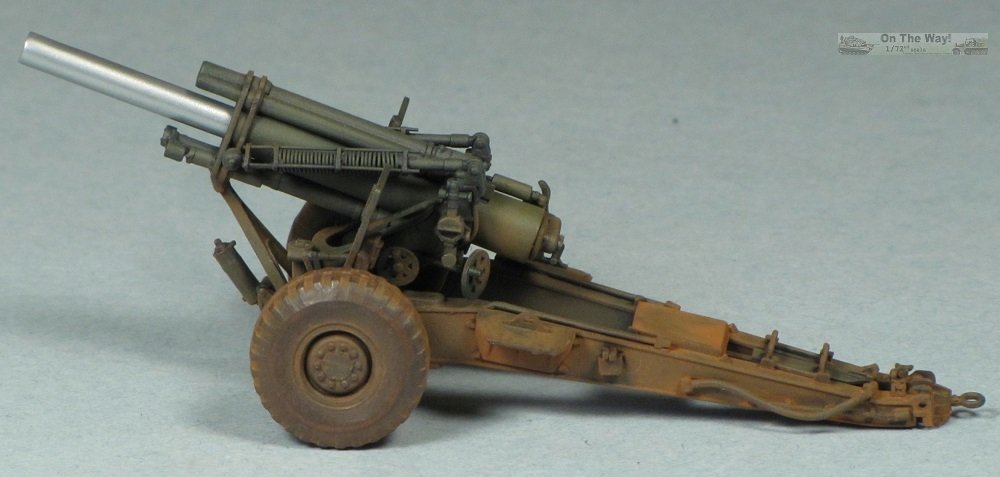
In step 5, I decided to rebuild the equilibrator springs (parts A11/A12). As noted in Al's preview, they are moulded in the position they would take if
the barrel was at maximum elevation. Seeing as I wanted to model the howitzer in travel configuration, I had to rebuild them. I also wanted to more
realistically depict the construction of these springs.
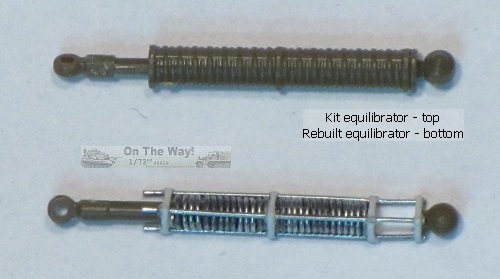
I started by forming four springs from wire wrapped around a toothpick. I then drilled 3 holes evenly spaced around a circle into 8 thin plastic plates,
and cut around the holes to a rough triangular shape. Four of these plates had a further hole drilled in the centre to accept the piston rod (part A12).
I cut the 6 guide rods from wire, and then assembled a sandwich of plate with hole/spring/plate with hole/spring/plate/plate, using the guide rods through
the holes in each plate to keep everything aligned. Thin superglue secured the assembly in place. I cut the rod end from part A11 and fitted it to the end
of the assembly, and used part A12 from the kit unmodified. This took a bit of trial and error, but I think it made a huge improvement in the appearance of
the equilibrator springs.
I was building a Vietnam-era gun, and I originally intended to omit the gun shields. Looking at period photos, they appeared to be fitted as often as not.
Apparently they were sometimes removed as early models of the CH-47 Chinook helicopter could not lift the full weight of the howitzer with shields, however
more powerful engines fitted to later Chinooks allowed the shields to be retained.
In step 6 the trail arms are assembled. The parts feature good detail, but the curved tubes/pipes (A3/B35) could probably be replaced with wire for a better
appearance.
In step 7 I assembled the firing platform actuator in the fully retracted position by gluing the actuator piston (A33) all the way inside the actuator body
(A10). The base plate is carried stowed on the trail arms in the towing position. As noted by Al, the actuator should swung up and parallel to the barrel
travel lock for towing.
In steps 8 and 9 the trail arms are fitted and the gun mount is added to the carriage. One detail to bear in mind - each of the upper hinge arms for the
trail (parts A25 and B9) has a triangular projection pointing to the inside. These triangular projections should actually rest on top of the circular base
of the gun mount (parts B11 and B12). If you assemble the trail arms in the towing position before adding the gun mount, you won't be able to fit the gun
in place. I trimmed the triangular projections off so I could add the gun after painting, and it's very hard to notice their absence.
There should be a brace between the barrel travel lock and the firing platform cylinder in the towing position, but I neglected to add it.
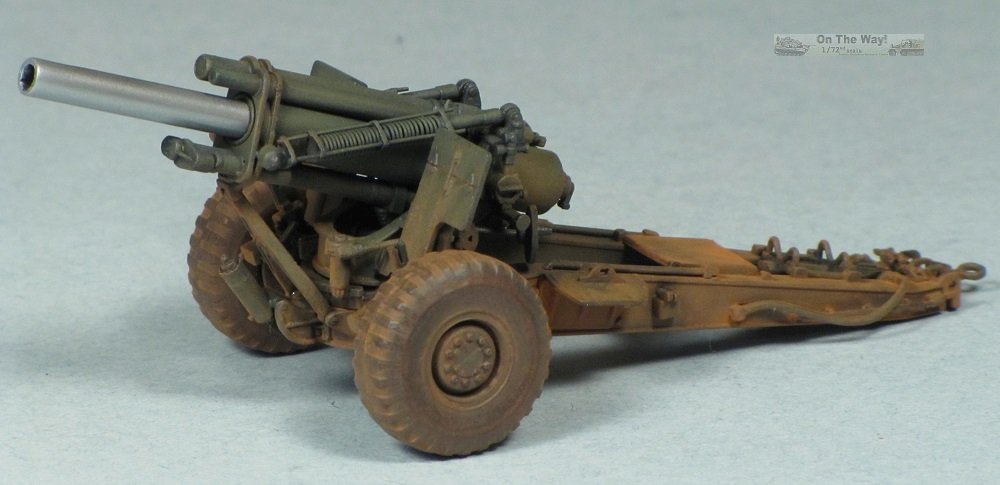
For painting, I left the model as three sub-assemblies - the carriage, the gun mount with shields, and the barrel and breech. The barrel was given a coat
of Alclad grey primer, and then sprayed with Alclad dark aluminum. The rest of the model was given a primer coat of black, and then sprayed with thin coats
of Testor Model Master Olive Drab, darkened with a little flat black.
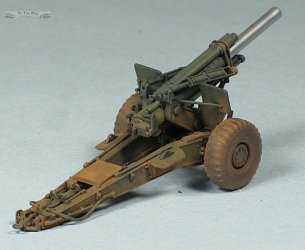
After an oil wash and some selective drybrushing, I mated the sub-assemblies and gave the model a fairly heavy coat of Mig pigments Vietnam earth, concentrating
on the carriage and lightening the application on the barrel and gun mount.
This is a really nice kit, and builds into an impressive and detailed model. It's a shame that Toxso seems to have disappeared from the modeling scene.
Review sample purchased by the author.


Toxso Model products are available at

|