|
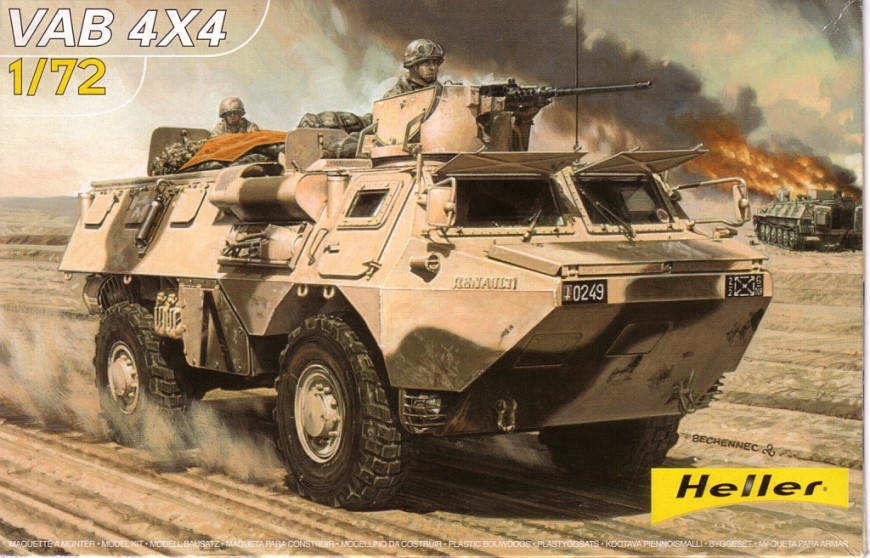
VAB 4x4 |
|||
Kit # 79898 |
Review by
- Al Magnus
|
|||
|
VAB 4x4 |
|||
Kit # 79898 |
Review by
- Al Magnus
|
|||
|
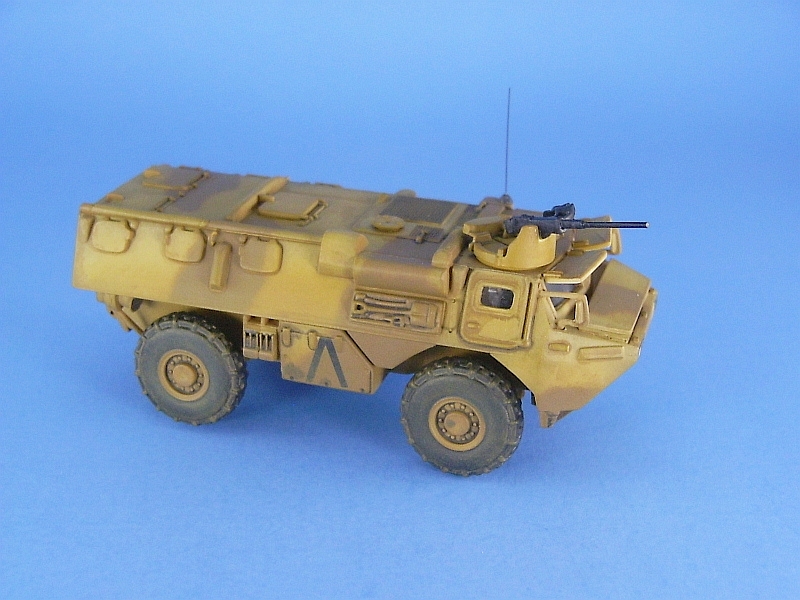
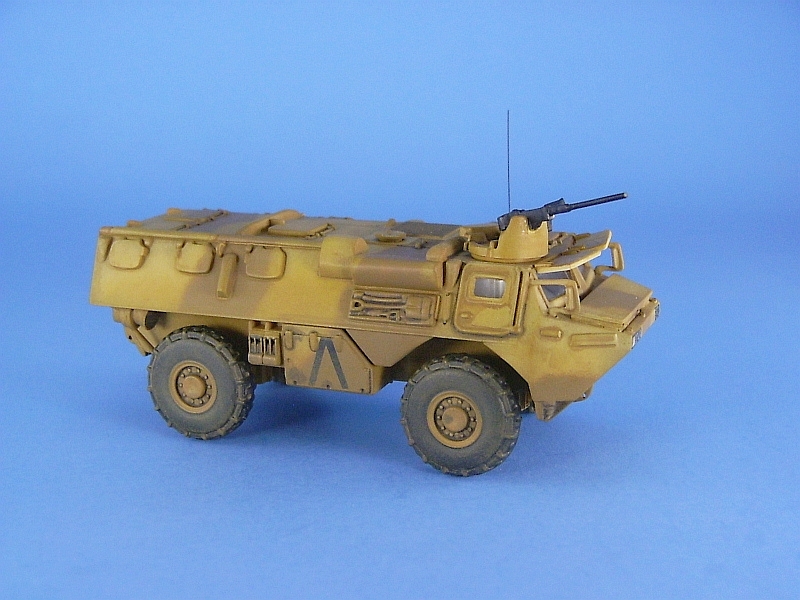
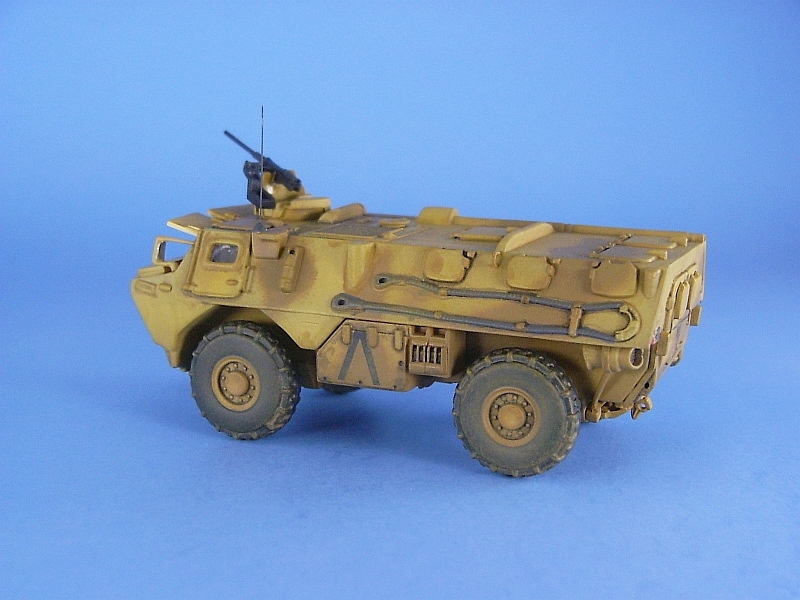
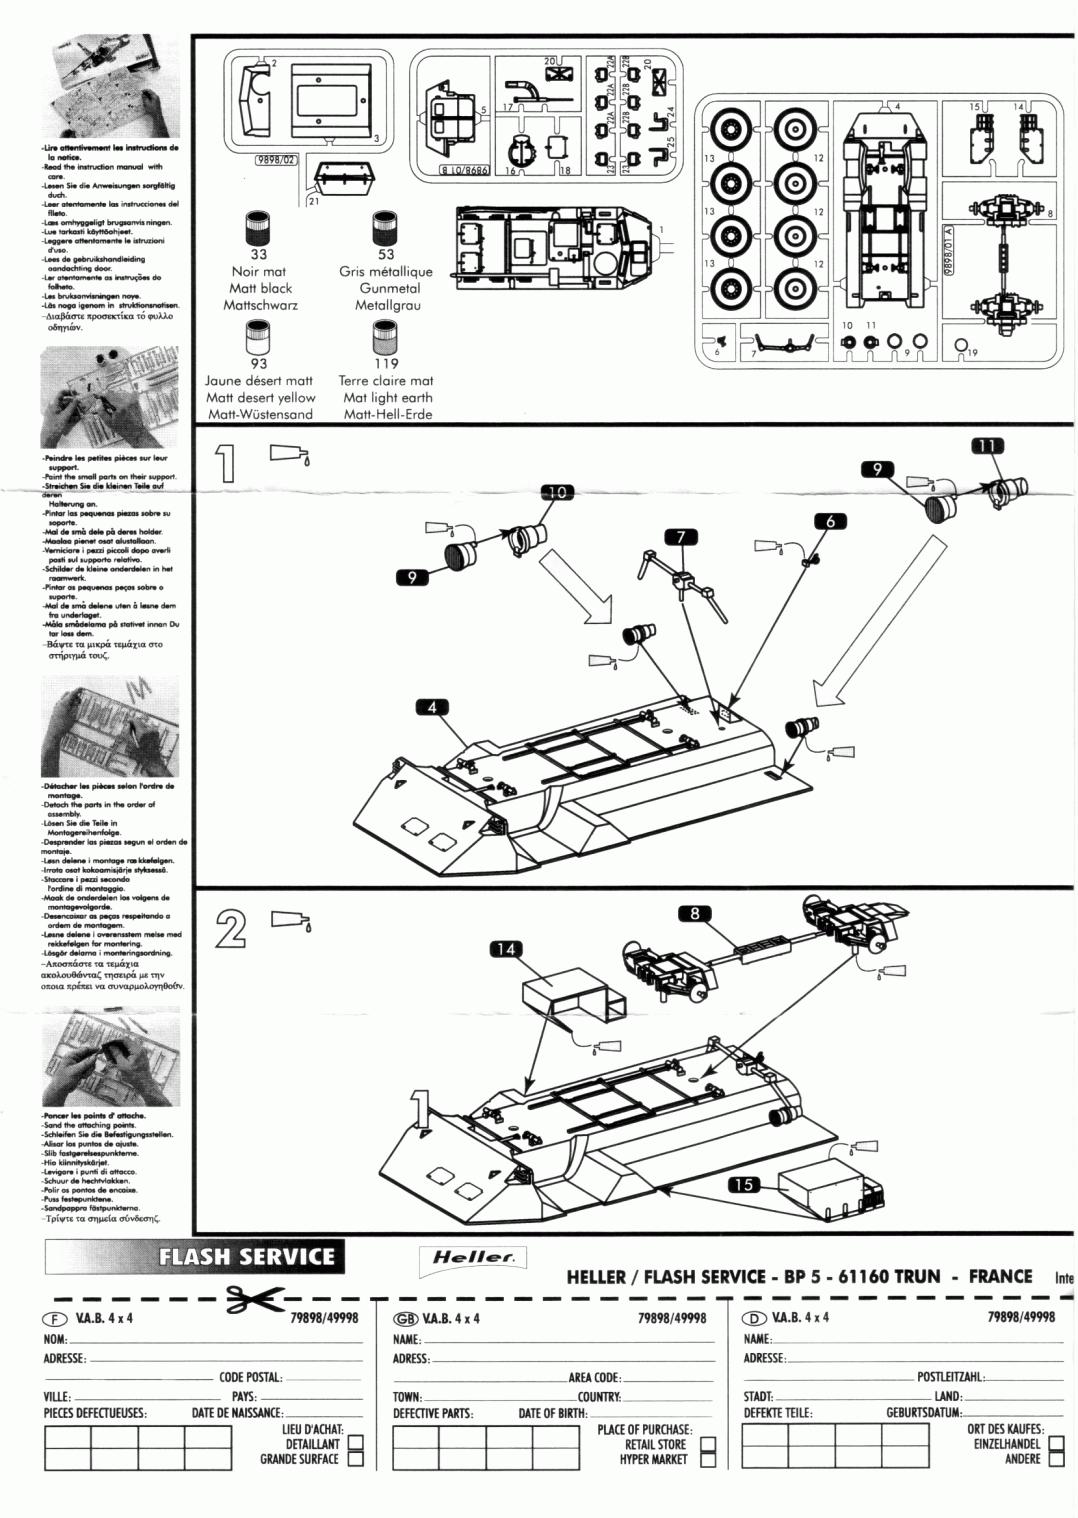
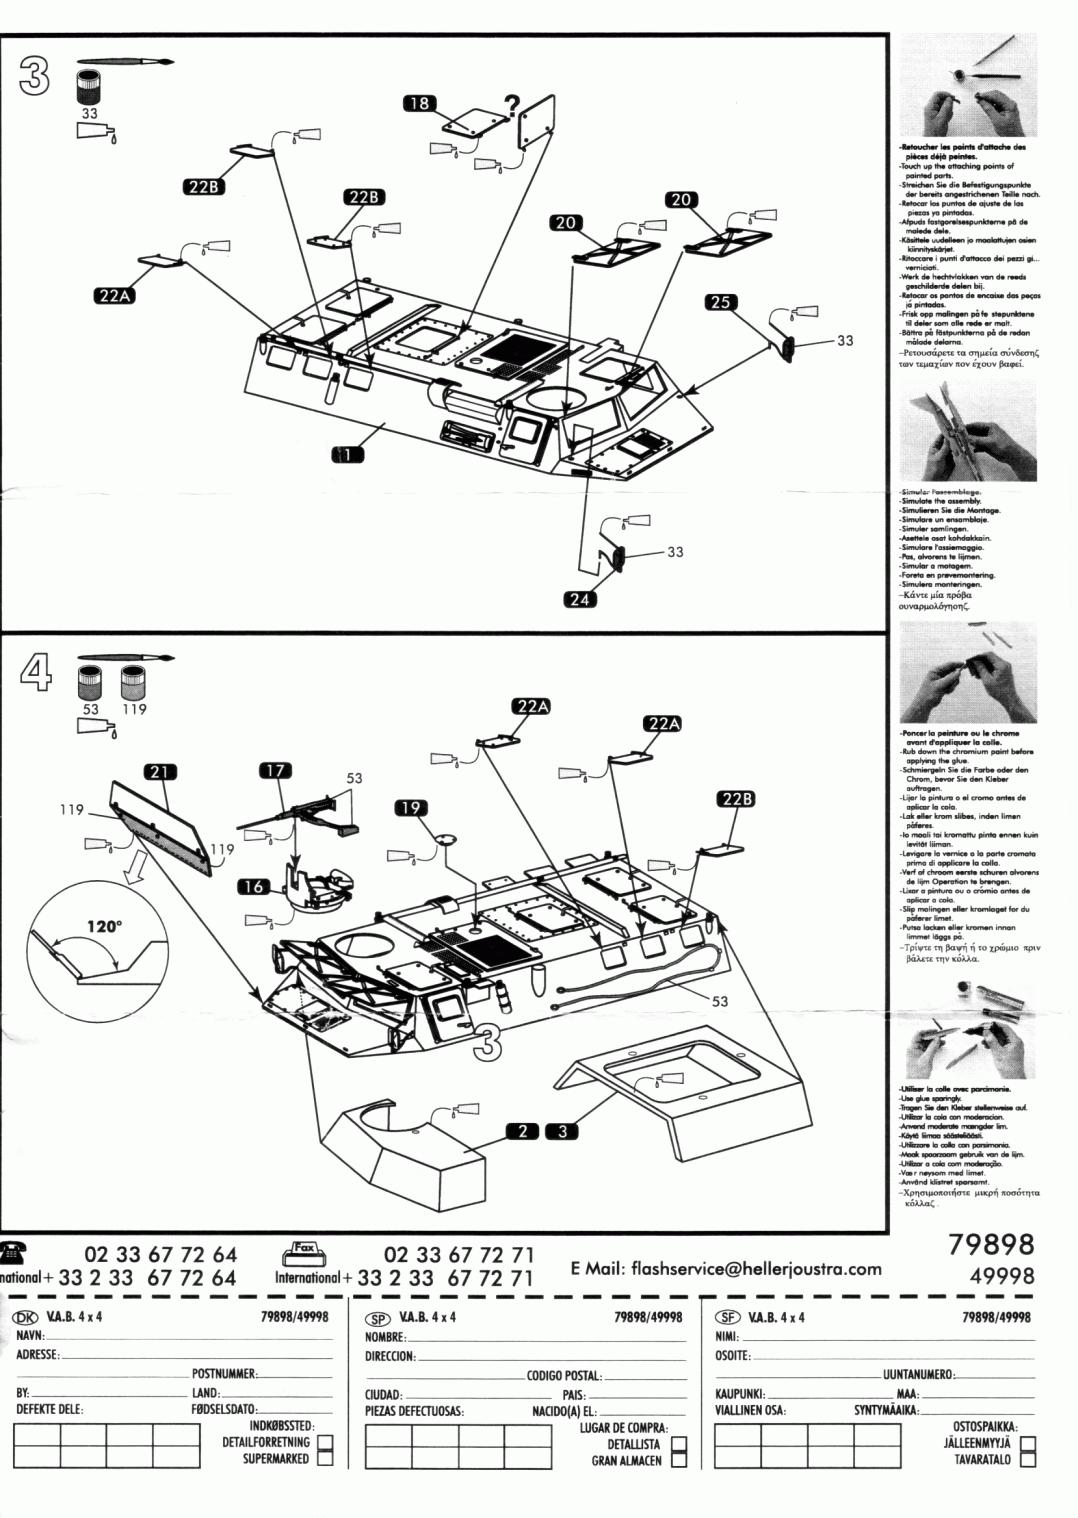
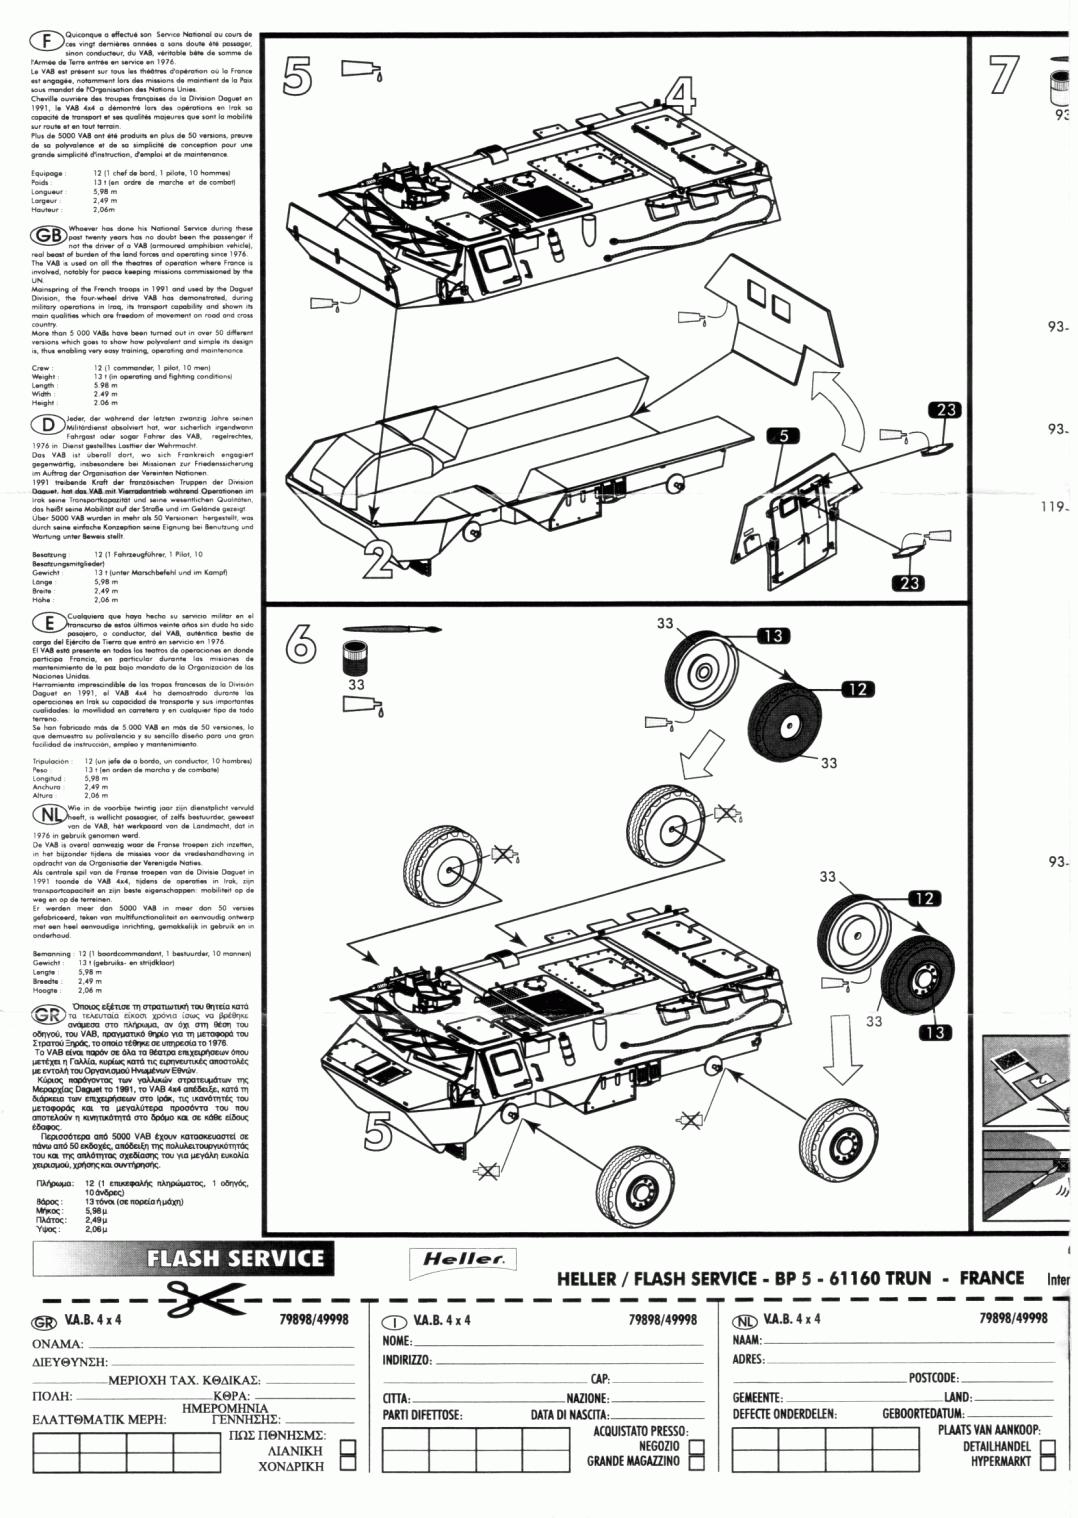
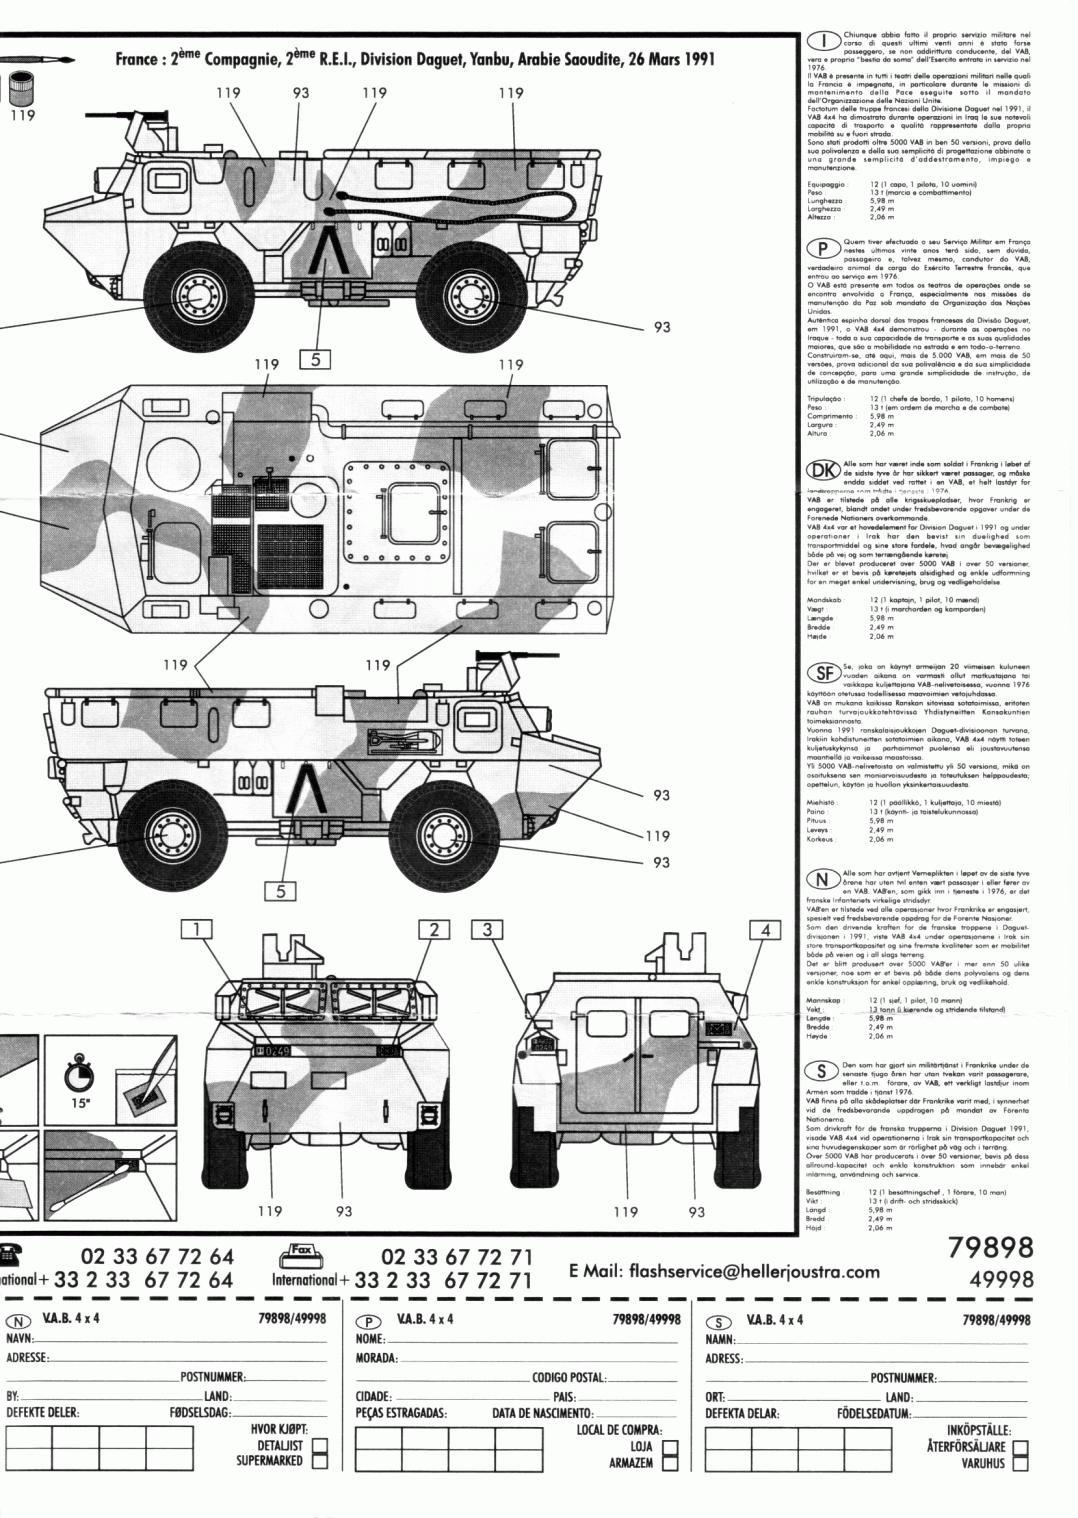
Inside the box you get 36 parts molded in tan plastic and three clear plastic parts. There is an instruction sheet and a small sheet of decals. This is a very basic kit by today’s standards. It shows its simplicity in many areas while in others it exhibits a desire to be more than a toy. Where a modern kit will use multiple smaller parts joined together to make larger assemblies, many of the VAB’s parts are molded as a single piece – for example the complete drive train (part 8). The fire extinguisher, pioneer tools, jerry cans and tow cable are all molded to the body. On the other hand some of the hatches and all of the window shutters come as separate parts so you can pose them open: but then any benefit coming from the open hatches is ruined by the absence of an interior. Providing the option of a view into the body is commendable, but without an interior all you’ll see is a gaping, empty shell sans any hint of interior detail. The tread detail for the tires is completely inaccurate. You can replace them with resin parts from the Azimut detail set but doing so will definitely bump up the cost of the build. I decided to keep the original kit wheels/tires being the cheapskate that I am. I also decided to model the kit all buttoned up save for the front windscreen, thus avoiding having to construct a complete interior. The only interior detail I added was to the front cab, which I based on photos from the web and pictures of the Azimut interior detail set. I didn’t put a lot of work into this as you can’t see much of the interior through the windscreen or the door windows anyway. The majority of the work went into minor detailing of the exterior. Using my trusty hobby drill set I opened up the end of the exhaust pipe, added holes in the towing points, drilled shallow holes at the pivot points in the suspension and deepened the hollows for the tow cable ends and for the handles on the fire extinguisher and shovel. I also added the small lumps (horns maybe?) to the fore of the body just below the windscreen. The door handles molded to the front doors were replaced with wire substitutes and I replaced the tie down loops found mid-way on the upper rear portion of the body. The seam lines along the join between the upper and lower body were filled, as was the join between the body and the panel containing the rear doors. The trim vane located on the front just ahead of the windscreen is molded in the raised position. I cut off the bottom half of the vane and glued it to the VAB in the stowed position. The last item was the addition of an antenna using a section of guitar wire. The decals are excellent with only one marking option being provided – that for a sand and dark brown patched VAB of 2nd Co., 2nd R.E.I., Daguet Division, Saudi Arabia 1991, plate number 0249, as illustrated on the box top. The decals went on without a hitch. An application of Microsol made them sit down beautifully with no silvering whatsoever. With a little work and a few minor concessions to accuracy a reasonably nice representation of the VAB can be made, but unless you opt for the extra detail sets it will in no way be a contest worthy model.
Review sample purchased by the author. |
| Back to Manufacturer Kit List | Back to Construction Reviews |
Article Last Updated: 11 January 2009 |
Back to Home Page |