 |
|
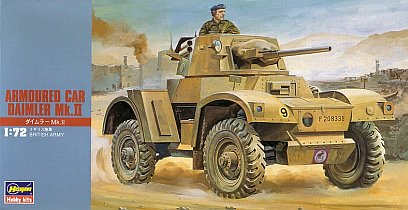
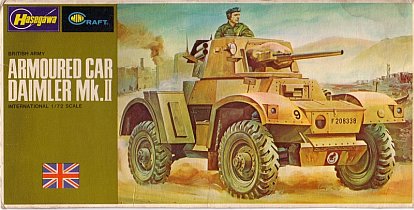
Hasegawa |
Armoured Car Daimler Mk.II |
|||
| Kit #: MT24/31124 |
Review by
- Al Magnus
|
|||
|
|
|
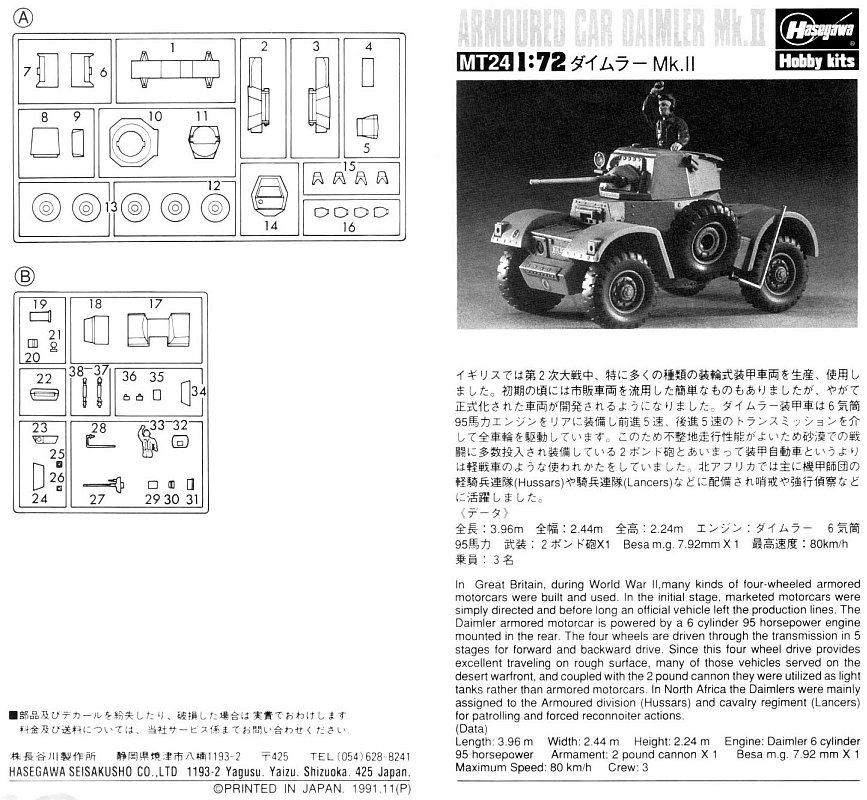
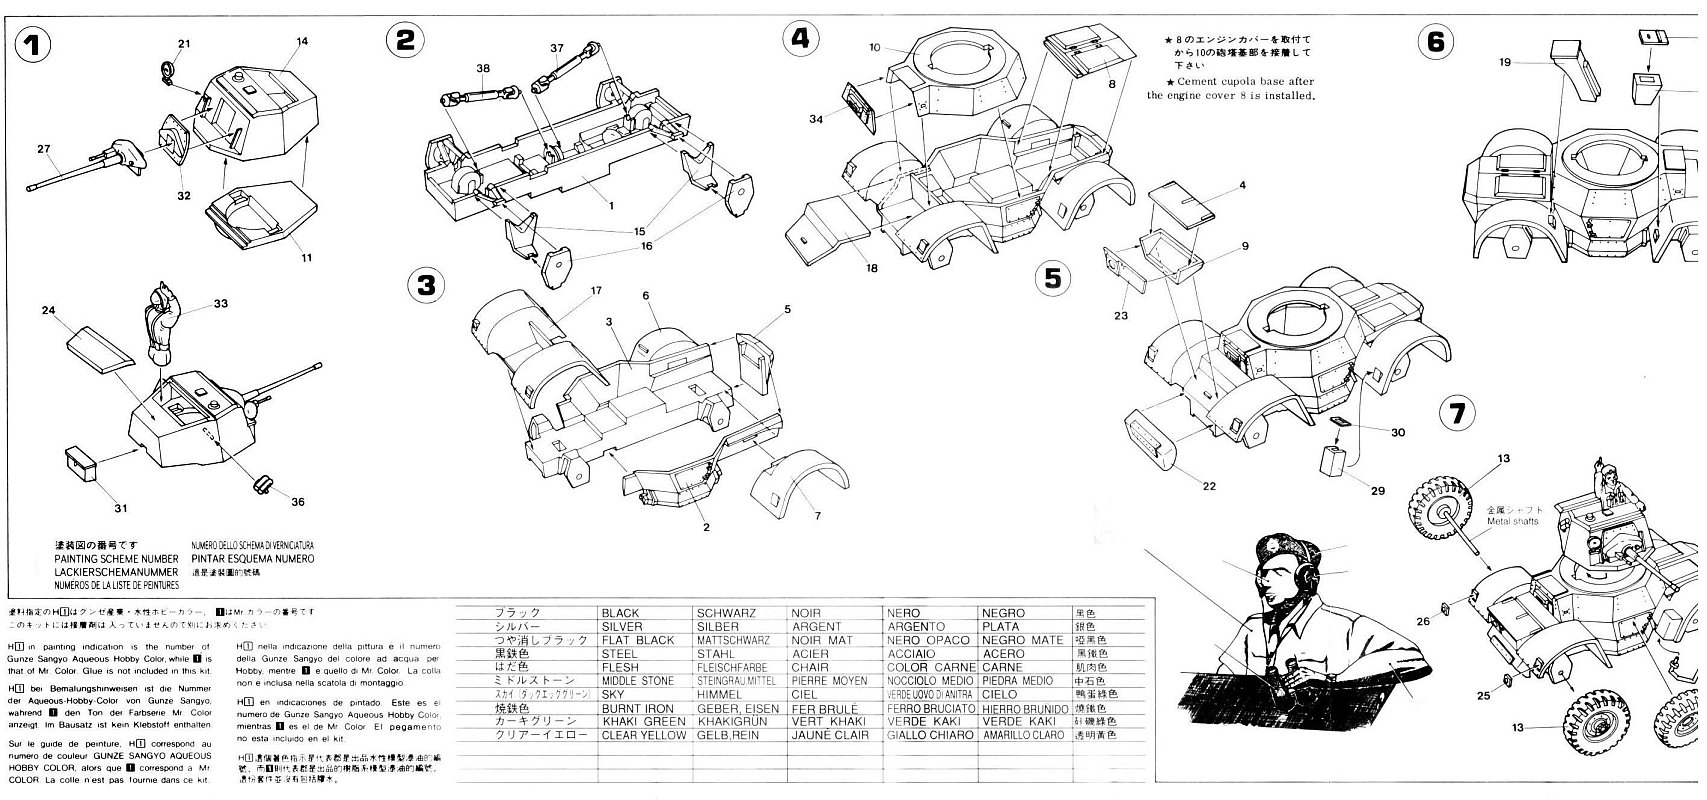
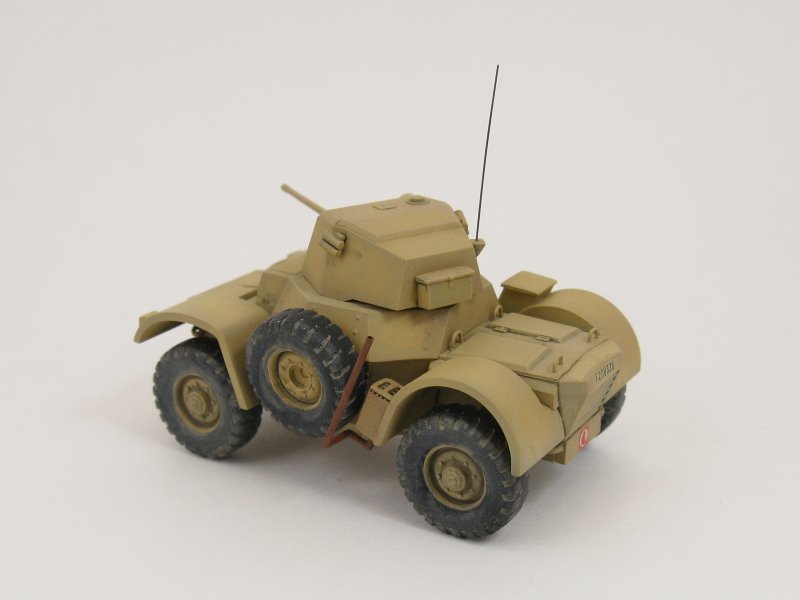
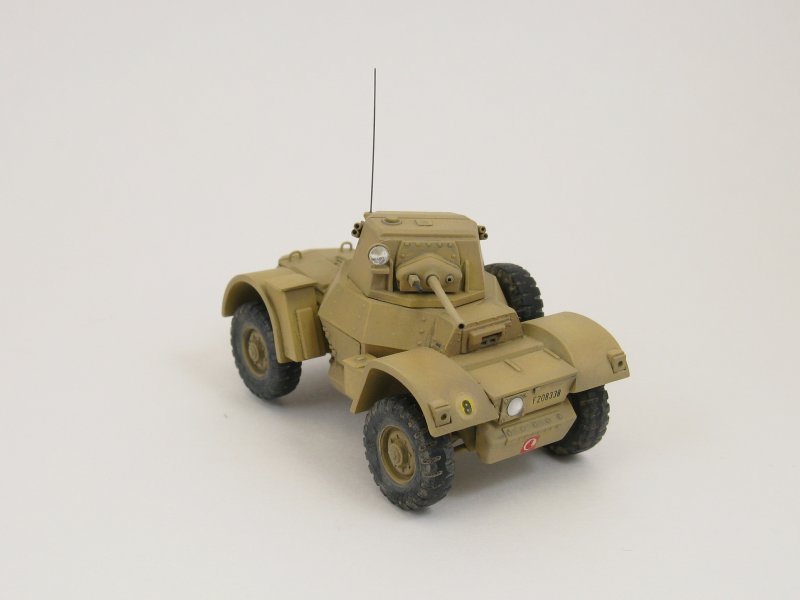
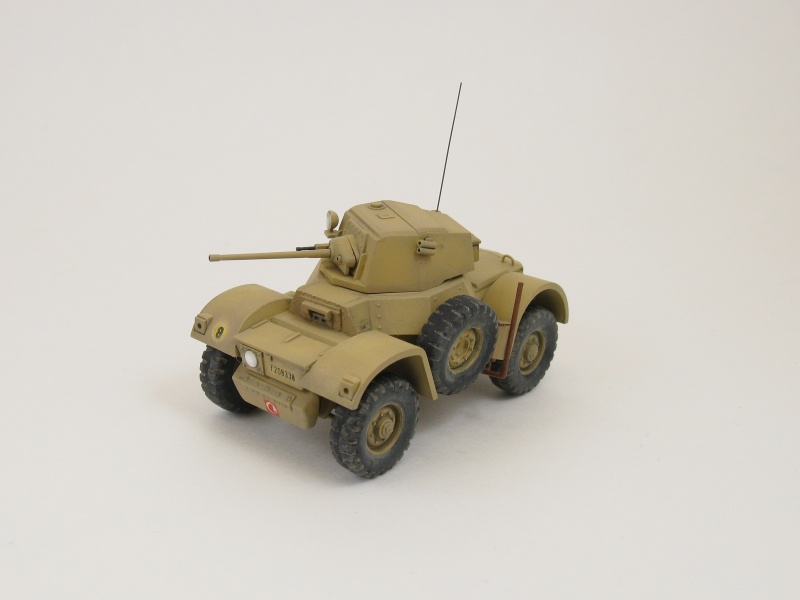
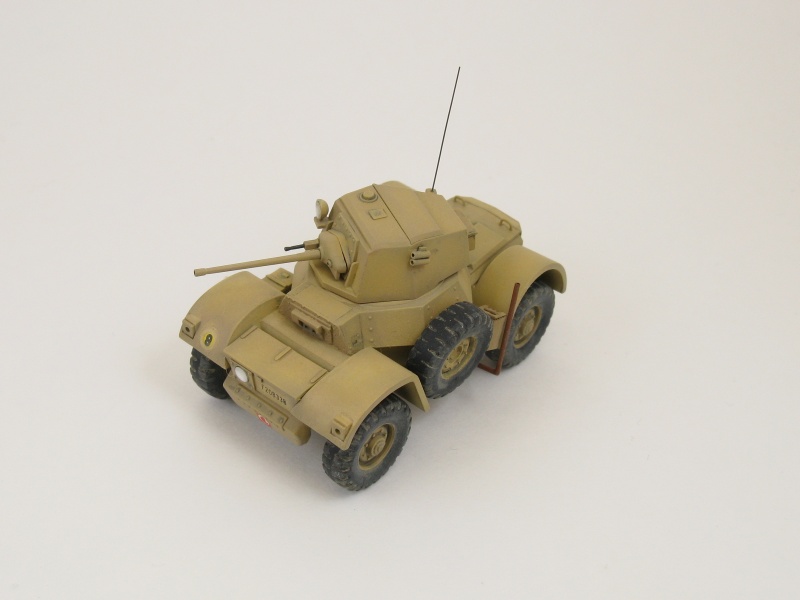
Inside the box you get 48 parts in Hasegawa's familiar hard, medium grey plastic. Some dislike this style of plastic but for me it's by far the best supplied by any manufacturer save Dragon and Trumpeter. Also included is a small decal sheet and a nicely done and easy to follow instruction sheet. Molding quality is excellent. For a kit originally offered in the 1970-1980s, the molds have held up well over the years. There are practically no seams or flash to slow down construction. Overall detail is quite good. It would have been nice to see some tow rings, extra stowage for the exterior, possibly some pioneer tools, and the turret needs to have an antenna and mount. Most of this can be obtained from the various accessory manufacturers or can be made from scratch for those wishing to save a bit of money. The only major disappointment comes with the undercarriage, where the kit does show its age when compared to most of the newer kits. There is some chassis detail, drive shafts and suspension arms, but the axles are simple copper rods and the coil springs are absent. Originally I had wanted to add the springs but decided that they would be next to invisible for the most part so I left things as they were here. Wheels and hubs are excellent and their quality still makes me wonder why modern manufacturers can't reach this same detail level with their kits, especially when one considers that Hasegawa originally released this kit some 30 or so years ago. As for the fit of the parts, this was excellent. Only the front glacis (part 34) posed any substantial problems. It has beveled edges that are supposed to fit inside the upper hull (part 10) but the bevel is not quite correct and prevents the glacis from fitting snugly. This needs some scraping and sanding to reshape the bevel and improve the fit. Also, the upper hull piece is marginally larger than the lower hull. As far as I can determine from web photos, the real vehicle does not exhibit this feature, but since it's not too noticeable and not easily fixed, I left it as is. I rarely build my vehicles straight from the box and wanting just a bit more detail I performed my usual modifications
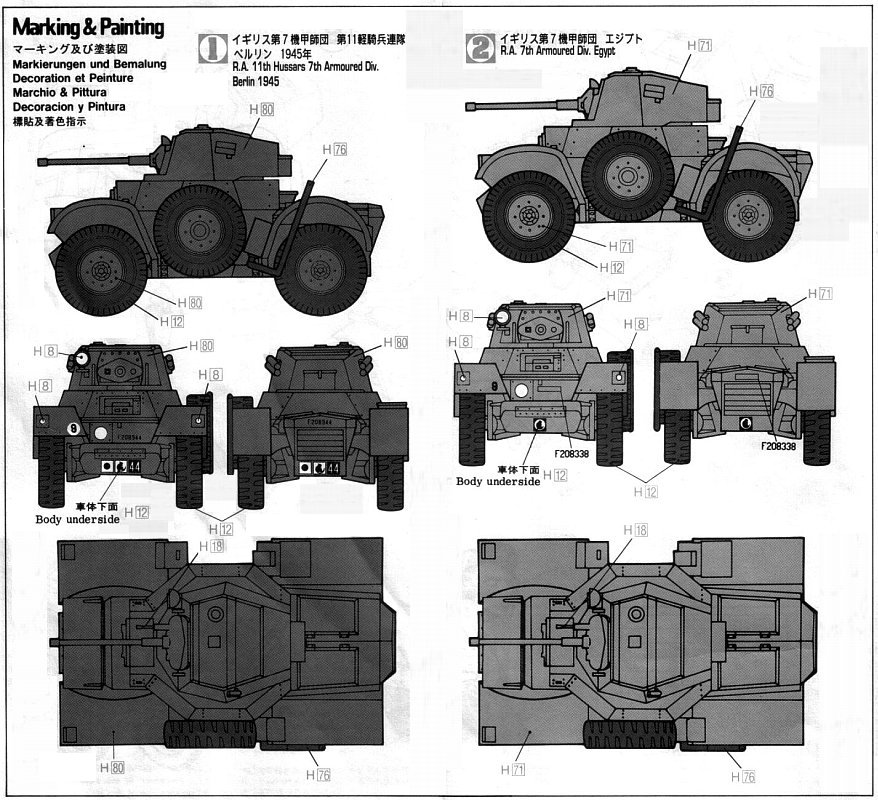
Using the copper rods for the axles helps line things up suspension wise, but I found that I had to try quite a few wheel location combinations (i.e. switching the wheels around on the axles) until I discovered the proper combination to get the vehicle to sit with all its wheels touching. I suspect this was caused by slight differences in the location of the axle hole in the rear of the wheels/hubs. The decal sheet is shared by Hasegawa's Humber Armoured Car kit. From this common sheet two markings options are used for the Daimler:
This is an old kit with a refreshingly sparse part count which makes for a quick and easy build straight from the box.
Out of the box detail is acceptable and with a few minor modifications it can be made into a very nice replica of this significant Allied armoured car.
Review sample purchased by the author. |
| Back to Hasegawa Kit List | Back to Construction Reviews |
Article Last Updated: 10 October 2010 |
Back to Home Page |