|
HäT
|
Sherman M4A2 75mm |
|||
| Kit #: 99021 |
Review by
Christopher Benjamin
- christopherb214(at)msn(dot)com
Edited by Al Magnus |
|||
|
HäT
|
Sherman M4A2 75mm |
|||
| Kit #: 99021 |
Review by
Christopher Benjamin
- christopherb214(at)msn(dot)com
Edited by Al Magnus |
|||
 |
|
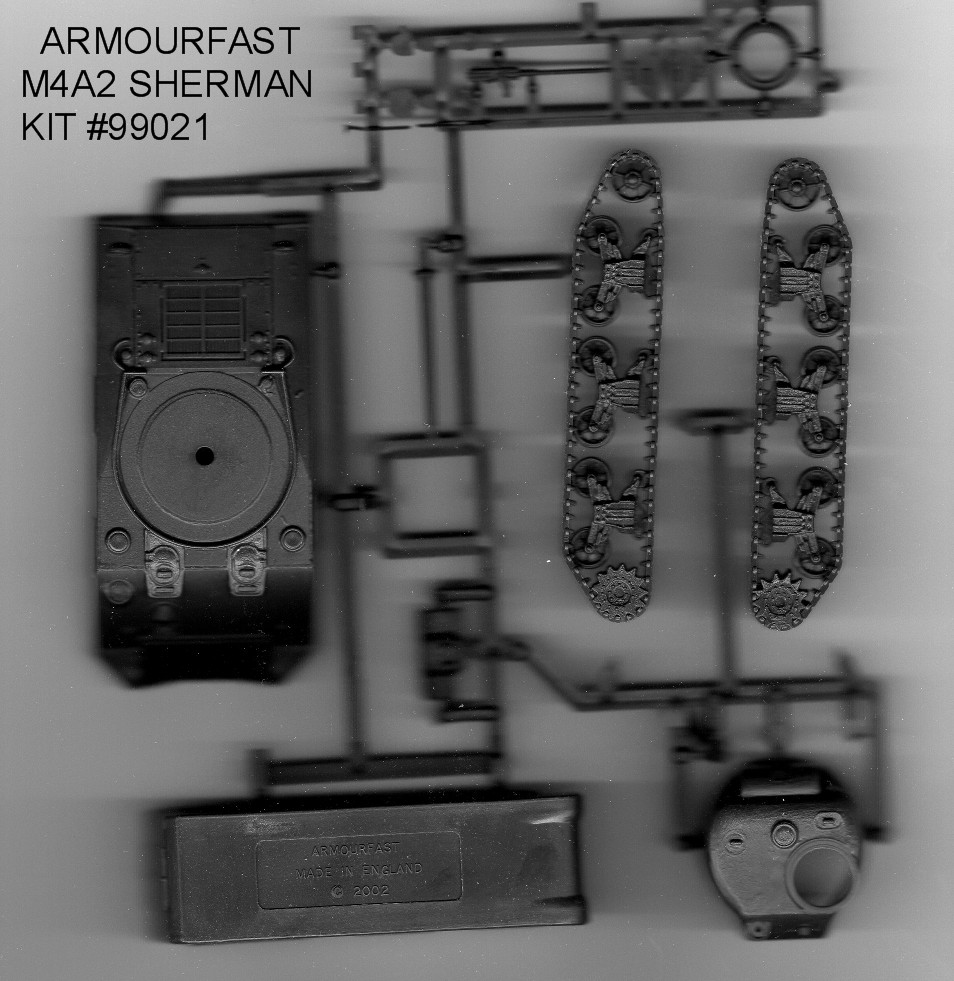
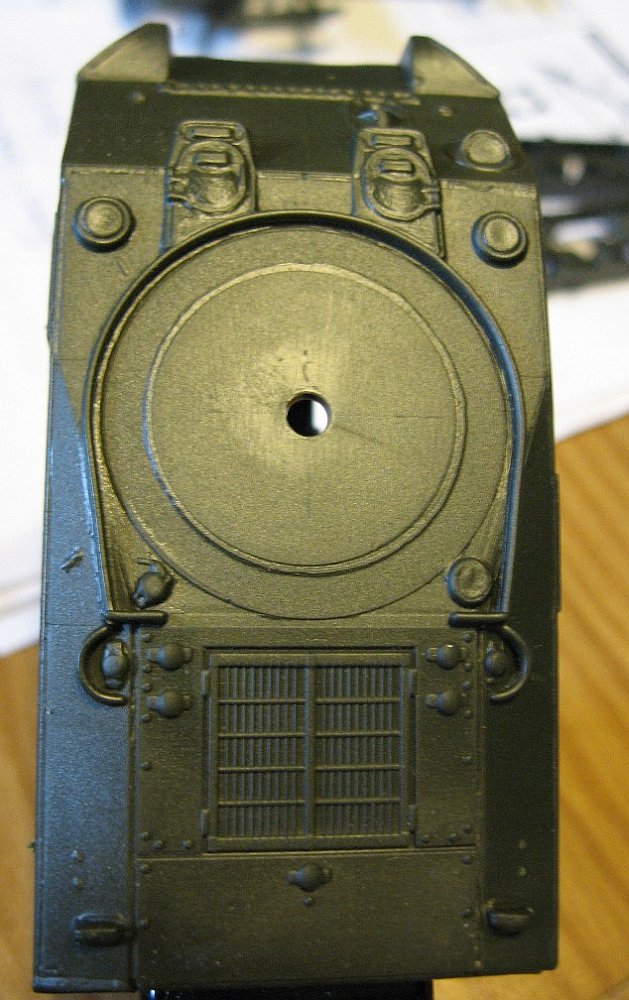
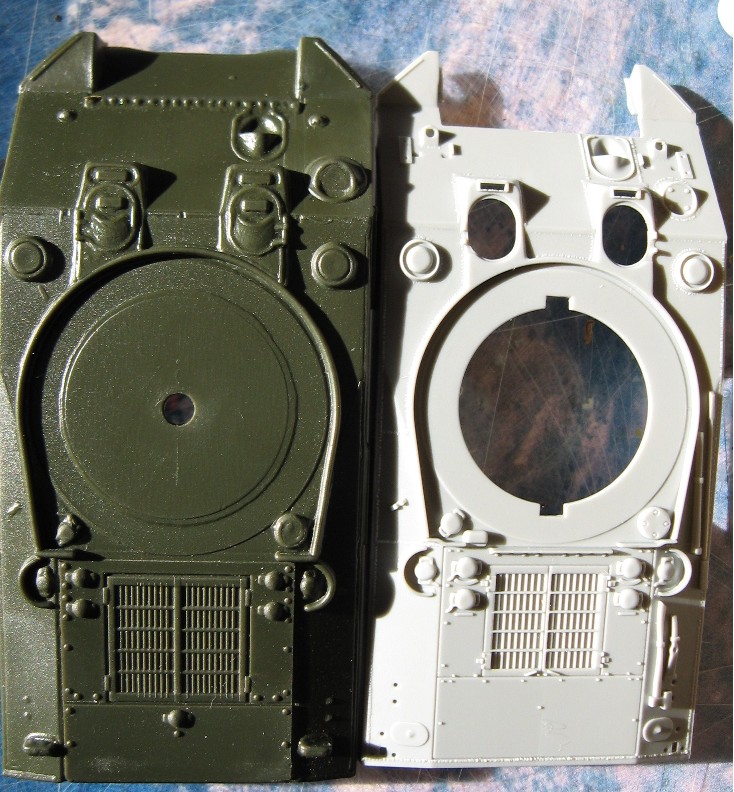
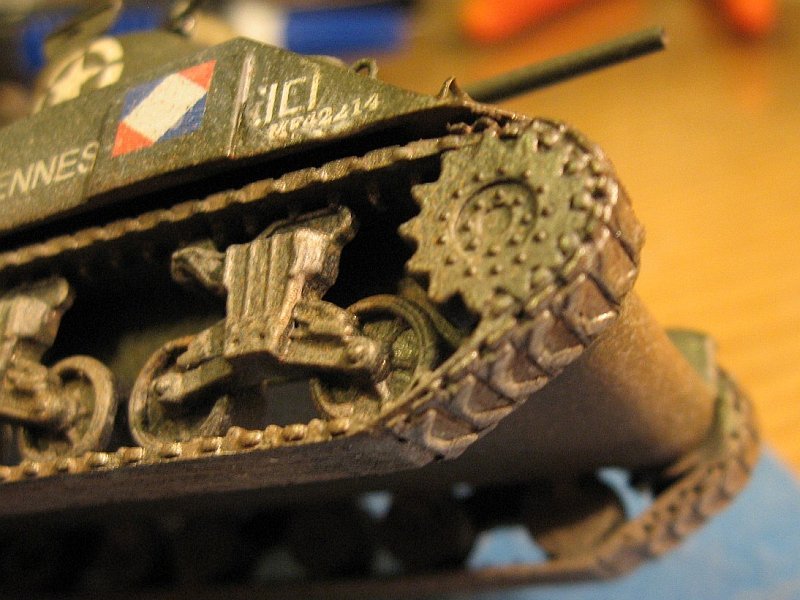
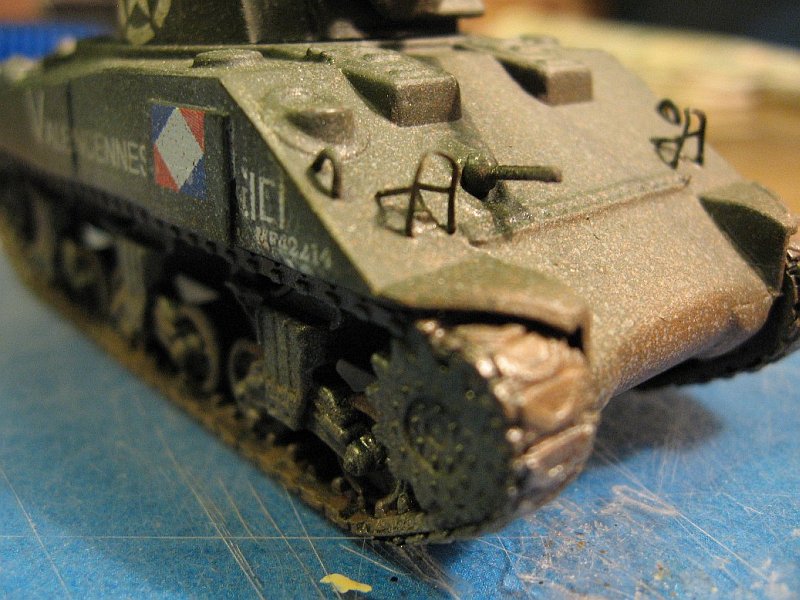
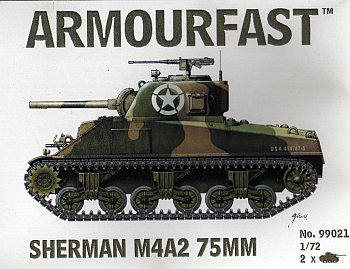
The Armourfast M4A2 75MM Sherman kit only consists of 13 pieces in dark green styrene. Altogether there is actually 26 total pieces because you get two Shermans per box. Armourfast's instructions are an exploded diagram format, printed directly on the back of the box. No decals are included in these kits as of yet. Beyond dull descriptions of parts counts, we notice that the "soapy" soft detail continues with this brand. The driver/co-driver's area shows this well. There is no weld detail on the hull and the back of the road wheels are wide open like the previous kits - worse than Trumpeters Sherman efforts. I do remind the reader these kits are for wargamers to build up armies quickly and with a budget. A closer look does reveal these kits do have merit. With the vast number of spare parts from Dragon Sherman kits and link and length tracks left over from the ESCI/Italeri line (due to the nicely fitting "rubber band" tracks) and a little scratch building and some serious sanding, we could have a cheap source of nicely detailed M4A2's. A closer look at the kit dimensions reveal a pleasant surprise:
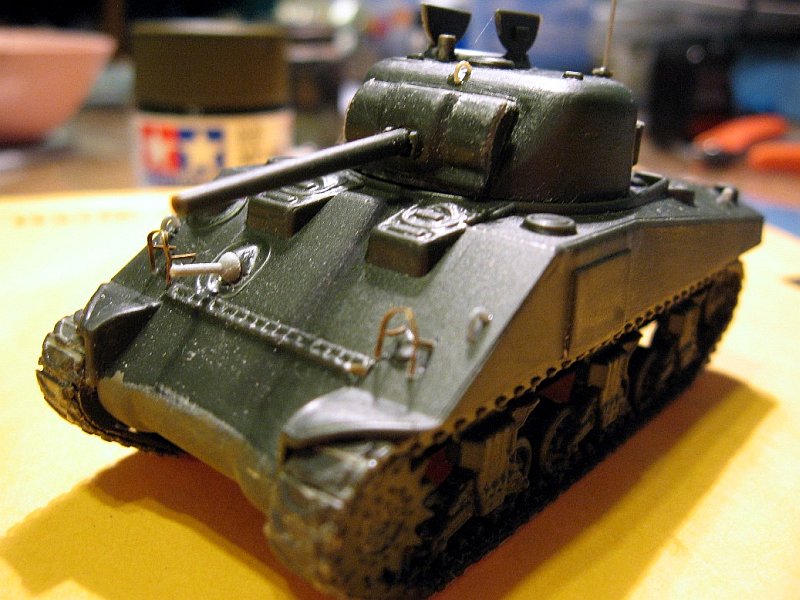
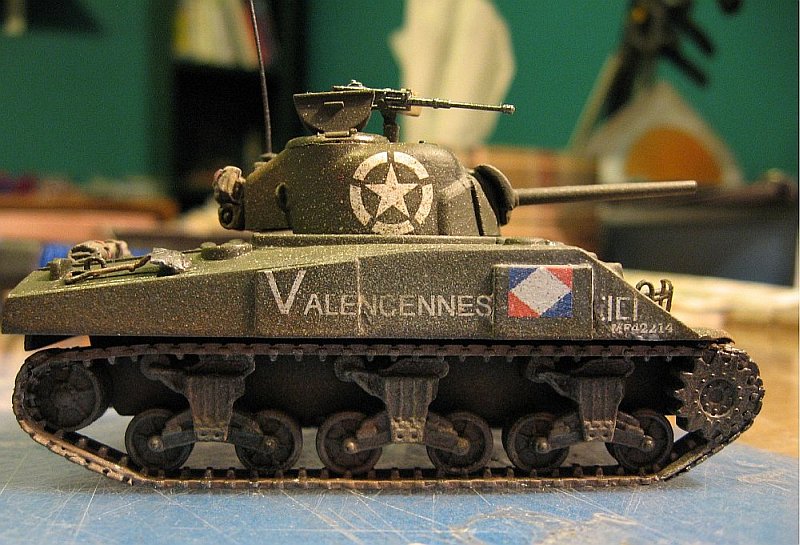
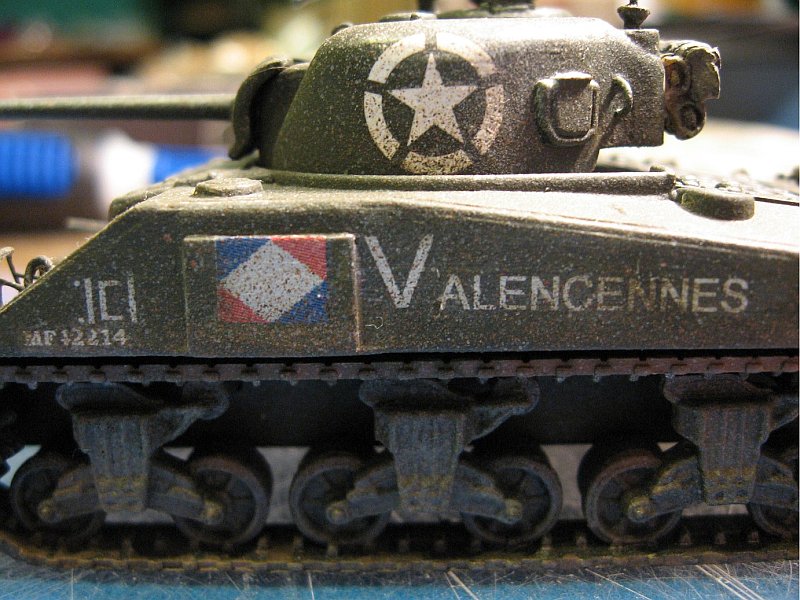
I decided to detail one of these "quick-build" type kits and added a few parts from my spares using some ESCI/Italeri link and length leftovers. I heavily sanded the bottom of the kit track to get what I thought was more of a scale thickness. This included sanding around the sprocket and idler wheel runs. I clipped off the track teeth and sanded, then scored the track runs to bend and glue around the visible front and rear areas of the track runs. When the track wouldn't bend, I used individual links. This took the most of the work needed to do the detailing. I used photo-etched light guards left over from a Dragon kit, made my own lift hooks on the turret, and that was really about all. For the French markings I used Decalcomaniacs' Free French WWII set, DM-021. I want to say a little about this set here as I can't give a separate review on these decals alone since I had already used some of them for this build before taking scans of the set. There is a 6 page instruction sheet with side views of most of the vehicles that the decals cover. Brief explanation of the hows and whys of French markings take up a single page. Each decal needed must be cut away from the set. That aside, I found some problems with the French Tricoleur markings being heavily pixilated and some of the fonts for the tank names being incorrect. It is not mentioned that some names were carried on tank types other than those mentioned in the instructions. Also, some hard-core research is necessary to match important details such as sprocket types, mantlet and track chevron styles with the named vehicles, none of which is not noted in the decal instructions either. An example would be that while decals for the M10 "Pont D' Austerlitz" and other marking details are noted, the instructions do not tell you that "Pont" had the bar-cleat type of track, and so on. I recommend the web-site Chars-francais.net for more information on these interesting vehicle markings. So, here's the rub. I wanted to make "VALENCIENNES" an M4A4 from 2e CCI 1e DB, but I read it as M4A2 CCI, blah, blah, blah. Oooops, sometimes you can't see the forest for the trees!
|
|||||||||||||||
| Back to HäT Kit List | Back to Construction Reviews |
Article Last Updated: 19 July 2010 |
Back to Home Page |