|
Overview
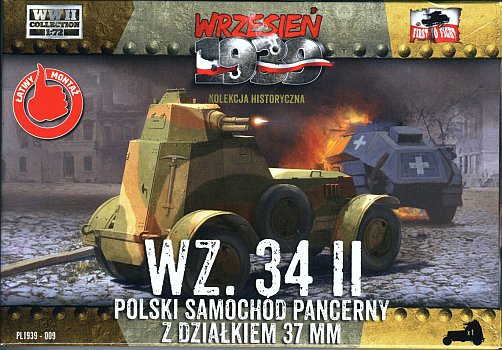
Along with kit number 07, these are the long-awaited, first 1/72 injection models of Poland's primary armoured car of 1939, which was built in some 87 units.
Both models share all parts, save the hull, which is cast in one piece. The title for kit number 009, WZ. 34 II, is in fact is wrong and confusing. The kit
represents the wz.34
armoured car with a later narrow hull, which was the better known and relatively well documented variant. The designation wz.34-II refers to mechanical changes
only(engine and transmission), and in fact, this change most probably appeared only with early hull vehicles. You can read more on my page devoted to these cars
here.
While this kit has been officially released as a model of a vehicle armed with the short 37mm Puteaux gun, it fortunately can be built either with this gun, or with
the supplied 7.92mm
wz.25 Hotchkiss MG which was mounted on 2⁄3 of the cars. Kit dimensions, including hull width, almost perfectly match those
given in the military manual ...but, for the ordinary wz.34 car, not for the wz.34-II, which should have a shorter wheelbase.
The kit has been designed as a quick build, but the only simplified items are the chassis frame (which is normally not seen) and the fender mounts. Fenders were
originally mounted on flimsy metal straps, and the way of mounting them in the model seems the only practical one. The fenders and rear doors are too thick, but this
is normal for plastic pieces. On the other hand, the upper surface of fenders have properly rendered strengthening ribs. It is worth the effort to thin the fenders'
edges when building. Don't worry, if the fenders aren't perfectly straight because
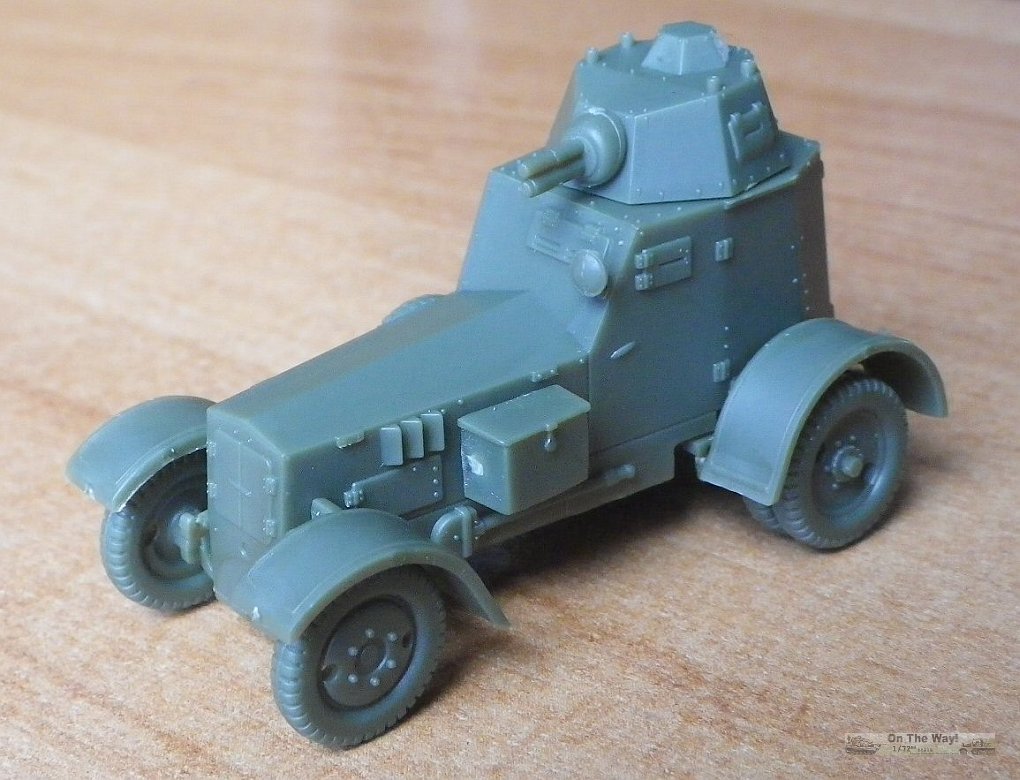
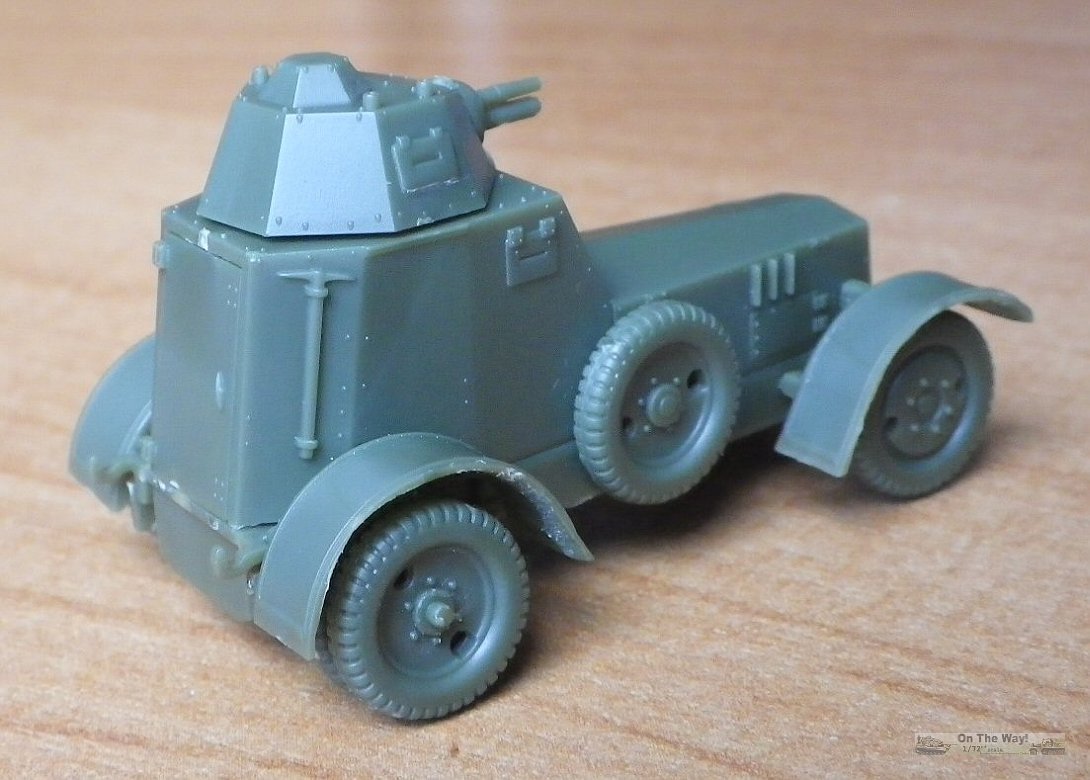
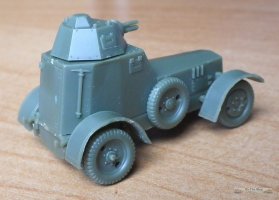
they were made of metal sheet and are often bent as often seen in photos. The photos of the assembled model show provisionally thinned fenders on the right side.
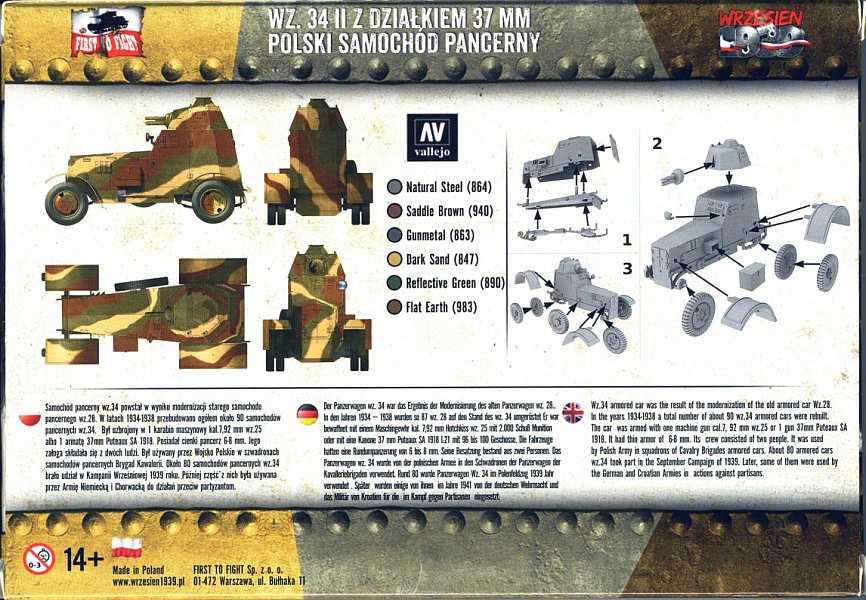
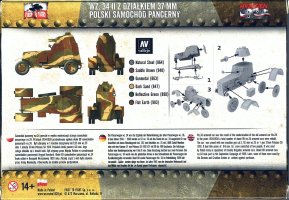
The box contains a plastic tube of smelly glue. A basic assembly instruction is on the back side of the box, which is sufficient for this build. It also comes with
a booklet (actually the kit is a "bonus" to the periodical booklet) which is in Polish only, but you can find all you need to know in the Net. On the box you'll find
a painting scheme with the corresponding Vallejo paint call outs, also repeated in the booklet (Note: that the camouflage colour is Flat Earth, while Saddle Brown is
supposed to be
for tool handles). Note also, that the colours had soft sprayed transitions and there was no established pattern. Polish armoured cars carried no markings
in 1939 as a rule, hence there are no decals.
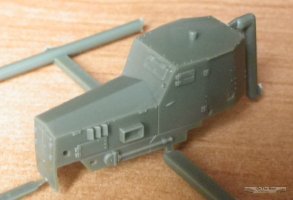
The hull is cast as a single piece, apart from rear door, which can be left open. Sadly, there is no interior in such a simple kit, but
for anybody wishing to make one it's a starting point. The interior of these cars is unfortunately not well documented, but the most visible thing was the
commander's seat located on the left side of the
combat compartment, and the door's inside lock, seen on some photos. I don't know why there are two rear doors on sprues, I could not find any difference.
The detail level and shape of the hull and turret is outstanding in my opinion. Details are sharp and subtle. There are even some rivets, and they are by no
means oversized. Pioneer tools like the shovel and the pick axe are cast on the hull, so they need careful painting.
It's not an error, that on some cars, the shovel was carried on a right side, above the spare wheel (though it would have been a welcome option).
The short gun's barrel is nicely rendered. The front wheel hubs might be a bit flattened in the model, but the difference with photos is really negligible,
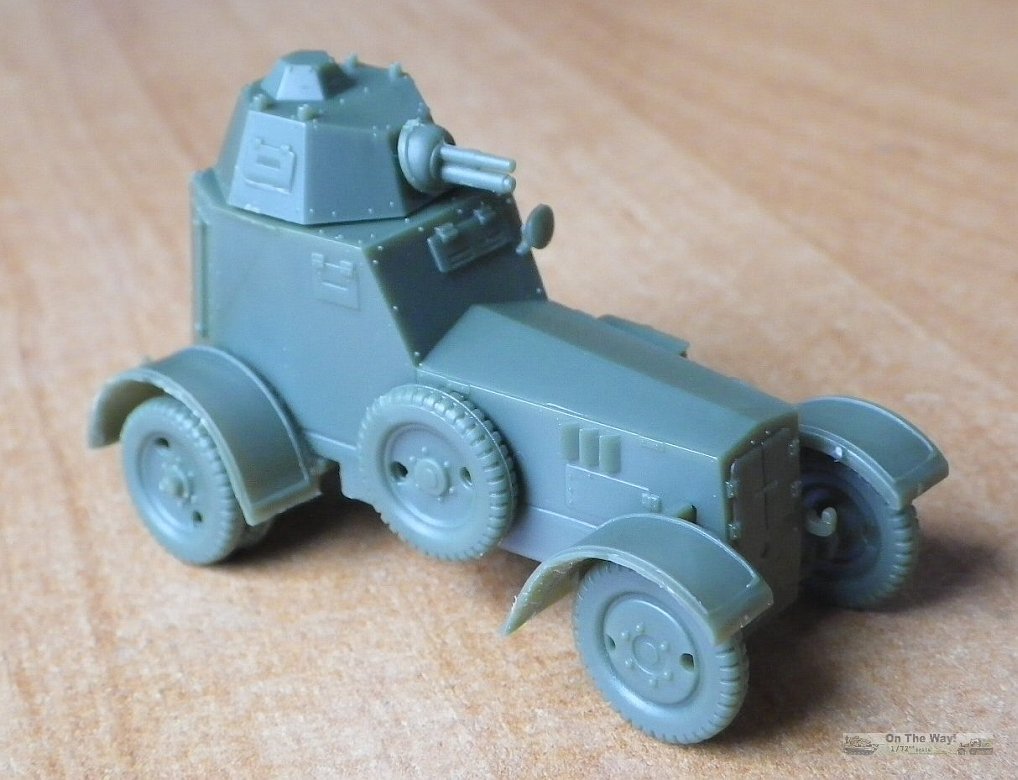
while they keep a characteristic shape, not mentioning a correct number of bolts. Indeed, the rear wheel hubs are somehow too shallow, as others have pointed out,
but they are acceptable in my opinion. Apart from rear wheels, the only flaw, that I have found, is an oversized toolbox on the left side, when compared with photos.
Assembly
The plastic is rather soft. You should be careful while removing parts from the sprues,
due to large number of attachment points, and their thickness (personally, I use a razor blade). The plastic is easy to work with, however there will be
cutting nubs, which
should be sanded out and painted.
There is no problem with fitting of the parts. The turret is just stuck on a pin, so it can be rotated although more practical and durable solution would have
been an ordinary pin through the hull's roof. If anybody
wishes, most of the kit can be assembled without glue (parts that must be glued, are the rear doors, spare wheel, headlight and toolbox).
For those wishing more accuracy I offer the following suggestions, not that I consider these as flaws.
- Front armour skirt was a separate part, so it can be cut off just above the hole for the engine starter crank, and glued on separately, sticking out
some 0.5mm towards the front
- An engine starter crank also can be made - it was often stuck in the hole, although not always
- Some cars had a front bumper, but not all
- Forward supports of front fenders could be thinned carefully, cutting off the small triangles from the upper side, according to photos
- There could be also made thin struts supporting front and rear fenders from above
- If anybody wants to detail the chassis, a full frame should be made, with several transversal beams (I can email anyone interested a
drawing from the manual, which also can be found in several books). In that case, a pattern of cross planks should be added to a floor as well.
The car also should a have a muffler underneath, next to an engine and transfer case, but unfortunately, there is no drawing to show its exact position.
In my opinion, there is no need to fiddle with the leaf springs, which are decent and delicately molded.
- The toolbox on a left side looks a bit oversized and could be replaced with a smaller one, using photographs for reference
- It is worth engraving the lower edge of turret's side hatches, which are slanted in the kit due to casting technology
- There can be added a small thin disc atop the commander's cupola, with a transversal hinge line
Conclusion
I highly recommend this model, due to its unique subject, overall quality, accuracy, level of details, and value for money. Since this is an armoured car, it is
free of flaws and simplifications connected with tracks and suspension, typical found with quick build kits. The kit allows to create a nice little car with
no additional effort.
Preview sample purchased by the author.


|