Corporal Overby's Motor Pool |
www.onthewaymodels.com |
E-10 |
|||
Kit # MP051 |
Preview by Rob Haelterman | ||||
Corporal Overby's Motor Pool |
www.onthewaymodels.com |
E-10 |
|||
Kit # MP051 |
Preview by Rob Haelterman | ||||
.JPG) |
|
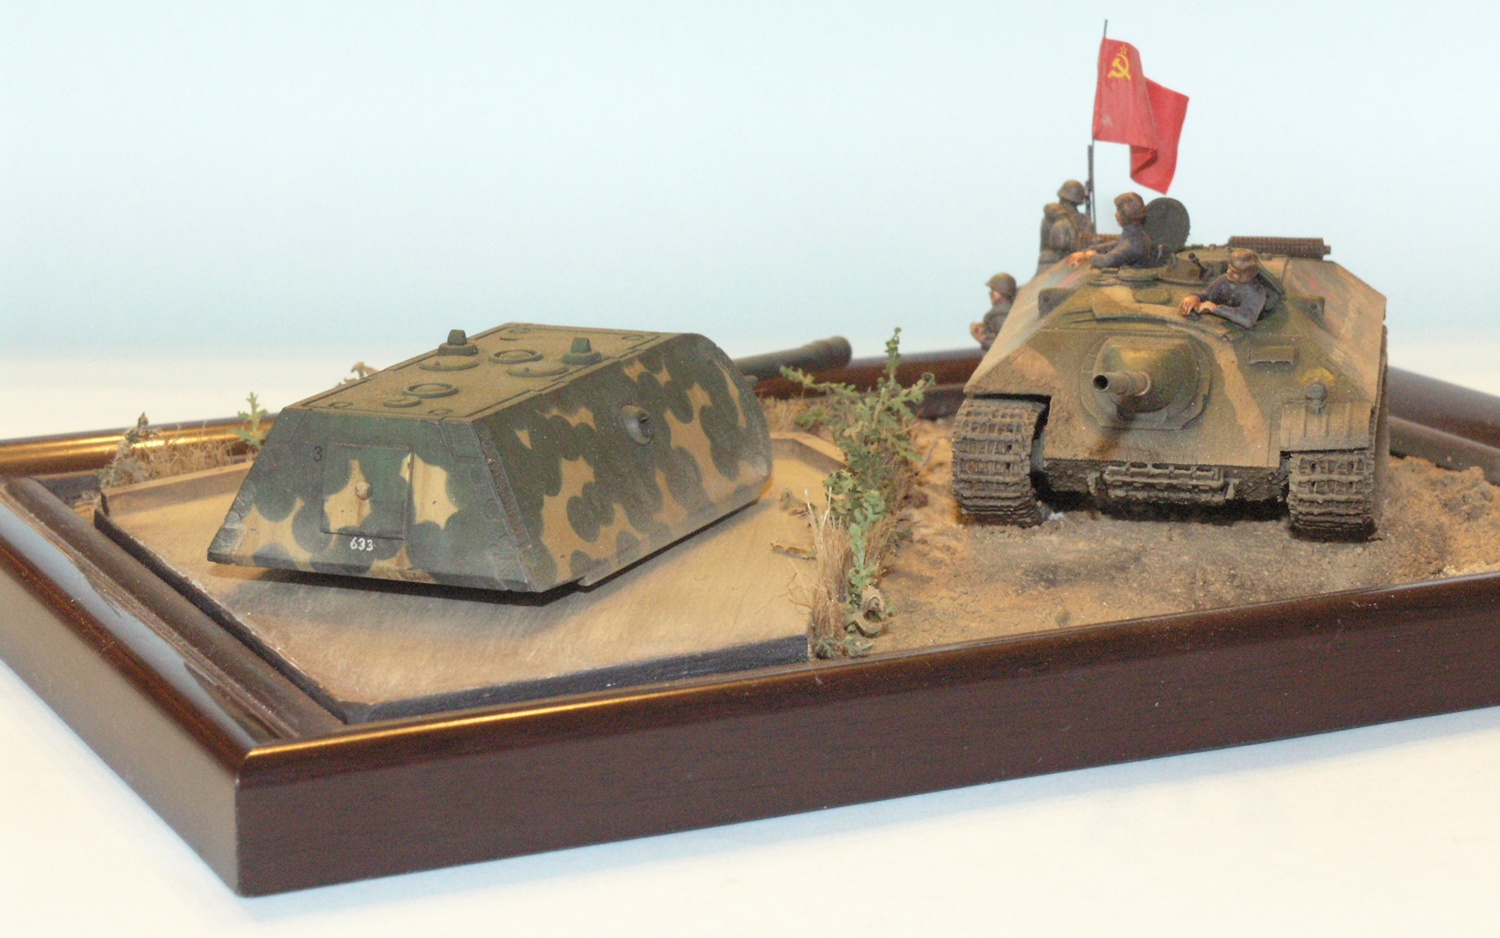
1. History From Wikipedia: "The E-10 design was developed as a replacement of the Panzer 38(t) and the designs based on it. The designs based on this new chassis would all be in the 10 to 25 tonnes weight class. The intention was to create several new light tank destroyers as a replacement for the Jagdpanzer 38(t), as well as a new family of Waffenträger armed with heavy anti-tank guns. A very particular feature of the tank was its ability to "squat": lowering its running gear so it could lay on its belly in ambush."
2. Packaging The parts came in a plastic ziplocked bag. As this kit was part of an order, the whole order came in a sturdy cardboard box.
3. Parts
I believe the parts lay-out above speaks for itself. The hull is a single block, without notable imperfections and apart from the running gear there are very few parts. I am actually very impressed with the hull. It is perfectly straight (no warping, concavity, etc.) and with very crisp detail. Air bubbles are very rare (meaning I could count them on the fingers of one hand) and easily dealt with.
4. Building experience I started by cleaning up the major parts. The
hull does not need much in the way of cleaning up, except for There is almost no assembly needed for the hull apart from the gun mantlet, the hatches and the rundumfeuer MG. The hatches can be left open or closed. There is inside detail to them and in the closed position the rectangular hatches can just be kept in place by friction, which is practical if you want to paint the hatches in a camo pattern but would like to have them opened in the end. There is a small difference in shape between the hatch and the opening though. The track
units come as single units to which the outer roadwheels and outer
halves of the idler and sprocket have to be added. Casting is very
nice, with a nice straight assembly and good detail, even including
the track pins and track face detail. 5. Personal touch As I noticed there was a rather prominent gap below the gun mantlet (in the design, not just in the kit), I decided to add some spaced Vorpanzer made from plasticard and metal rods. I added two layers, the front layer also giving some protection to the tracks. 6. Painting and marking options No painting/marking options or decals are provided. Then again, the vehicle was never built, so let your imagination run wild. I mixed some colors together, and added Slovak decals from Aleran's AX-2 (Axis Minors) set.
Sample kit bought by author. |
| Back to Cpl Overby's Motor Pool Kit List | Back to Construction Reviews |
Article Last Updated: 24 May 2013 |
Back to Home Page |
.jpg)
.jpg)
.jpg)
.jpg)
.jpg)
.JPG)