|
--Attack |
SU-76i Soviet Army |
|||
| Kit # 72890 | Construction review by F. Giovagnorio | |||
|
--Attack |
SU-76i Soviet Army |
|||
| Kit # 72890 | Construction review by F. Giovagnorio | |||
 |
|
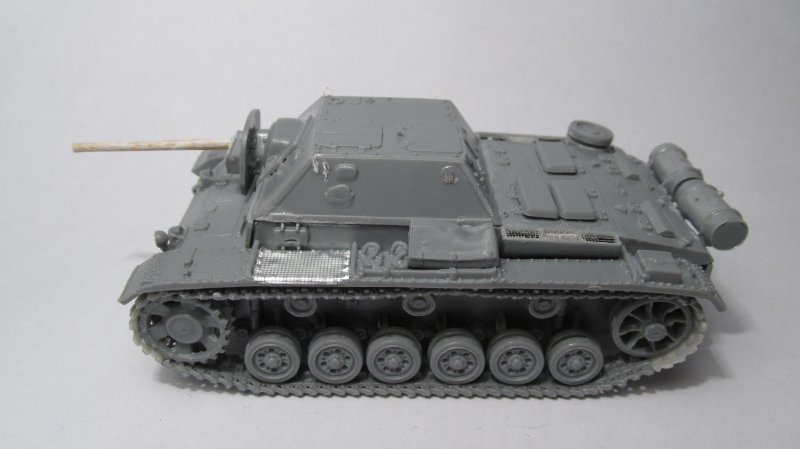
Construction
First point of attention: do not expect well engineered peg/hole combination between axles and wheels: in fact, there are no holes on the internal wheels (pieces 12), but rather a shallow depression. Either you drill the holes yourself, or cut the axles and use a good blob of glue to keep the wheels in place and well aligned. Naturally, this applies to rollers too. Also, spare wheels (37 and 38) should not be confused with the other wheels. Anyway, after some careful work, the final results are rewarding and accurate.
Despite my best efforts, I could not avoid a rather large gap between lower tub (piece 1) and upper hull (piece 39). It will be visible when the model is finished, so it needs to be filled. No particular issues with tracks: straight parts (13 and 14) must be bent somehow to create some sagging, but this is not difficult to do. Curved sections around sprockets and idlers are supplied as resin parts, and they match rather well with the plastic parts, so the final effect is satisfactory. Working on upper hull, lateral visors (36) are accurate, but there are no clues about where exactly they must be glued (a bit more forward ? too much ? too less ?), so you must rely on pictures of real vehicles. Posterior air intakes (33 and 34) are rather rudimental, missing a third central slit and the external grille, which must be added. 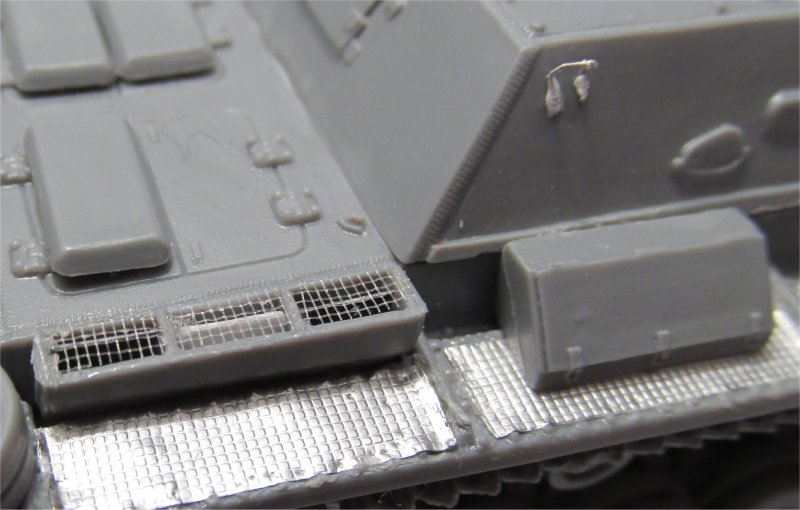
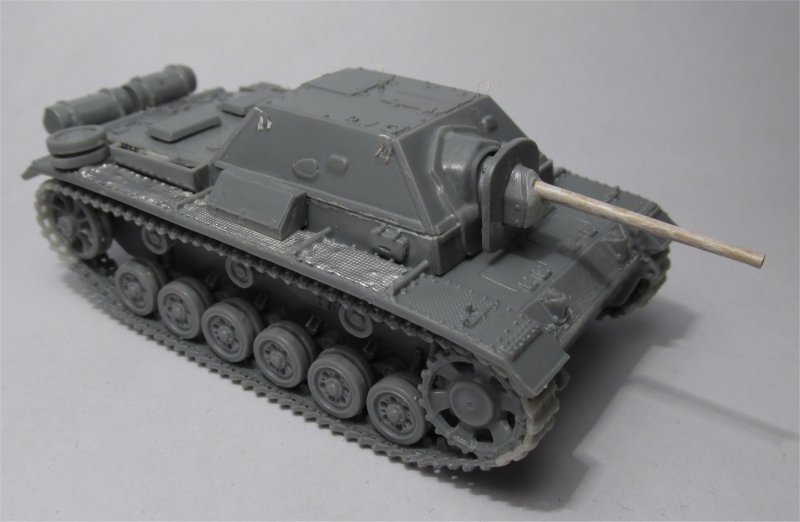
As I wrote in the preview, there are too many tools on the fenders for a SU-76i, so I cut out some of them and replaced part of the fenders with tin foil which happened to have a similar thread pattern. 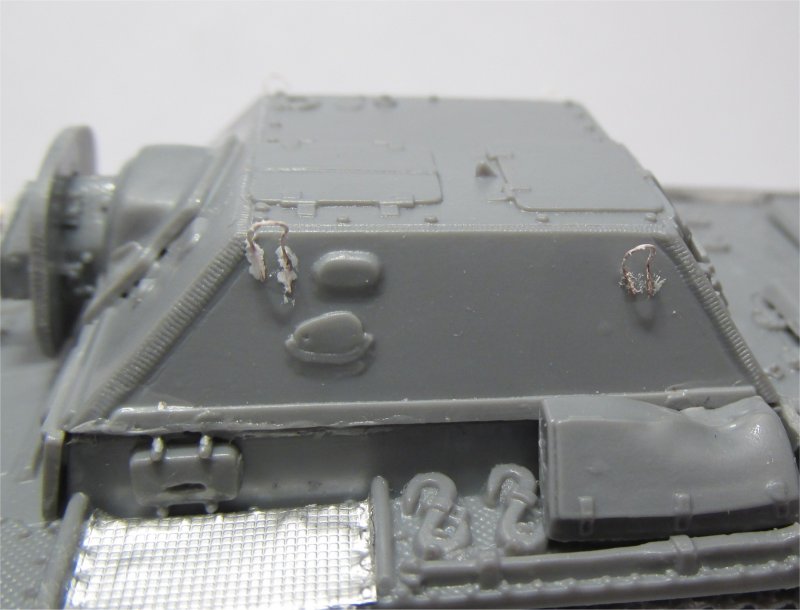
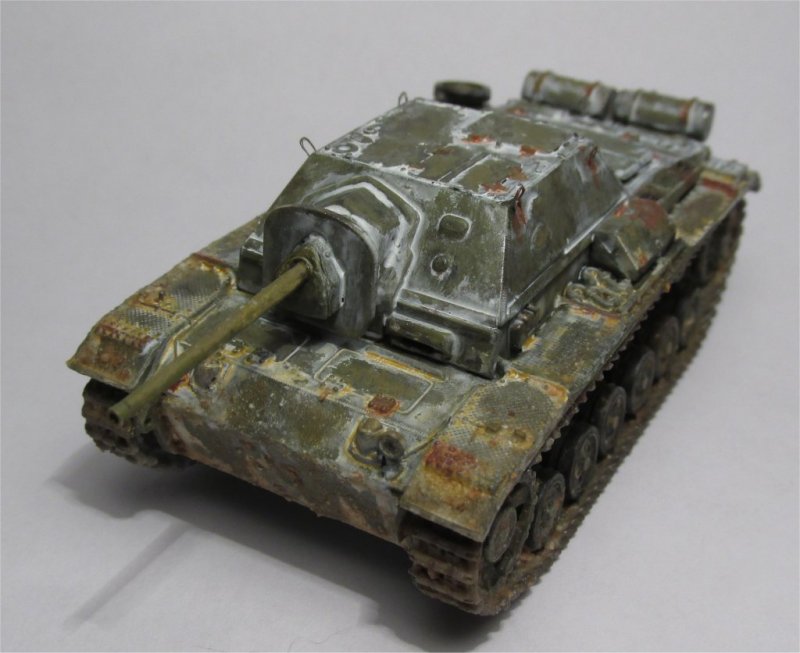
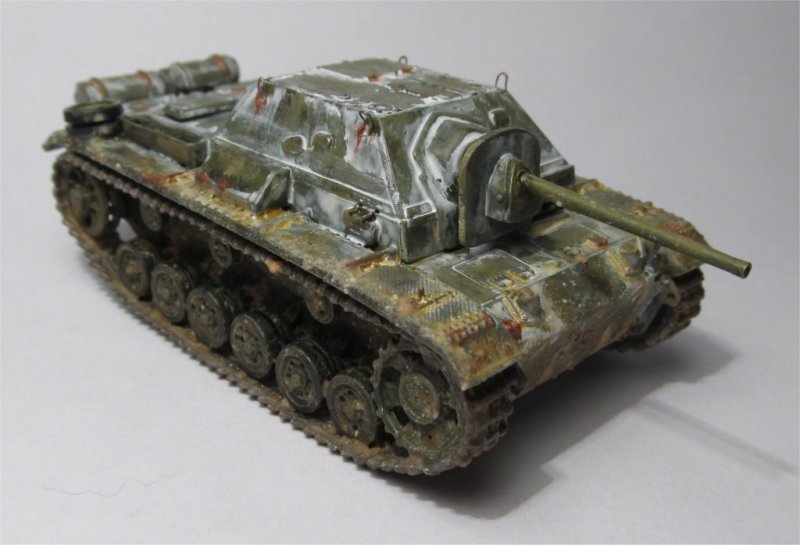
Working on the casemate, there are no particular issues: the metal barrel is accurate and in-scale, while the hole in the mantlet (23-24) is not, because it is too large and needs to be filled. Also, four handles from very thin wire must be added near the superior four angles of the casemate: pictures show them as being home-made, hance rather uneven and showing heavy traces of soldering. On a photo, I spotted battle damage on one of the lateral bins (40), and I decided to reproduce this detail with controlled application of heat. Finally, assembling the posterior fuel tanks (25-28) requires extra care to avoid seals where the two halves meet. Painting, insignia and weathering Usual WWII Russian Green, with no insignia, as it seems these vehicle almost always had none of them. A very worn out winter camouflage indicates that it is operating during late winter/early spring 1944. Heavy signs of fading, wear, rust and mud remember the harsh conditions in which soviet vehicles operated during that crucial phase of the war. 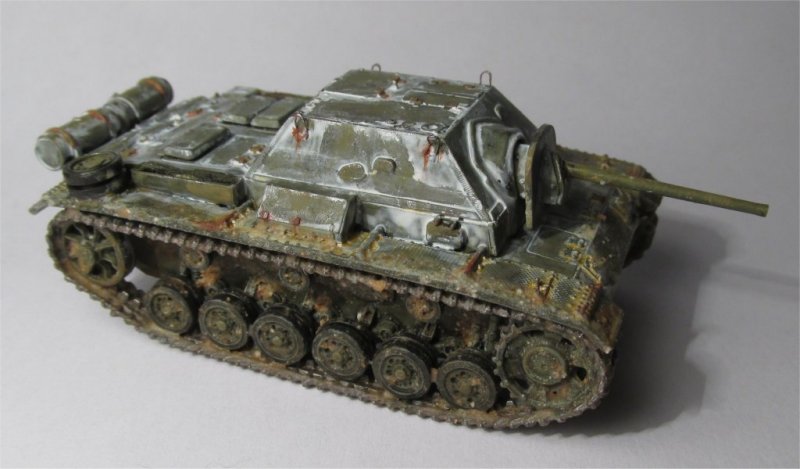 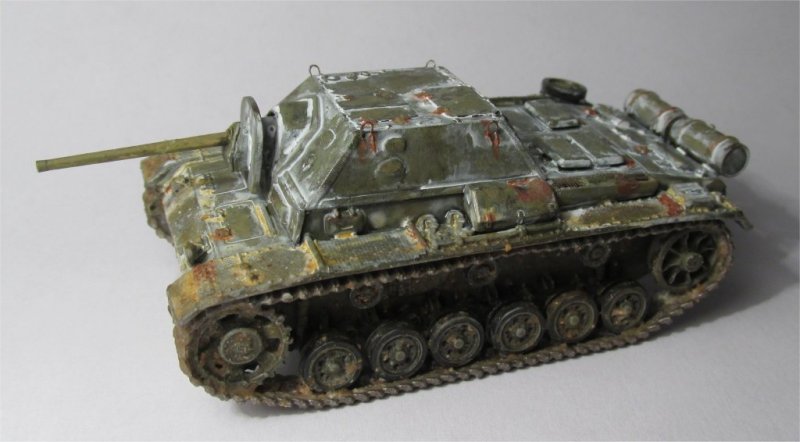
Conclusion
Preview sample provided by Attack.
This model can be purchased from |
| Back to Attack Model Kit List |
Back to Construction Review Page |
Article Last Updated: 15 May 2016 |
Back to Home Page |