|
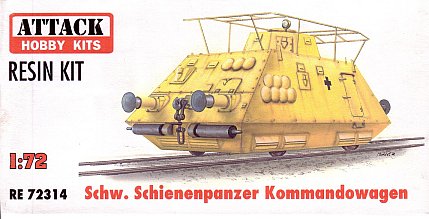
Attack
|
Schw. Schienenpanzer Kommandowagen |
|||
| Kit #: RE72314 |
Review by
- Al Magnus
|
|||
|
Attack
|
Schw. Schienenpanzer Kommandowagen |
|||
| Kit #: RE72314 |
Review by
- Al Magnus
|
|||
 |
|
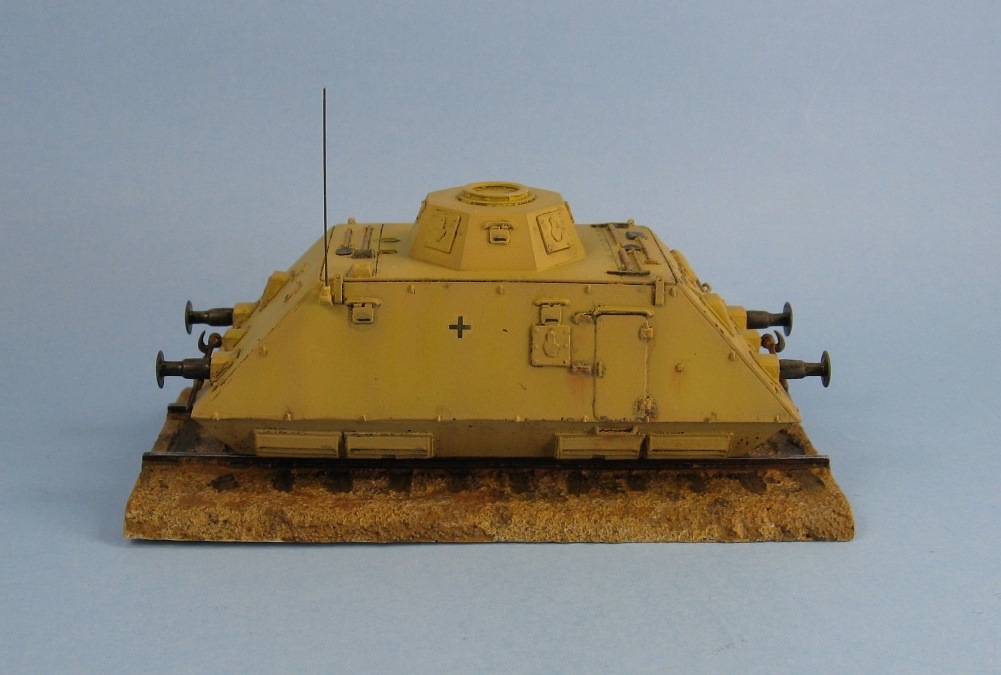
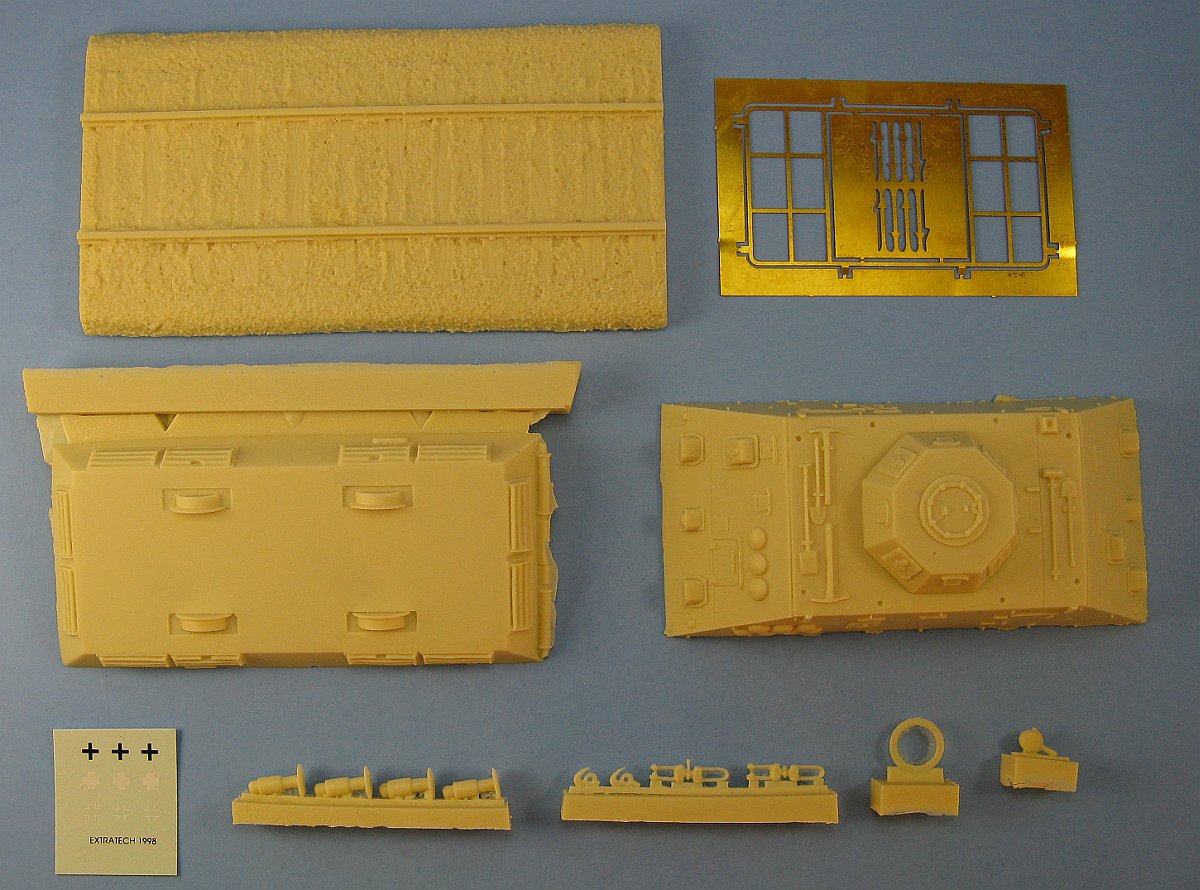
Inside the box are 13 cream/bone coloured resin parts: 12 pieces for the vehicle itself plus a railroad section base. There is a small decal sheet containing six Balkankreuze in three styles - two solid black, two solid white and two white outline only. A small photo-etched frame is provided for the bed frame antenna and its four mounting posts. One oddity was found in the instructions, which shows the wheels as separate parts to be glued to the lower body pan, but in reality the wheels are molded integrally with the pan. Somebody wasn't dropped the ball here! Before construction could commence an inspection of the parts was done to identify any holes and to check the general quality
of the castings. What I found was:
The body comes as two separate and hollow parts, one piece each for the upper hull and lower hulls. Unfortunately the joint between the two parts did not match very well. The top half was slightly wider than the bottom half causing a very noticeable step where the two met. Now I don't have a lot of reference material for this vehicle but I'm pretty sure that the top and bottom halves should produce a flush joint and not have a step. So I had a dilemma on my hands - either leave things as is or at least try to mitigate the situation. I went with the latter choice and tried to get the two halve to line up properly. I was able to get a short run of the center portion of the upper hull to meet along the edge of the lower hull by spreading the upper hull part slightly with a piece of plastic sprue glued between its sides, but this was not possible near the fore and aft portions of the upper hull as there was not enough flex to allow the part to be spread as I had done for the middle. So in the end I had to just leave the fix partially done and live with the end result. The bed frame antenna was an etched part. I didn't like its flat look and it turned out to be very easily bent out of shape. I didn't even bother adding it and chose to fill the mounting holes to convert the vehicle into the non-command Infanteriewagen version which lacks the bed frame antenna but is externally the same as the Kommandowagen. The supplied spotlight was not added and its mounting hole was filled. None of my reference pictures showed one mounted. Some sanding was done to add some curvature to the mufflers and some sandpaper was run edgewise between the exhaust pipes and the body to produce some separation. Then a hole was drilled in each pipe to make them look like hollow tubes. I had a real problem with removing the bumpers from their pour stubs. No matter how careful I was each one had a small notch in its rim after it was removed from its pour stub. I also noticed that one of the bumpers was a bit smaller in circumference when compared with the other three bumpers. And finally all of the bumpers exhibited a small low spot on the dish shaped surface. So out came the super glue and baking soda again to repair the notches, fill the depressions and to add some size to the single runt. A lot of sanding and scraping got them all to an acceptable state and matching each other in size and shape. Usually I try to replace as many of the handles as possible with wire but for this one I limited myself to replacing the handle on the engine access panel. I would have liked to do the steps by the doors but there was not a lot of room to work here and I wasn't confident that I could cut off the resin ones without causing too much damage to the surrounding detail. I also added an antenna and mount to the side as per my references. The primer coat revealed another issue with the kit. Unseen and only discovered after the primer was applied was a fairly wide, but not too high, bulge in the resin that spanned the full length of one side of the body. My first thought was to try and sand away only the bulge but that was quickly discarded as the bulge went through a lot of the kit's detail and sanding was sure to damage most of it. So that left me with the option of either completely replace the side with a scratch built panel or try to sand the panel flat, but in either case I would have to add the removed detail afterwards. In the end I just crossed my fingers hoping that the bulge wouldn't be too noticeable after the paint and weathering was applied. Painting did camouflage the bulge though if you look real close it is still noticeable. I found that the panel lines excised into the kit caused the pin washes to settle in the low spots and make the panel lines look more like dashes. I feel that this was probably caused by inconsistent depth something that you usually don't see with an injected plastic model kit. Decals were so so. I couldn't remove the slight silvering of the carrier film and after eight soakings with Microsol I just gave up and let them be. This is my first complete armour resin kit. I bid on this kit in an eBay auction figuring this would be an easy build because it looked like it had few parts. Well I was right on about the part count, not so accurate on the ease of build. In the end this one didn't leave me with a warm fuzzy feeling about the quality of Attack's other resin kits or of resin kits in general. References:
Review sample purchased by the author. |
| Back to Attack Kit List | Back to Construction Reviews |
Article Last Updated: 01 February 2010 |
Back to Home Page |