|
|
www.onthewaymodels.com |
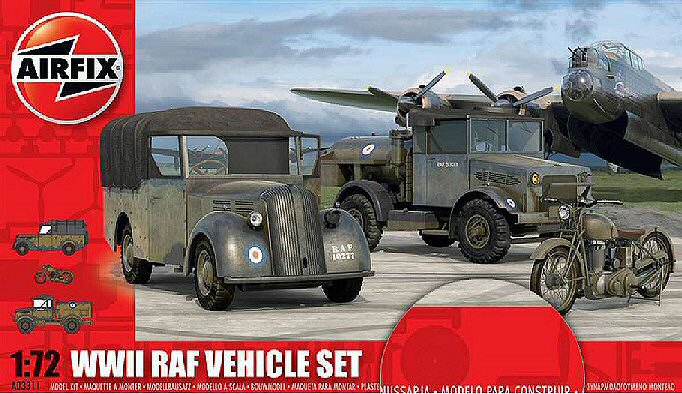
WWII RAF Vehicle Set |
|||
| Set #: A03311 | Review
by Carli
Danilo
- 172normandyafv(at)gmail(dot)com Edited by Rob Haelterman |
||||
|
|
www.onthewaymodels.com |
WWII RAF Vehicle Set |
|||
| Set #: A03311 | Review
by Carli
Danilo
- 172normandyafv(at)gmail(dot)com Edited by Rob Haelterman |
||||
 |
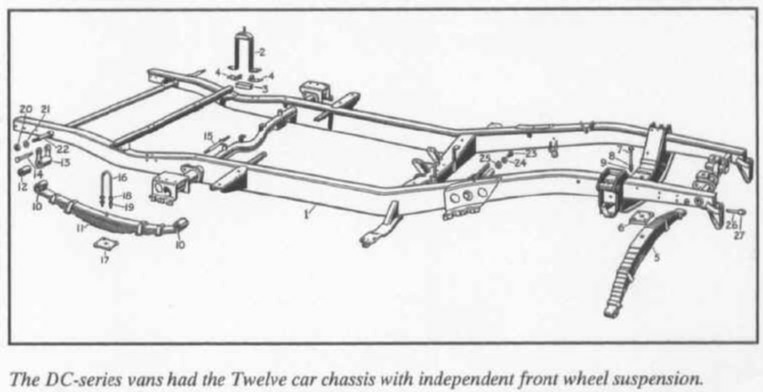
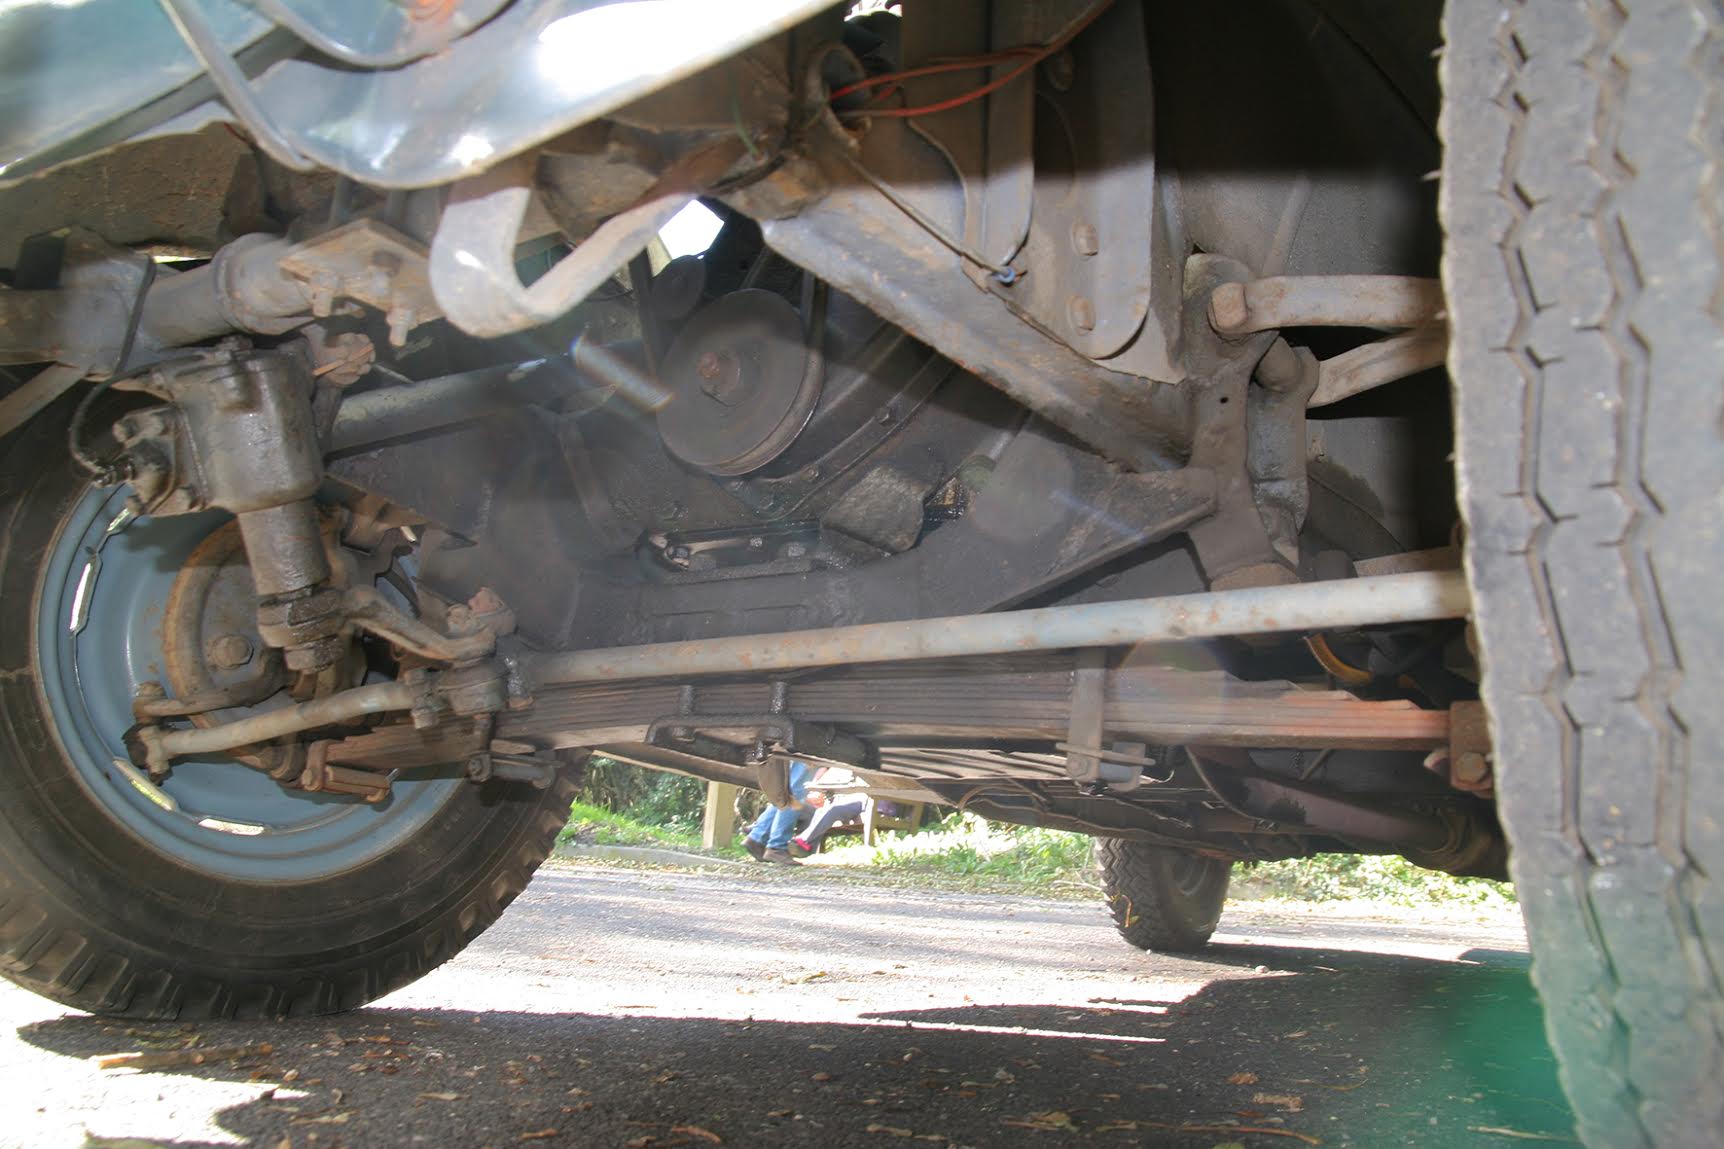
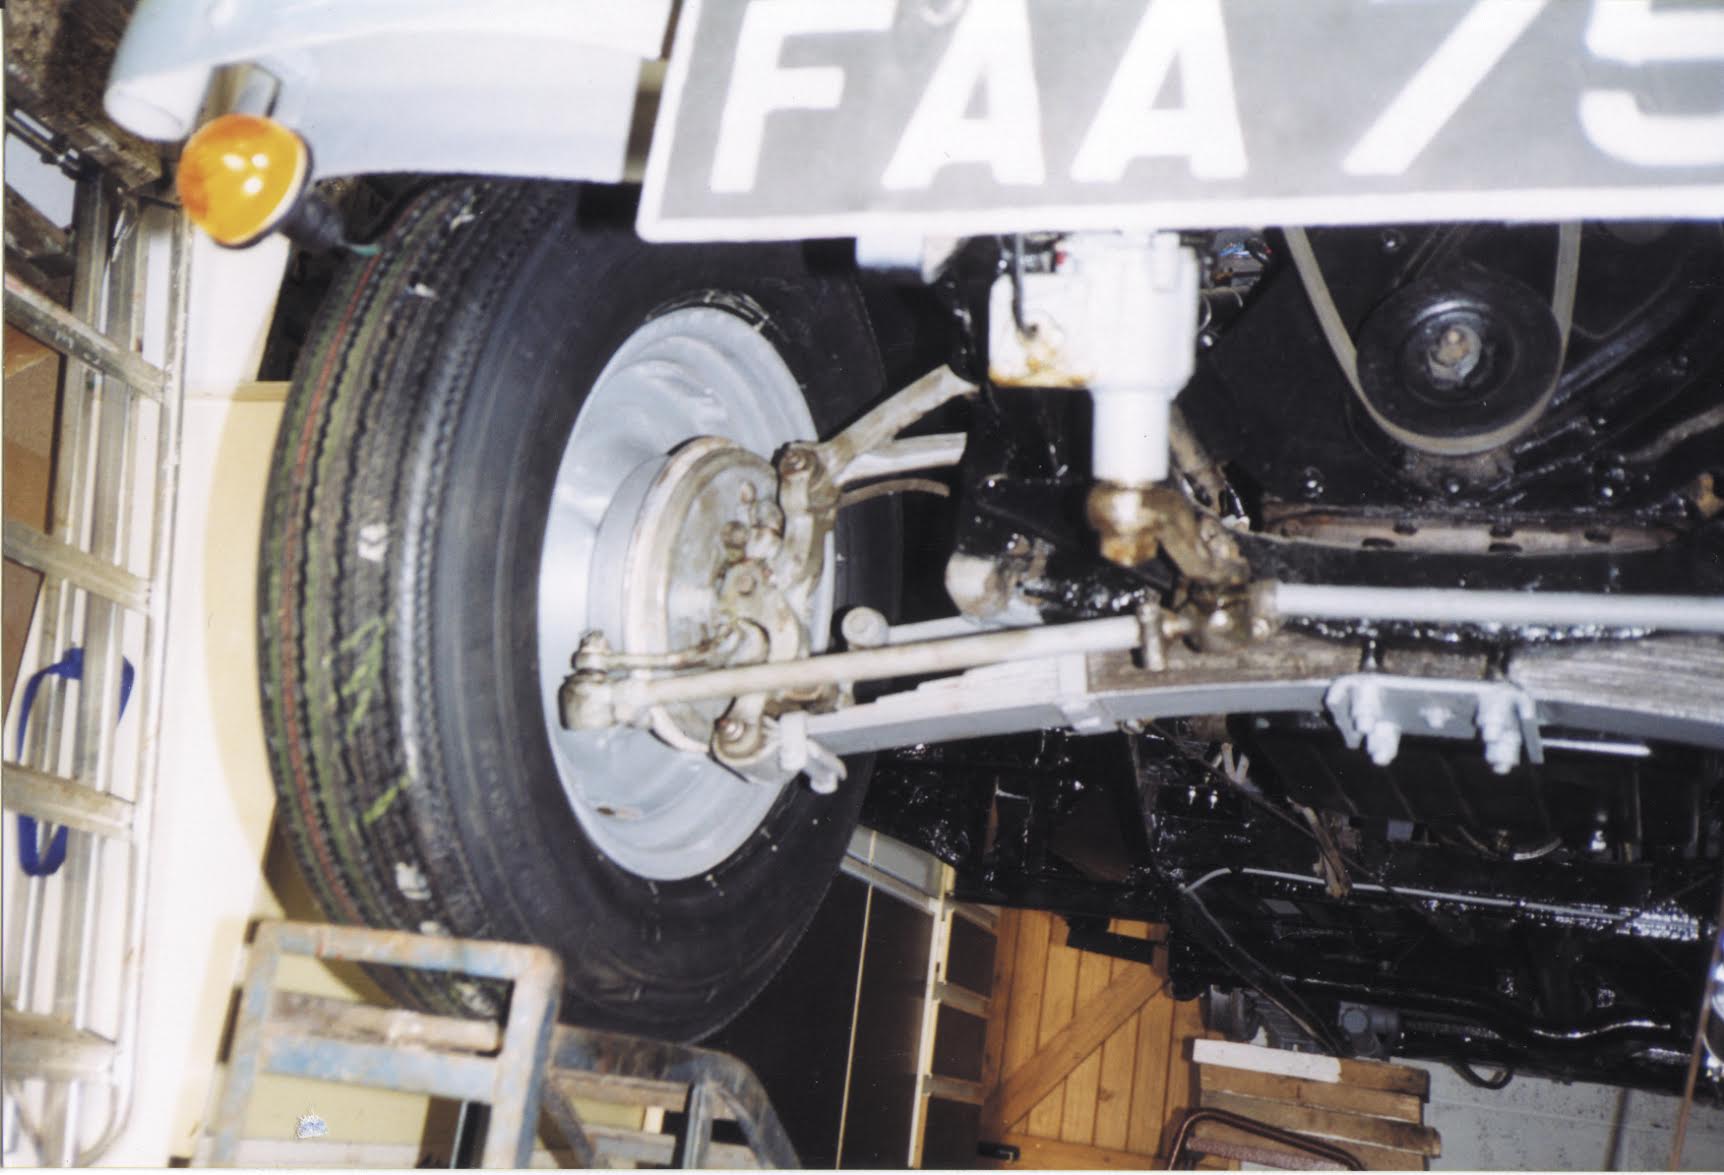
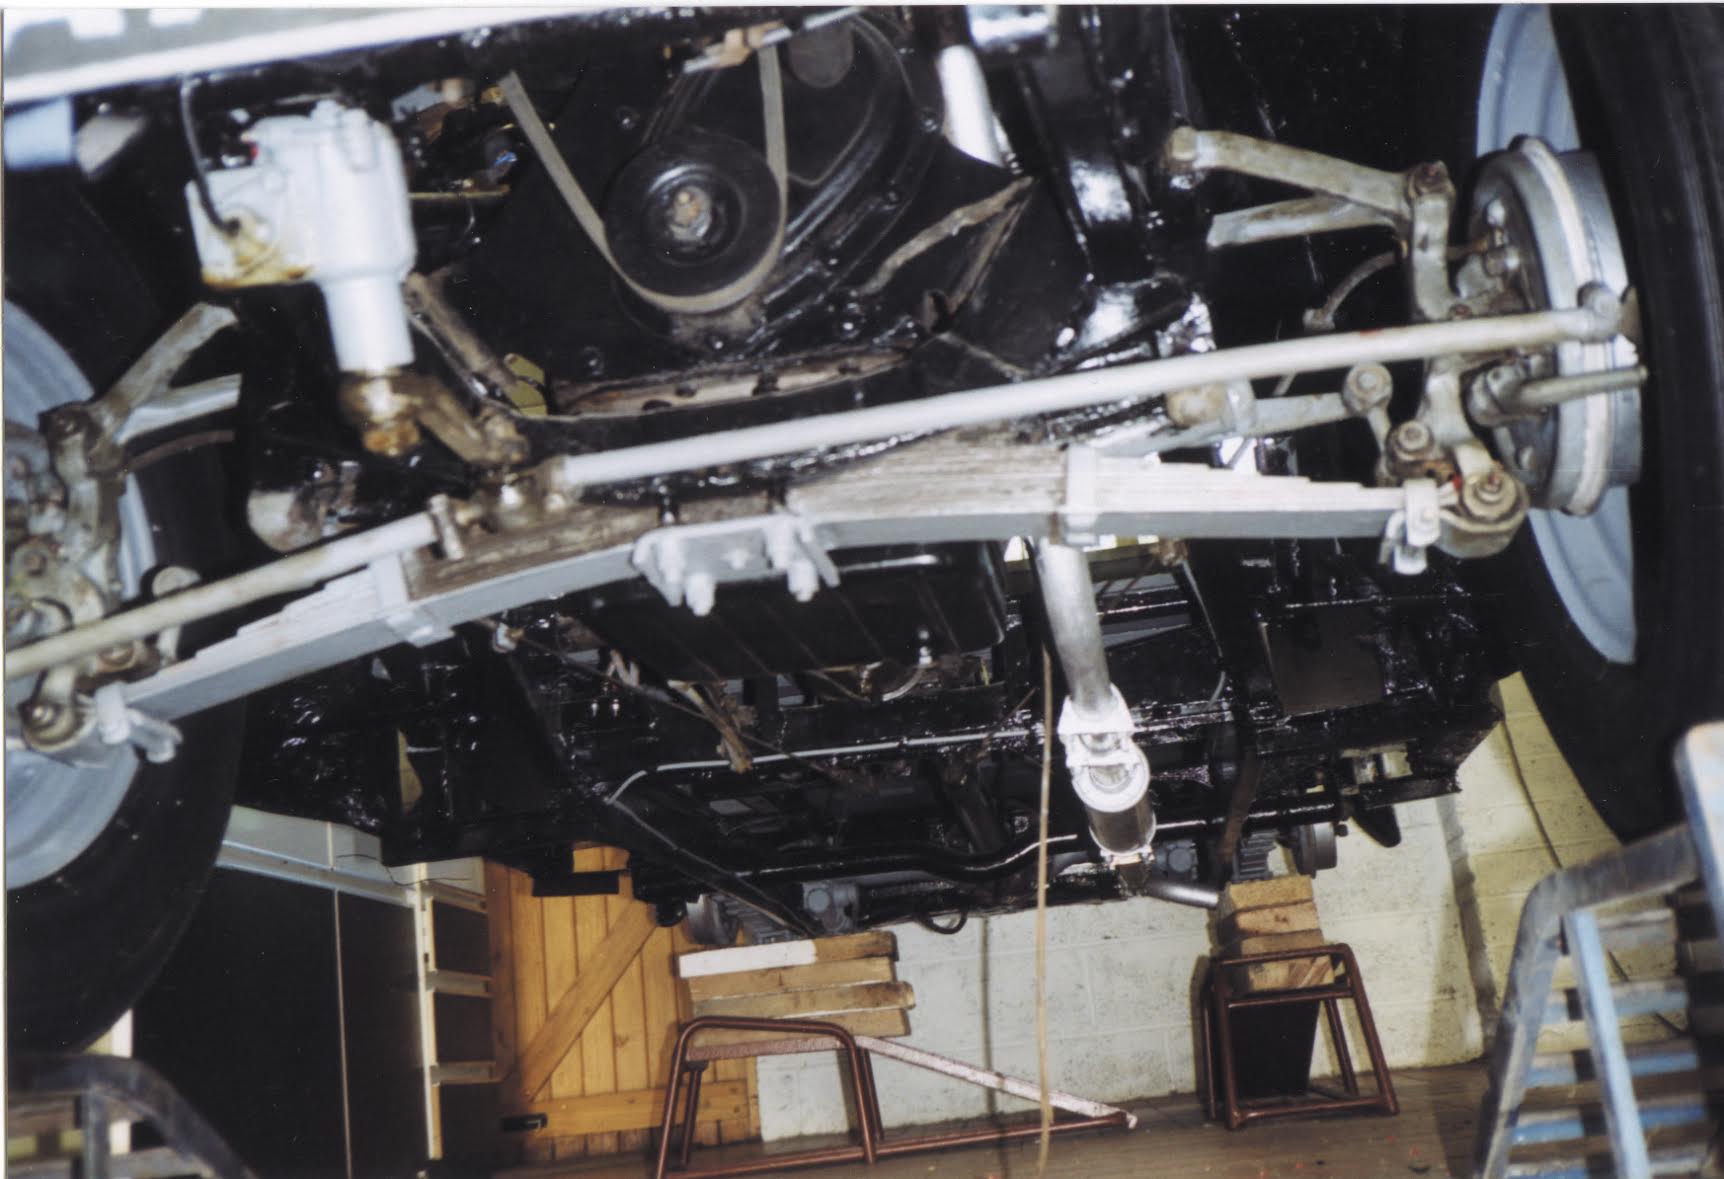
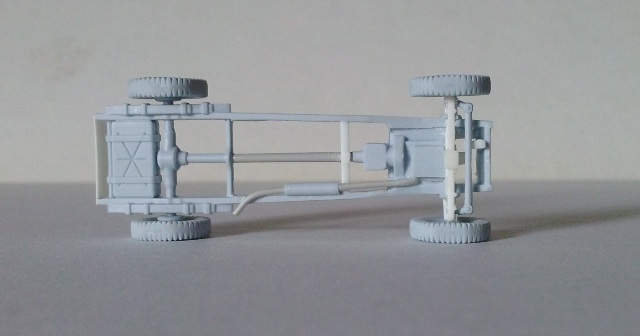
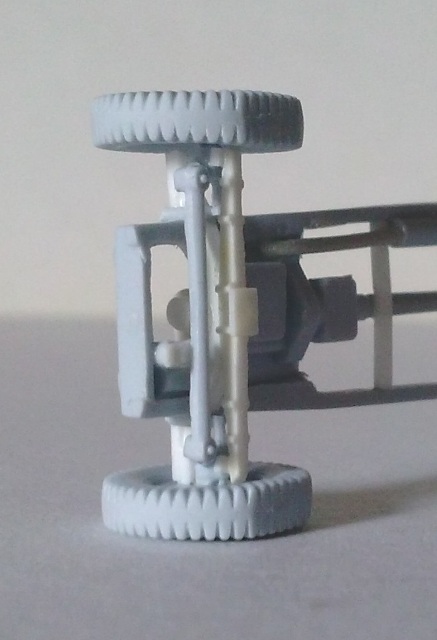
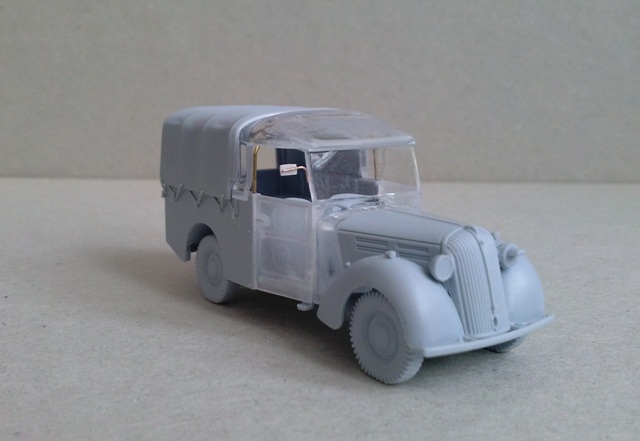
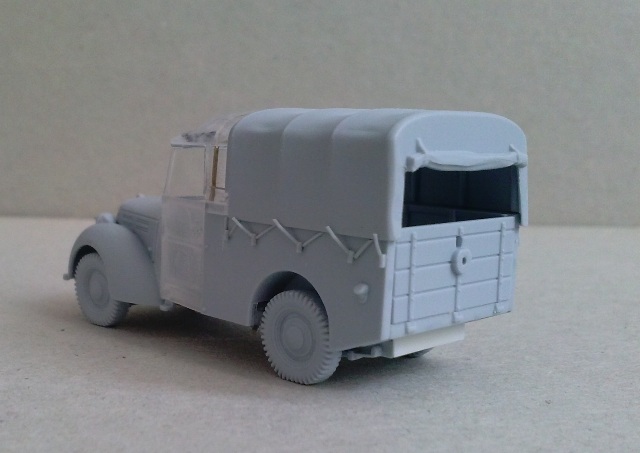
The second vehicle of the set is the Standard Motor Company Tilly. I immediately liked this truck, with its 30’s civilian bonnet. First of all “Tilly” wasn’t the name of a vehicle but a family of vehicles. Four different producers made their own Tilly. The Standard Motor Company was one of them. The Standard Tillies were built in three series plus an ambulance version and a civilian family saloon car supplied at the beginning of the war. The type chosen by Airfix is the 10 cwt DC series, which was allocated only to the Air Ministry. Some useful photos (then and now) of the DC Tilly can be found here: http://standard.tillyregister.com/classic.html The former, narrower 5 cwt BB series was similar. It can be quickly recognized by the different forward mudguards layout and the step at the base of the side doors. The later UV series (allocated also to the Army and the Royal Navy) was quite different, having a longer wheelbase chassis, vertical windshield, different radiator mesh, wheels, sides and doors. For the Army Tillies the WD vehicle class prefix was the letter M (but this is not the case of this kit model which wasn’t allocated to the Army). For a UV Tilly walkaround see here: http://www.wheelsofvictory.com/Brit%20index2.html . About the DC series production changes, the only evidence I found is about the lights which became smaller and set farther apart. Sadly I found only a handful of photos and very little information. What surprised me was that the DC 10 cwt had independent front suspension with a transversal leaf spring and not the double longitudinal leaf springs of the kit (see here: http://www.standardmotorclub.org.uk/page780.html). Judging on the basis of the drawings in the article, the Airfix DC 12 hp (10 cwt) kit seemed to have, under a DC body, an UV 14 hp chassis with the DC wheelbase. I looked for photos of the real structure with no results. I didn’t find a walkaround on the net and only two DC are still preserved today. At the end I wrote to the Tilly Register site. Luckily Michael Shackleton kindly sent me three photos which show the front suspension system. It was effectively completely different! The differences can be described, concisely, as follows: the front axle was a rod, shaped as a large opened “omega” attached to the chassis and which embraced the engine belly. At the endings of the axle, there were two vertical “V” shaped structures. At the lower single point of this was a hinged rod, at the upper points were the hinges of the double endings of the wishbone piece. The opposite rod end and the single end of the wishbone were hinged to the wheel hub. The wishbone and the single rod could move up and down for the suspension of the wheel, with the hub attached to them. Attached to the centre axle bottom there was the transversal leaf spring which endings are attached to the wheels hubs.
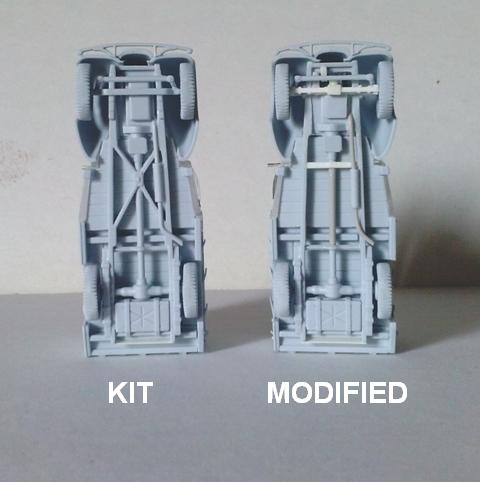
Unfortunately my first Tilly was already made with the kit chassis, because I found the discrepancy after having glued it. But I had a second kit…
Chassis modification After having taken the dimension to maintain the same
ground clearance, I removed the axle with the two leaf springs from
the front suspension.
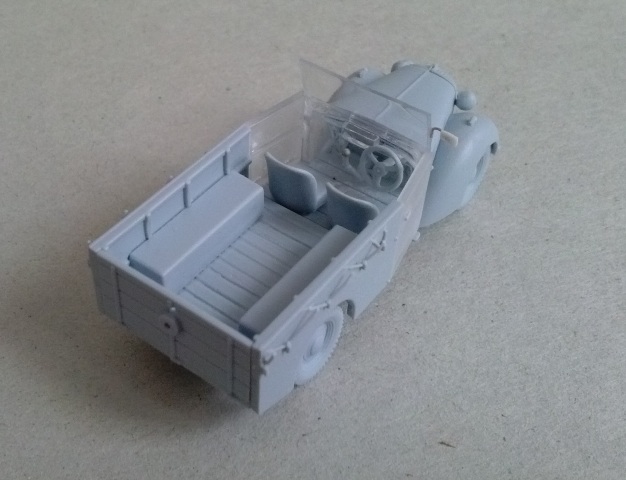
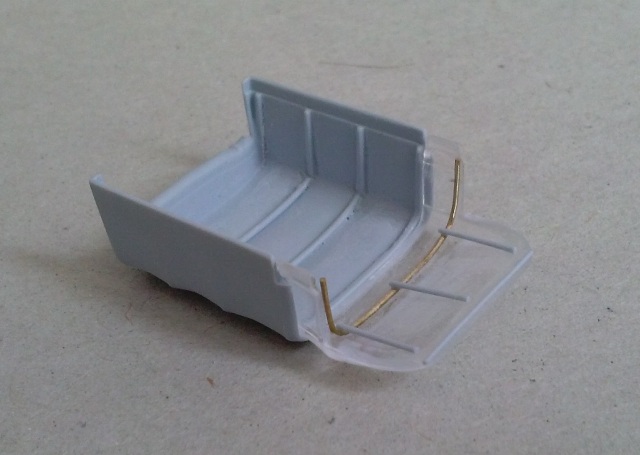
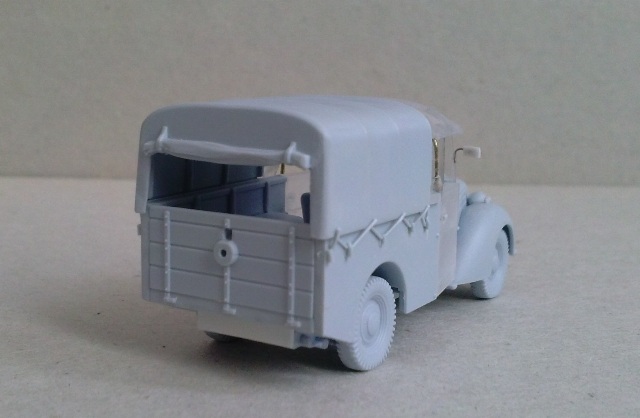
Body Chassis alteration apart, the kit depicts the Standard Tilly early DC type well and very little interventions are needed to improve the model (which dimensions are correct). Also in this kit some pin ejector marks need to be sanded down here and there. In my opinion the kit required a minimum of detail. Here is what I made:
The body
floor is smooth. Based on the photos of the restored vehicle it seems
to be made with wood planks. To engrave their lines I carefully cut
off the wheelhouses and then I engraved the lines. The wheelhouses
were glued in place at the end.
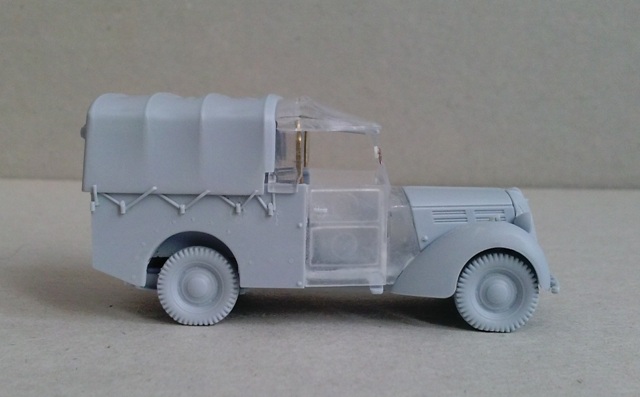
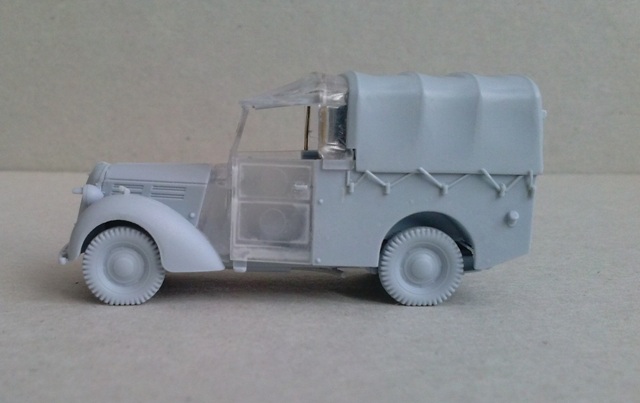
Conclusion Chassis problem apart, in my opinion the kit is well done and looks very nice. If placed on a base or when parked on the shelf, the problem is barely visible. This vehicle series was used only by the RAF and can’t be used otherwise. It will look very well placed near a plane on an airfield background or on a dispersal field. In 1944 the RAF followed the troops in France. I don’t know if some Standard Tilly went there with the planes, but if so that is another background to place it. A particular thanks goes to Michael Shackleton of the Tilly Register for its courtesy and the permission to use its photos in this review.
|
Back to Airfix Kit List |
Back to Construction Reviews |
Article Last Updated: 13 September 2016 |
Back to Home Page |