|
Airfix, Archer Fine Transfers & FB Minis
|
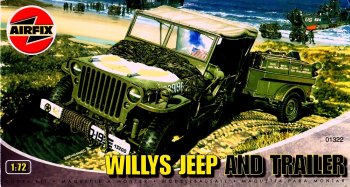
Airfix Willys MB Jeep and Trailer |
|||
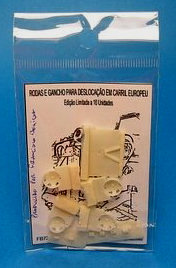
| Airfix Kit #: 01322 Archer Fine Transfers Set #: AR72048W FB Minis Kit #: FB72002 |
Review by
- Al Magnus
|
|||
|
Airfix, Archer Fine Transfers & FB Minis
|
Airfix Willys MB Jeep and Trailer |
|||
| Airfix Kit #: 01322 Archer Fine Transfers Set #: AR72048W FB Minis Kit #: FB72002 |
Review by
- Al Magnus
|
|||
|
|
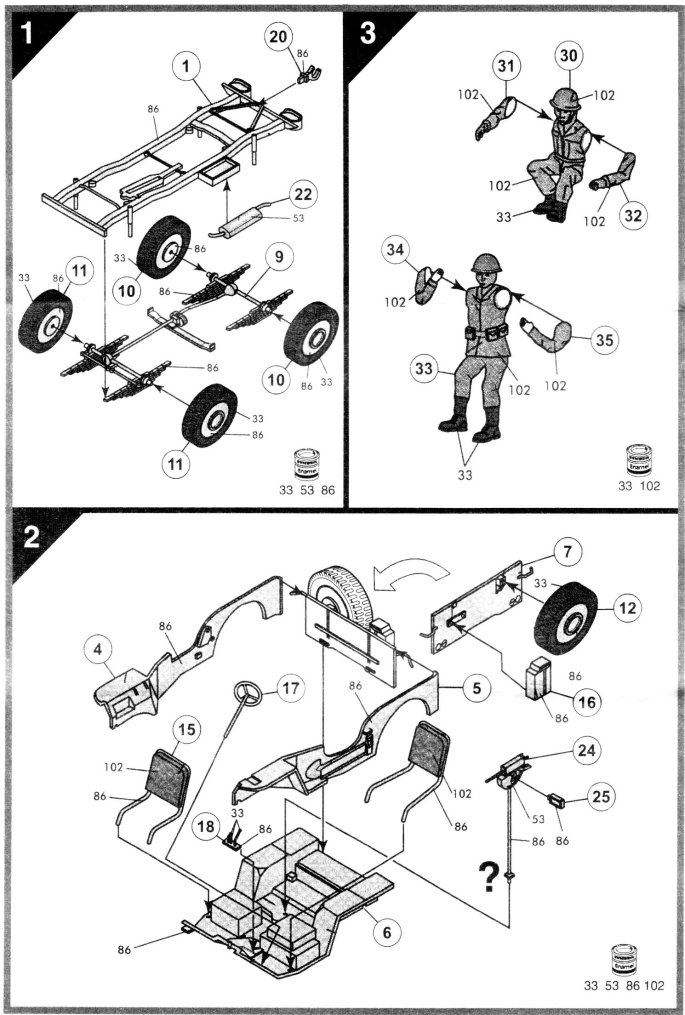
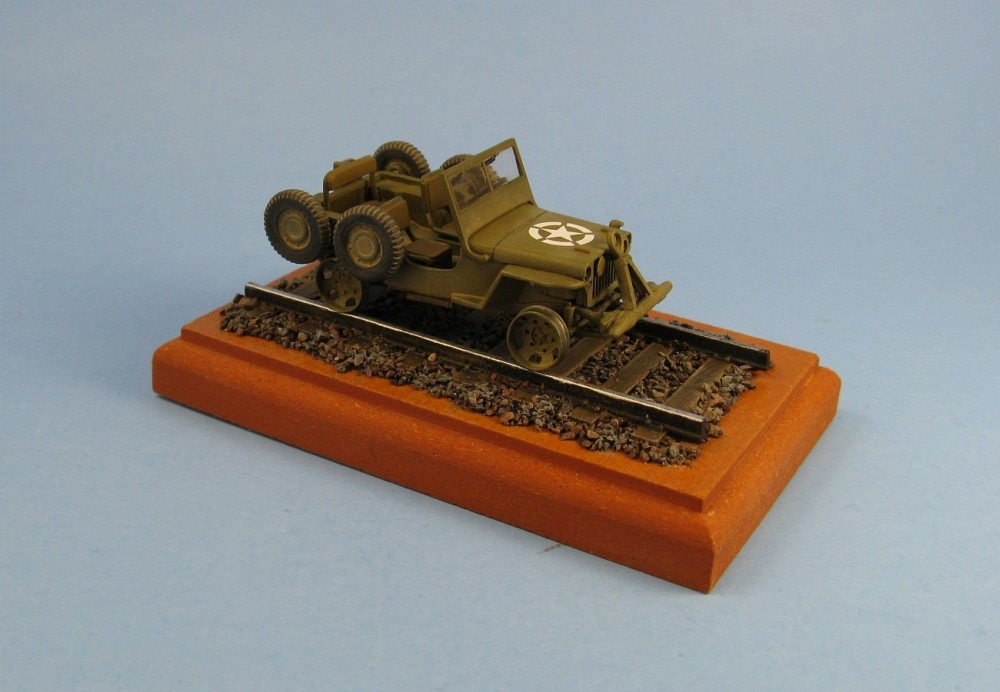
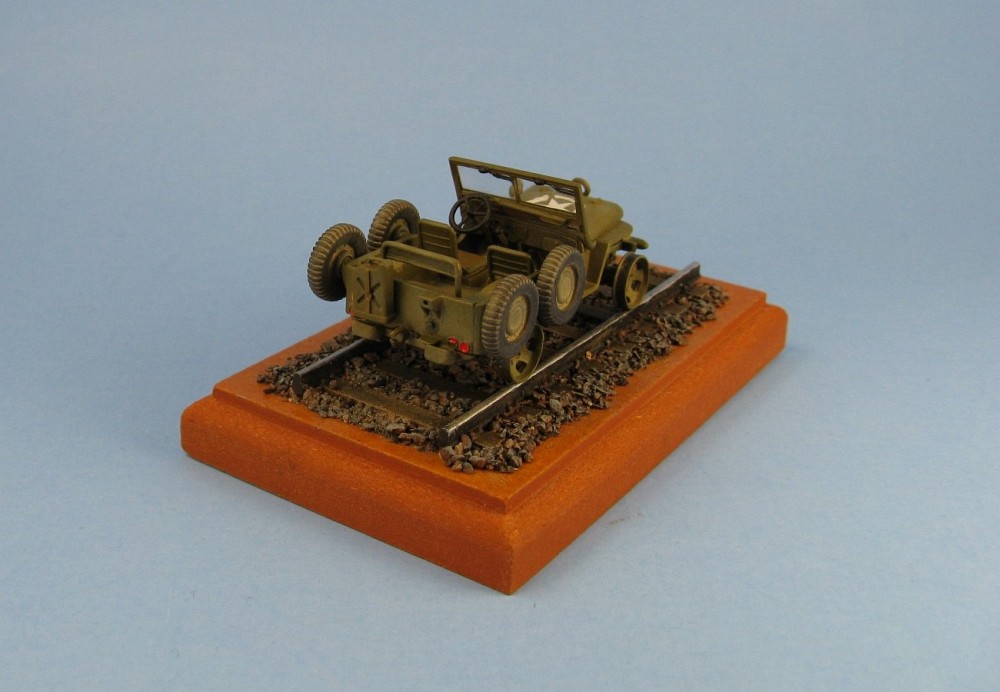
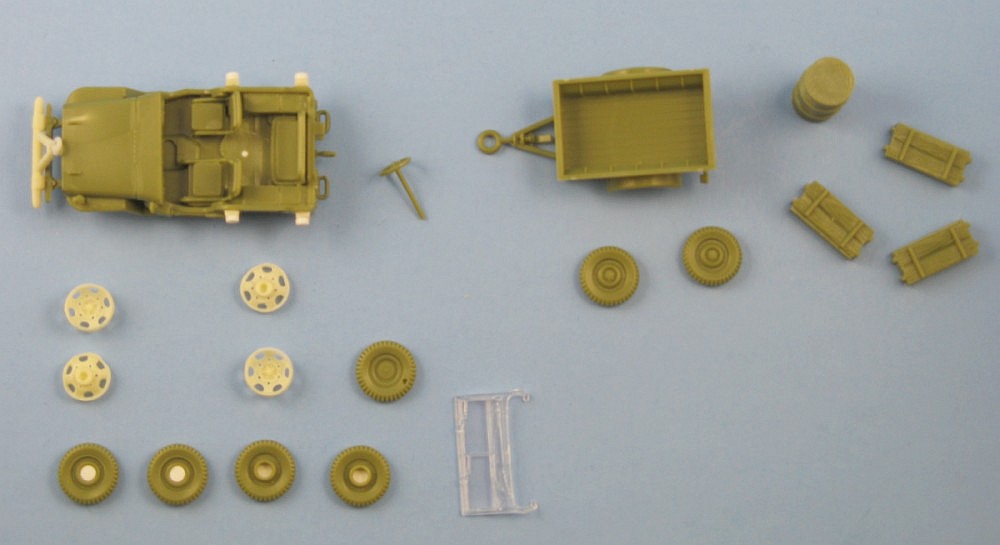
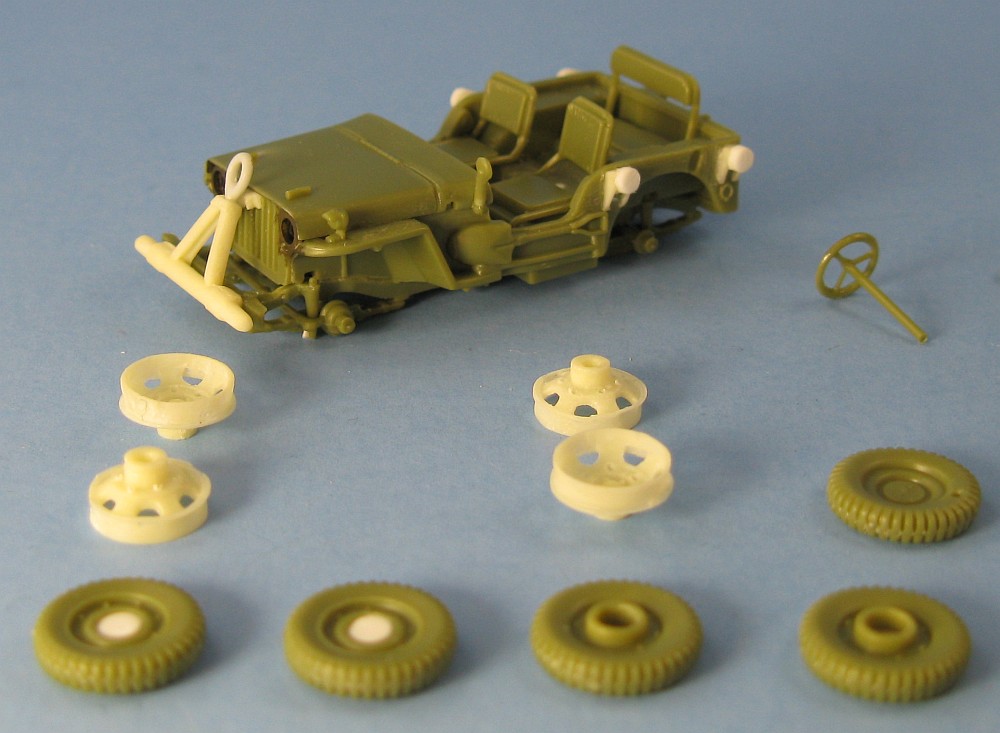
I'm not going to bore anyone about the long and storied history of the legendary Jeep. It was such a versatile machine that one could make a whole collection of only Jeeps, in its multifarious variations, and spend many years doing it. I had wanted to build the Airfix kit for some time, my initial plan being a basically straight out of the box build just to get an idea of how well it was manufactured. When I had the opportunity to try out the FB Minis conversion kit to make a railroad version I leapt at the chance and the Airfix Jeep jumped to the front of the build queue. What you get in the box:
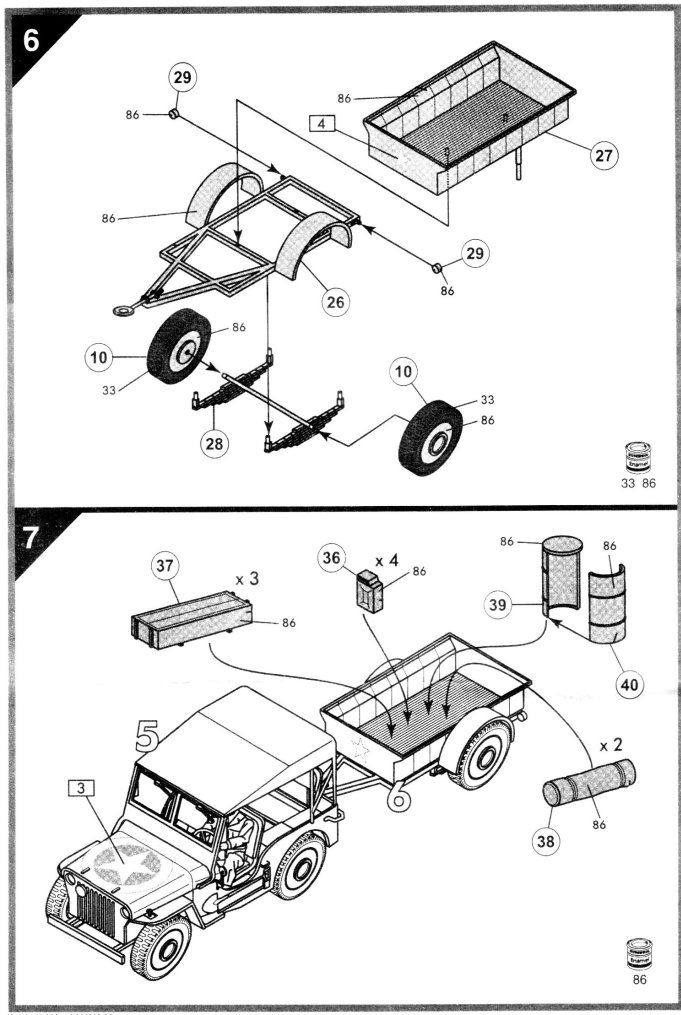
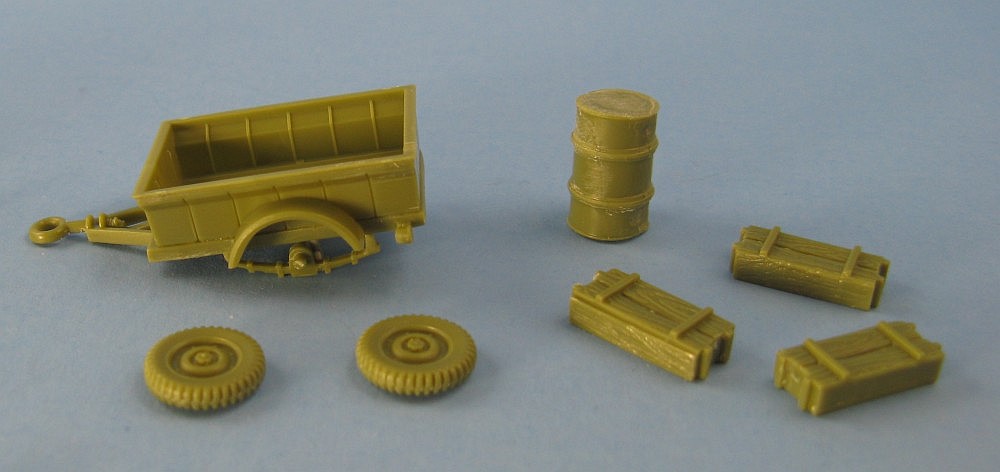
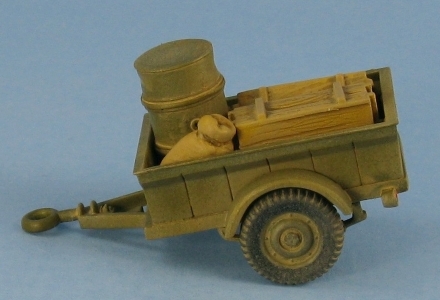
Like all kits you find a few disappointments. No decals are provided for the dashboard instruments. In my opinion this is one thing manufacturers need to do when marketing a vehicle with an open compartment. The decals are very poorly printed; the larger images such as the star insignia show obvious pixilation to the point where you can almost count the dots that make up the image. I did not use any of the decals supplied other than the yellow bridge weight disk, and I made sure that it got right dirty during the weathering process to hide the poor printing. And while I'm on the subject of the weight disk, it is molded right onto the grille (part 3), which will make removal difficult should you wish to build a version that doesn't need one. A nice cover is provided for the passenger compartment but if you leave it off there is no folded framework as you often see in pictures of jeeps with stowed covers. There is a variety of indifferent parts. Jerry cans are too short and squashed, the tools are molded directly to the body, and the leaf springs have no detail for the individual leaves in the spring. Stowage for the trailer is hit-and-miss. Offsetting a set of acceptable wood boxes and a fuel/oil drum is another poor jerry can which is squashed much like the other ones for the jeep proper and a set of rather featureless tarps. The connecting circle on the trailer's tongue is much too large and thick to fit into the trailer hitch.
The windshield has wind deflectors molded to the frame but I chose to remove these. Some issues I encountered during construction are:
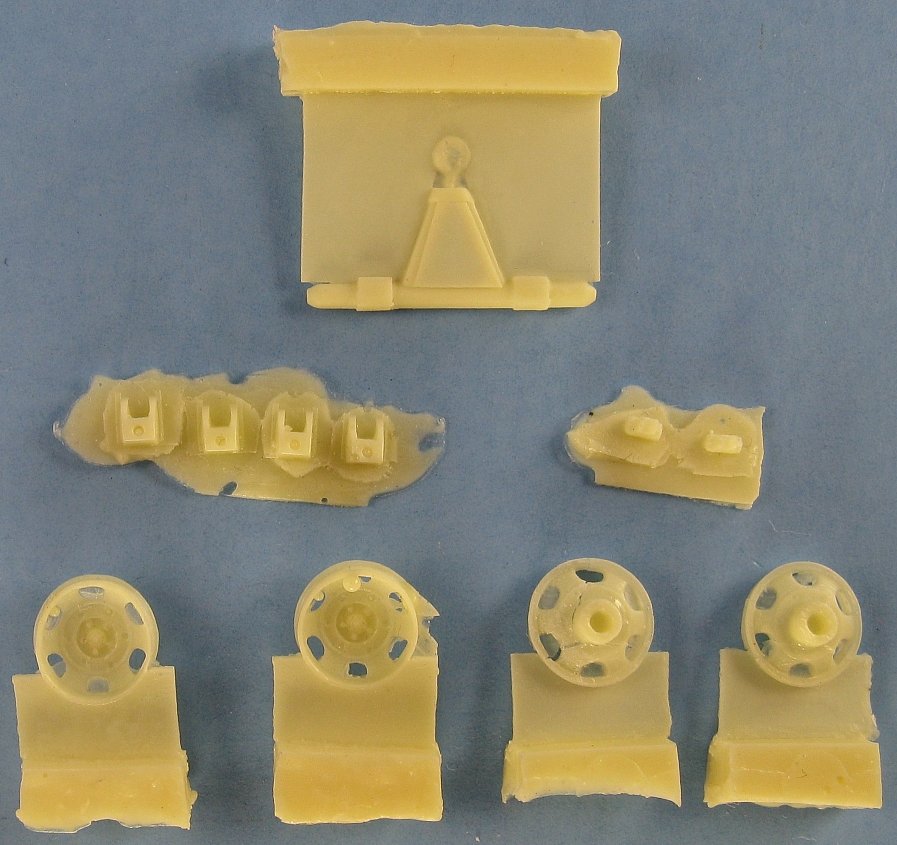
The FB Minis railroad wheel conversion set:
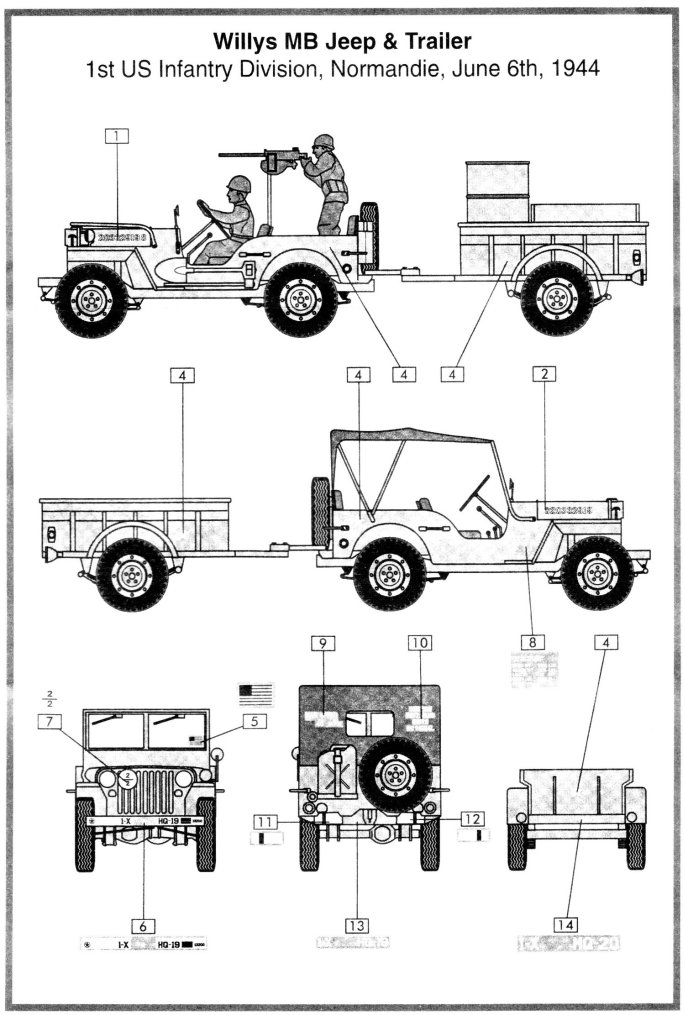
Separating the wheels from the resin film was somewhat difficult. The step between where the wheel rims ended and the carrier film began was difficult to determine due to the miniscule difference in thickness of the film to that of the rims. The light tan resin didn't help matters any because it made that little step difficult to see. You could feel it with a finger but not see it with the eyes. I found that lightly running a mechanical pencil in the area of the rim (similar to how you can trace raised relief on a coin by placing a piece of paper over it and rubbing a pencil on top to copy the image) revealed the arc where one could remove the unwanted resin. Once this was done some very delicate work was needed to remove the wheel from the wafer and sand off the unwanted flash. This was most nerve wracking as the rims felt like they were made of paper and would snap with just a sneeze! There were some minor amounts of flash in the six slots inside the dished portion of the wheel rims which was easily removed and I also drilled out the six tiny holes in the railroad rims. The wheels require reaming to get them to fit onto the axles. The wheel hangers are fairly thick and need to have their bottoms sanded down somewhat to reduce their profile. The instructions are a bit vague in directing the modeller as to where they should be mounted. Web photos of similar rail jeeps showed that the wheels when placed on the hangers did not have any sort of hub. I drilled out the hubs on each of the kit wheels and filled the top portion of the resultant hole with a flat plastic disk to match the look of the kit's spare wheel and the pictures from the web. There was still more of the hole in the rear of the rims which made it difficult to mount the modified wheels to the FB Mini hangers. My solution was to add a small extension cut from plastic rod to the top of the wheel hangers to slot into the hole in back of the road wheels. Markings and Decals: As mentioned above, the kit's decals are not really of any use. Not having any specific wartime photos to work with that matched the wheel design with the FB Minis conversion I decided to go with a generic marked Jeep with a single US Star marking on the engine hood. The decals I used were from the Archer Fine Transfers sheet number AR72048W which contains a variety of dry transfers for US stars with solid or stencil (broken) circle surrounds. I chose one of the stencil style stars and carefully cut the image from the sheet. I positioned the decal onto the hood with some very thin strips of Tamiya tape along the edges of the marking to hold it in place and rubbed the star onto the model with a mechanical pencil containing HB lead. It released very easily from its backing paper and once it was completely free I gently replaced the backing paper overtop of the decal again and lightly rubbed some more to make sure it sat totally flush on the hood. After the final coat of acrylic flat varnish the decal looks like it was painted directly onto the model. Very nice indeed! Conclusion: The Jeep is a fairly straight forward kit without any major vices. The only impediment to a quick build comes from the sink holes and ejector pin marks. All in all it makes into a nice replica. As for the FB Minis conversion, it is nicely executed but does require some patience to extract the parts and the delicate wheels require a soft touch. Jeep Railroad Conversion set supplied by Francisco Bexiga of FB Minis.

|
| Back to Airfix Kit List Back to FB Minis Kit List |
Back to Construction Reviews |
Article Last Updated: 27 October 2009 |
Back to Home Page |