|
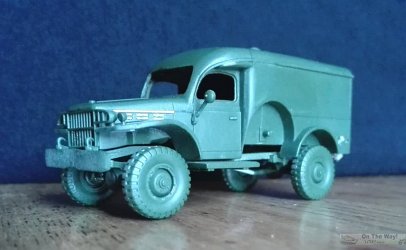
WC
54 Ambulance
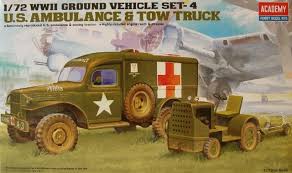
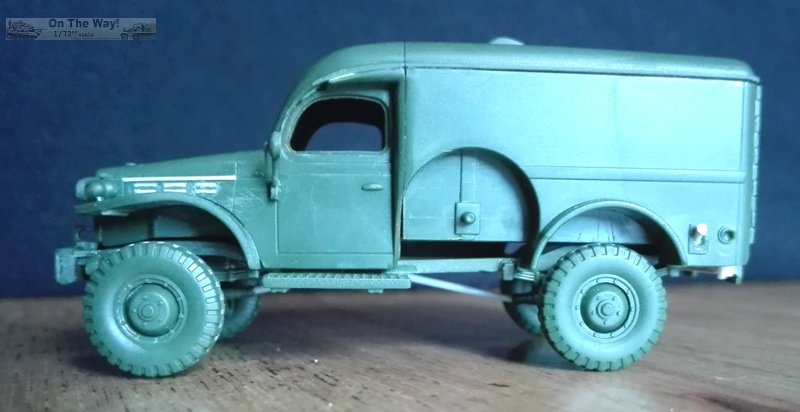
This Academy kit is a multiple vehicle
set like others in their catalogue and a light airfield tractor shares
the box with the ambulance. The moulds, two for the ambulance and
one for the tractor, are in dark pine green plastic, a bit too hard
for my taste, while the windows are in transparent plastic. A decal
set and instruction sheet complete the kit. About this variant: the
Dodge line of military vehicles had different ambulance types. The
former WC 9, WC 18 and WC 27 were based on the half-ton chassis (respectively
T207, T211 and T215) with the wheelbase stretched from 116 inches
to 123 inches. The WC 54 was based on the three quarter ton chassis,
named T214, the same as the WC 51 and WC 52 (see ESCI/Italeri
kit lists), with a body from Wayne Body Works. The production type
depicted by the kit is an early batch WC 54. The main difference,
in a 1/72 prospective, with the late production is the fuel cap style:
raised for the early series, recessed for the late. 22,857 WC 54s
were built in five batches from 1942 to the 1945: 850 (W77841-W78690),
9945 (W78691-W79999, W710000-W718342 and 293 with USN registration
numbers), 16 (75068-75083), 410 (718636-719045) and 11,636 (721000-732635).
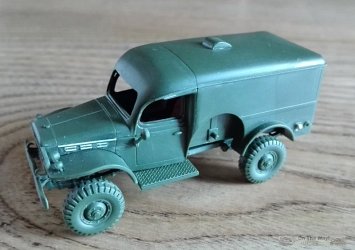
The moulds look clean and crisp. Details give the impression of a
well done replica. Something interesting to note: the clear parts
can be glued after the body is closed and painted, thanks to an interlock
system which is the opposite of the usual fare. To attach them I use
water soluble white glue (used for wood and paper), thinned and applied
with a thin brush to the transparent dry fitted in place. If more
glue is needed, I apply it in small amounts as required. A preview
of this kit (including sprue and decal pictures) by Christopher Benjamin
can be found here
Kit dimensions are quite accurate. Again, some small discrepancies
between different sources can be found (fractions of inch).
| |
Real
Measurement |
1/72 |
Kit
|
| Length |
16' 3" (or
195") |
4,953 mm |
68.8 |
See text below |
| Width |
6' 6" (or
78") |
1,981 mm |
27.5 |
28 |
| Height |
7' 6" (or
90") |
2,286 mm |
31.8 |
See text below |
| Wheelbase |
121" |
3,073 mm |
42.7 |
42.3 |
During the assembly something went wrong and a huge problem arose joining
the chassis to the body. Small adjustments and missing details needed
manual intervention on a kit which at the first glance looked to be
of the class which can be built out of the box.
As far as I've found the kit can also be used for a sole conversion:
some WC 54s were used by the US Signal Corps as radio vans.
To make my ambulance I had to make some basic improvement. These include:
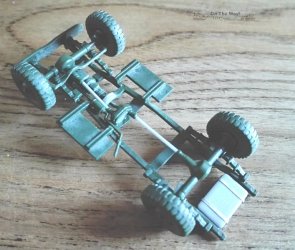
Chassis
- When I dry fit the chassis to the body something didn't look correct.
The wheels stood too far from the mudguards and the interlocking
hole in the fuel tank was not filled by the body pin. As a result
the model stood at a height of 33.0/33.5 mm. The problem was traced
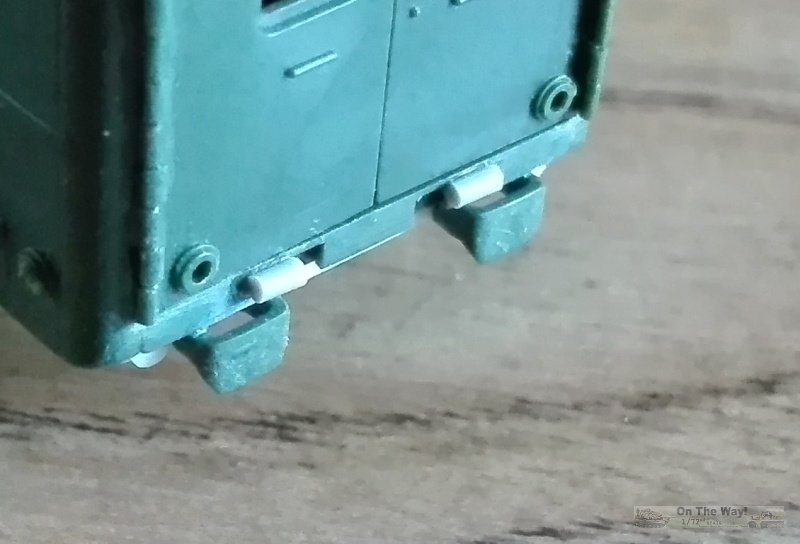
to the rear bumpers which are moulded on too high and are upside
down (and too much near the rear body). I cut them off and glued
them to the lower body edge in the correct place giving the chassis
a hair longer (but correct) 68.5 mm length. The rear chassis now
fit correctly in its place and the model's height now was more correct,
at 32 mm.
- The tank is moulded on a flat frame; it is much too slim and shallow.
I filed off the frame and I shimmed the tank to make it thicker.
With strips of thin metal I fashioned the straps.
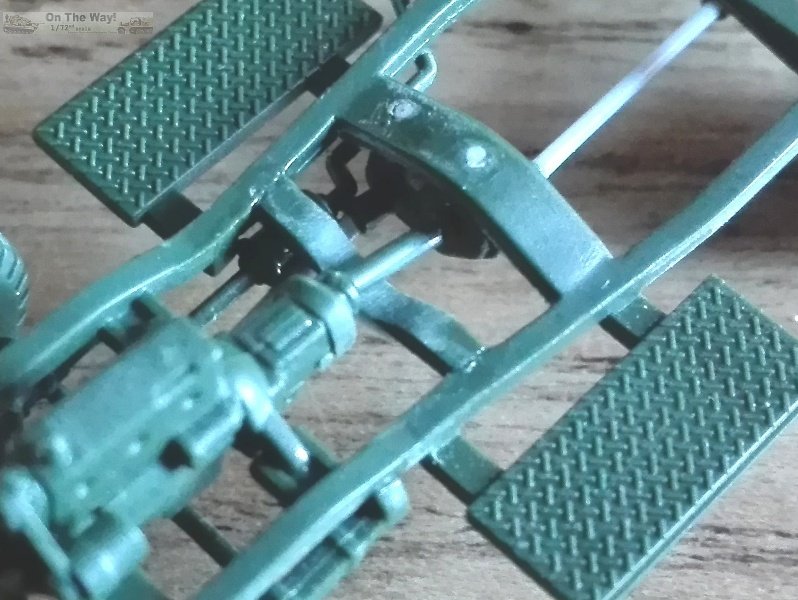
- The rear transversal beam of the chassis frame is missing. I made
it with plastic strip and stretched sprue to produce a "C" profile,
but I could have made it as a solid rectangular section as well.
- The moulds have two pieces not indicated in the instruction, which
are not unused parts. One is the drive shaft which transmits the
power from the engine to the gear box. Academy doesn't show it in
the instruction because a transversal beam of the chassis frame
is incorrectly moulded straight and does not allow placement of
the shaft. I cut the beam off and then I glued a plastic shim. After
having shaped it to a curve, the frame was reassembled. Now, having
its way unobstructed, I glued the drive shaft between engine rear
and front of the gear box.
- The kit's drive shafts were warped. I had to replace them with
segments of stretched sprue.
- The second piece not included in the instruction looks to me to
be the air filter (a bit over-sized) present on the right side of
the engine. As I was building my truck with a closed hood I left
it on the sprue.
- The 9.0x16.0 wheels are well done and don't need modification.
 Body
Body
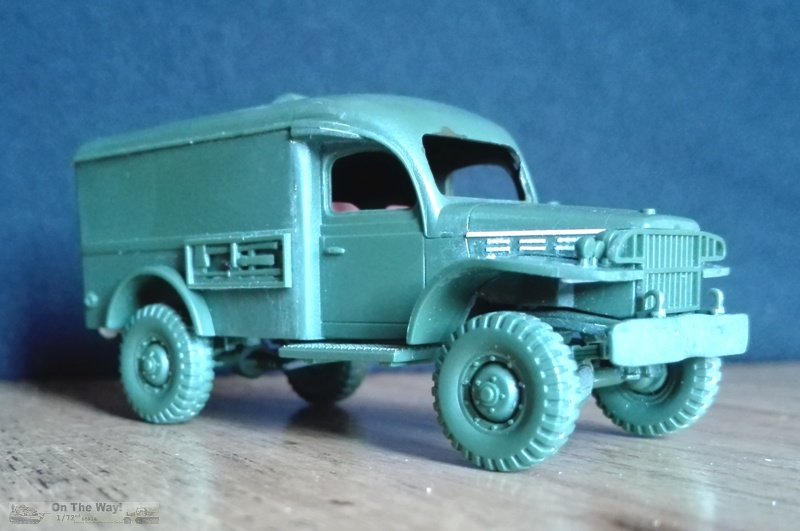
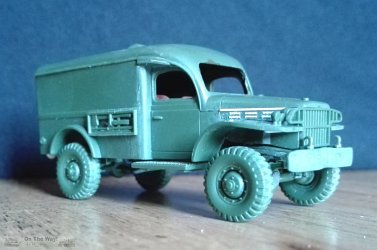
- The hood's sides were foldable and each had six cooling louvers
(at least in every war time photo I've seen), but the kit's hood
has smooth sides. With thin stretched sprue I added the hinges and
louvers.
- There are holes on the underside of the fenders beneath the lights.
I filled and sanded them, which unfortunately removed the molded
on support rods. These I replaced with plastic strip.
- The brush guards are missing the horizontal cross bars, but they
look good and I choose to keep them as is.
- The forward edge of the spare wheel housing isn't straight as
presented in the kit. It should be curved, reaching the driver door.
I filed and sanded it to give the correct shape.
- When the body was assembled, two holes remained above the forward
doors. I filled them with plastic shims.
- The right side tool rack was shimmed on the lower rod to can be
placed parallel to the body side. The shovel is missing and since
I didn't have a spare one, I left it as it is. If the shovel is
added, it must be placed with the handle facing the rear and the
blade facing forward.
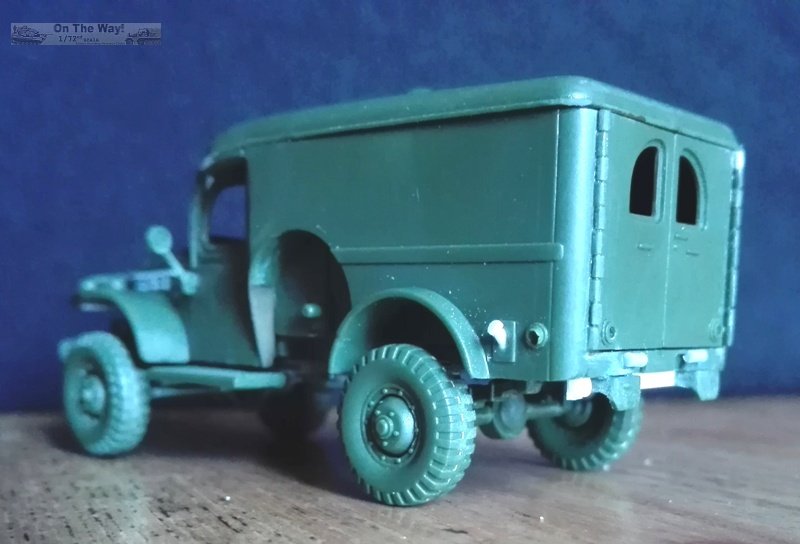
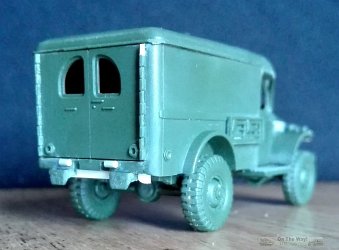
- The rear step lacks its hinges. I made them with stretched sprue
glued just under the rear doors. I kept it closed, but if glued
open the folding system has a different layout from the one suggested
by the instruction. The step will need to be glued after having
adding the Red Cross decals.
- Just outside of the rear bumpers I made the rear lights with rounded
plastic rod segments and plastic strips.
- The interior is well done and needs little modification, but it
is not visible unless the doors are glued opened. Since I was building
mine with closed doors I didn't make any further changes.
- On the little rectangle moulded on the left side I added the fuel
filler and cap. For a late WC54 the small rectangle must be replaced
by a large vertical rectangular like depression where the fuel filler
& cap could sit without overhanging the side panel. On the inner
side, a second segment made the pipe which went to the tank.
- The spare wheel is moulded inside out. To correct it is not easy:
I should have to remove plastic from the wheel rim to have a rounded
cup like inside. Drilling out the large cooling holes and the smaller
holes for the bolts would complete the job. In the end I kept it
as is.
- I left my ambulance back closed. Anyway the interior is well done
and few details are needed to make it correct.


Decals
While the red crosses are the type used for the ambulances delivered
by October 1943, the registration number 751018 lies out of the known
production batches (see above).
The unit markings look incomplete. For a better understanding of the
US medical units see here for an interesting article at med-dept.com.
Regarding the red crosses, based on the photos I've seen, the kit's
versions were used only on the late production vehicles, while smaller
crosses would be more correct, being used both early or late model
vehicles.
Conclusion Well, my corrections look very well to me.
On the other hand, its faults are very strange; a well detailed kit
but with a chassis which needs the above changes left me bewildered.
But it's worth the effort to improve and the WC 54 would work well
in diorama settings such as a battlefield, an airfield or other. It
could be found in use where ever the US Army, US Air Force or US Navy
was present in WW2. Or it could be used accurately in a Korean War
location. A good model, when not built out of the box. A better decal
set would be welcome.
References
[1] net-maquettes (walkaround)
[2] dodge54.com
Review sample purchased by the author.
Academy products are available at

|