|
|
Ford GPA (Amphibious Jeep) |
|||
| Kit: Academy # 13408 | Review by Rob Haelterman | |||
|
|
Ford GPA (Amphibious Jeep) |
|||
| Kit: Academy # 13408 | Review by Rob Haelterman | |||
|
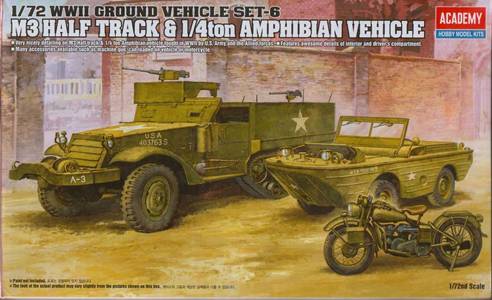
| Introduction This Ford GPA comes as part of Academy's
"WW II Ground Vehicle Set #6", where it shares the box with
an M3A1 Half Track and a Harley Davidson motorcycle.
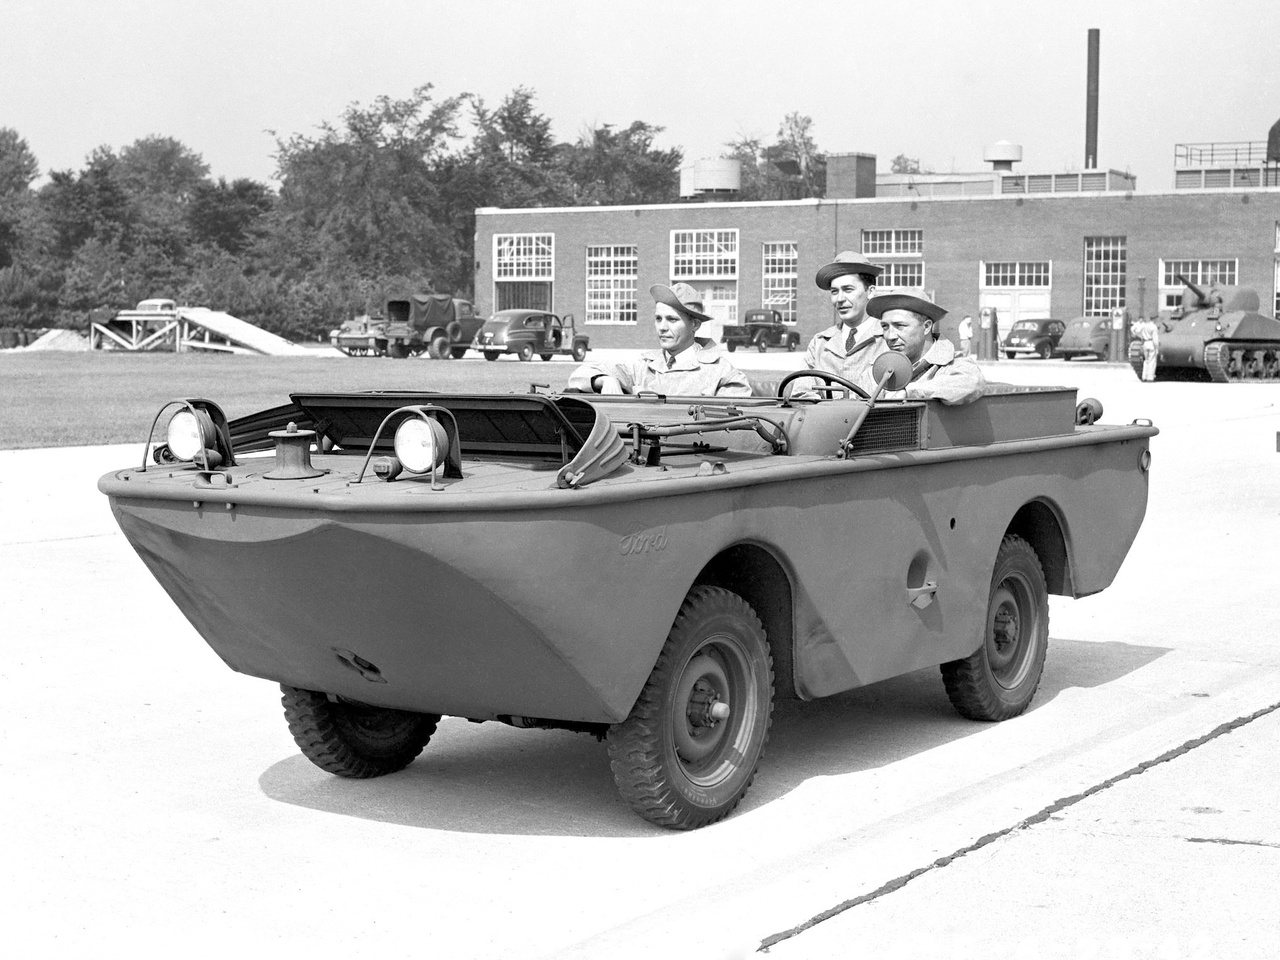
Accuracy Built as a (long) weekend project, I didn't bother comparing the kit to the real thing too thoroughly. Besides, apart from the web, I don't have anything on the GPA anyway, but I managed to come up with the following:
Construction The kit counts few parts, so this is your quickbuild kit par excellence. There are ejector marks on the insides of the wheels, where they are easy to fill in, and on the back of the seatrest where they are a bit harder to correct. I ended up removing all detail from the back of the seats and making springs from copper wire. They are not perfect, but are hard to see with the seats slightly reclined and the stowage I've added.
While at first, I thought the ejector marks in the crew compartment on the top of the wheelbays (beneath the rear bench) would be invisible after construction, they still partially remain visible. (That's why they invented dryfitting, I guess.) Again, with the stowage I was going to add, that's no big deal. I was too lazy to try and add glass
panes to the windshield, as these are not included in the kit. (Weekend
project, remember ?) Furthermore, there are some hard-to-correct ejector
marks on one side of the windshield. I went for a tarp cover instead,
made from sanitary paper. Unfortunately, the carpet monster was in
a rather voracious mood (or just needed the sanitary paper) and swallowed
this rather big part. A new tarp covered windshield was made without
too much hassle. The GPA has a spartan interior, as can be seen here. Nevertheless, the Academy kit has even less interior, so I decided to at least add the gear stick(s). More adventurous modelers might want to thin the top walls of the crew compartment, as they are rather overscale. Wanting to depict the vehicle seen here, I added a dent to the left side of the nose. This was done by thinning the inside of the hull and then pushing a blunt tool into the nose. A command pennant (recovered from an Eduard detail set for the Schwimmwagen) was added. Apart from the above, there is very little to mention about this kit.
Painting and markings The vehicle was sprayed in a uniform green enamel color. Two coats of AK chipping fluid and a coat of acrylic white followed. Moistening the paintcoat ten minutes later and some persuasion with a stiff brush gave the result seen in the pictures. The rest is traditional weathering. Note that I chose to paint the seats in a leathery color, solely for artistic purposes. The same argument goes for the whitewash, for that matter, as the only picture of the vehicle doesn't show any. Markings are completely absent in the picture, so none were applied.
References The world wide web. |
| Back to Academy Kit List | Back to Home Page |
Article Last Updated: 31 March 2013 |
Back to Construction Review Page |

.JPG)
.JPG)
.JPG)
.JPG)
.jpg)