|
ACE
|
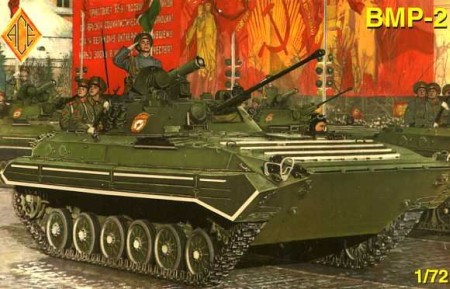
BMP-2 |
|||
| Kit #: 72112 |
Review by
Marko Mäkinen
- mtm66pz(at)yahoo(dot)com
Edited by Al Magnus |
|||
|
ACE
|
BMP-2 |
|||
| Kit #: 72112 |
Review by
Marko Mäkinen
- mtm66pz(at)yahoo(dot)com
Edited by Al Magnus |
|||
 |
|
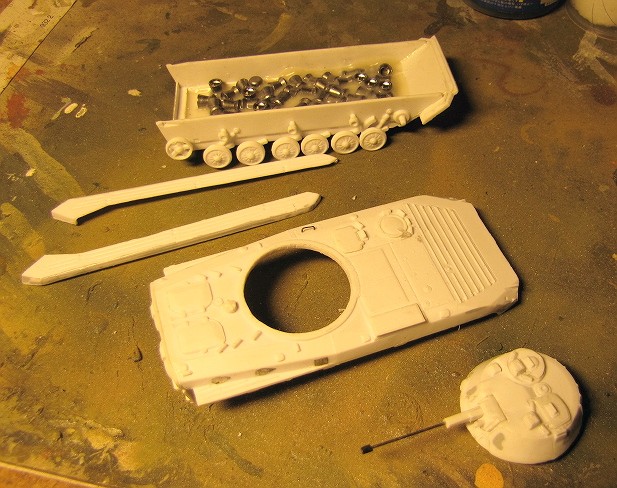
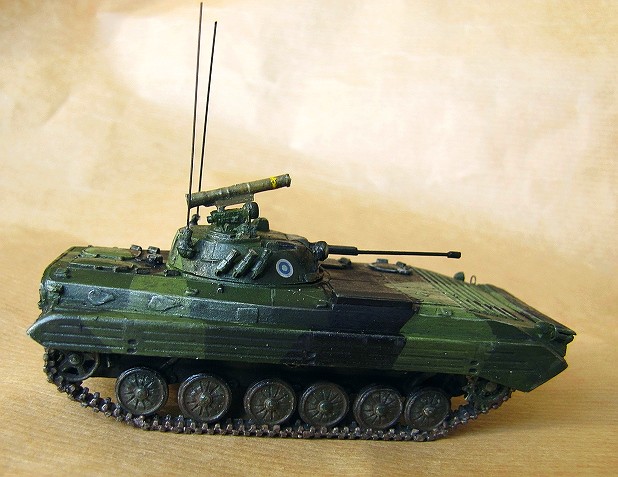
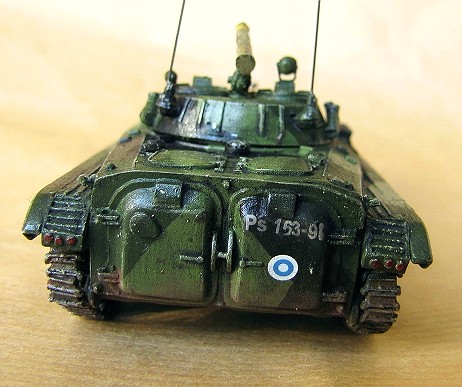
The Kit As with many limited run kits the BMP-2 looks somewhat modest in the box. There is a fair amount of flash and some parts look softish. A closer examination reveals that there is nothing actually wrong with the kit, however, the molding is sufficiently crisp and the part layout is logical. Also the details are abundant, but because of the flat white plastic they are hard to appreciate at first sight. Only the relative crudeness of the hard plastic tracks leave room for some criticism. ACE has a reputation of representing it's subjects accurately and based on photographic evidence I would say this holds true for the BMP-2 kit as well. I did not perform any measurements, but relied on the famous "looks good to me" method, so there is a chance of me being proven wrong. The plastic is rather soft but not brittle, and it is easy to work with. The instructions are simple "explosion diagrams" and a bit unclear in that they do not suggest any building sequence. Also the positioning of many smaller parts is not shown clearly, especially on the turret. The decals are very few, but their quality is alright. As I wanted to build this kit into a Finnish model, the kit's decals were not used.
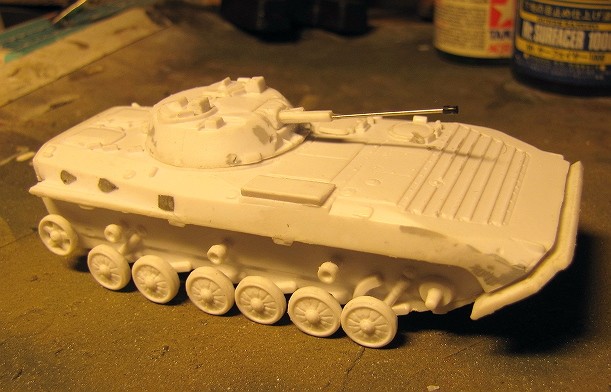
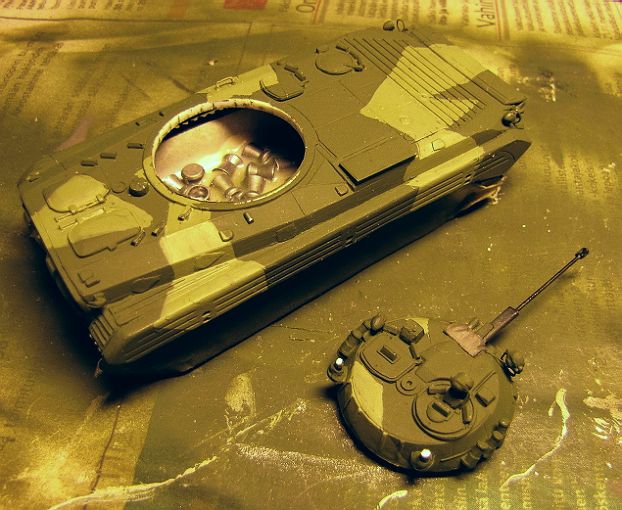
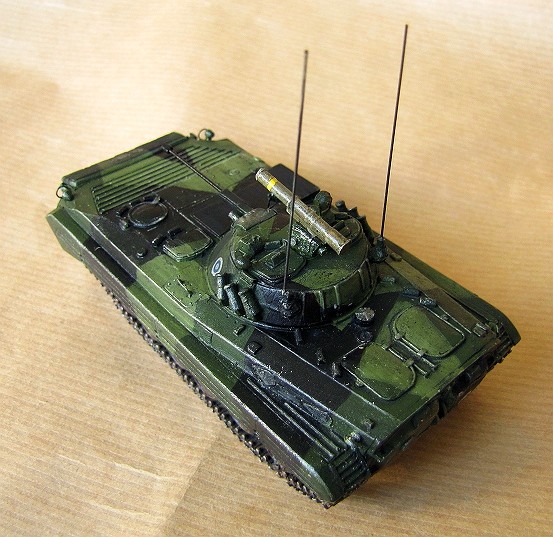
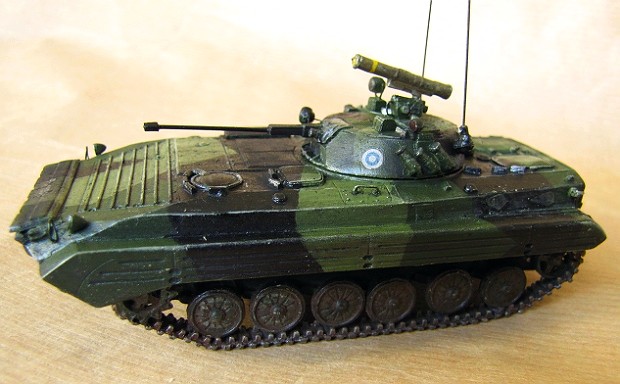
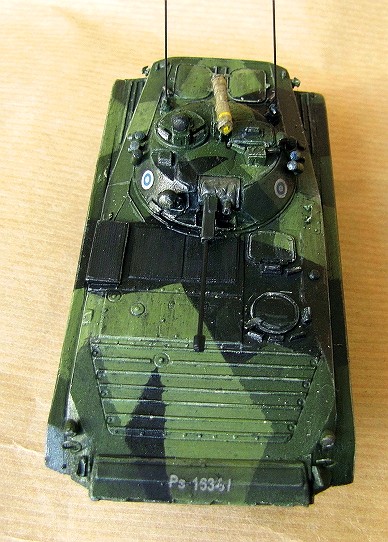
Running Gear & Tracks The BMP-2 has a simple road wheel system with single wheels. This makes the construction fast and easy. A somewhat annoying detail is that the wheels are of varying thickness, an error in the mold itself, which could be corrected by resin casting some new wheels. I accepted the faulty wheels, though, and luckily the error is hard to spot on the finished model. Another error, this one my own, is that I missed the inclusion of suspension bars for the second road wheels partly because of the obscure instructions. I was aware that such should be there, but did not notice that the parts for these were actually provided with the kit. This and some other discrepancies are caused by the fact that the kit seems to share certain parts with the BMP-1 kit, where such details are different. I opted to leave the suspension bars out and only noticed the required parts on the sprue when the building had proceeded too far to install them. Oh well! I really dislike using link-and-length tracks when they come with a model that has narrow tracks with small individual links like the BMP has. Putting them on was quite a chore, as anticipated, especially because they were riddled with flash. Also thick connecting sprues made the separation of the track links a nasty business. On the plus side, there is a considerable amount of extra track links on the sprues, so it is not a disaster if some of them get lost or ruined (as they usually do). Some teeth need to be cut off from the sprocket wheels to ensure a satisfying fit of the links. My building sequence is normally "old school" in the sense that I tend to build and paint my models in sub-assemblies and mate them only after they are primed. This was the case now, too. This time I did not paint the tracks and wheel tyres before mating, however, but finished them only after the chassis was put together. The shallow overhang of the upper body made this quite easy. Turret The turret itself is very simple and only requires putting the gun and hatches in their place. Some shallow dents on the turret sides had to be puttied and smoothed, though. The turret carries an array of different equipment and most of the small parts in the sprues are meant for the turret top. Their precise locations need to be checked from actual vehicle photographs, since the instructions are quite vague on these. Some of the parts require a fair amount of cleaning and for instance the antenna mounts are portrayed very heavily. I did some modifications of my own. Most importantly I swapped the gun barrel to a new one made of an injection needle. I also replaced the bulky searchlight frames with new ones bent out of metal wire. The stand for the anti-tank missile launcher is originally a very crude block, which prompted me to spice it up with some small details made of foil, wire and styrene. Two antennas, as in every real Finnish "Bemari", were made of heat stretched sprue to give the model its final touch.
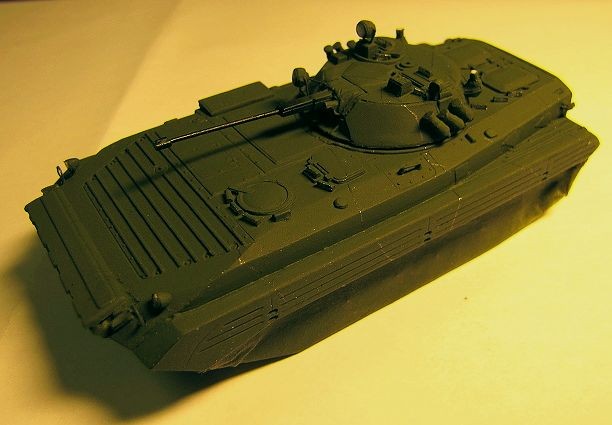
Conclusion As said in the beginning this kit does not look like much in the box, but it builds easily into a rather pleasing representation of this Russian infantry fighting vehicle. With even more super-detailing and better finishing skills the results could be all the more convincing. This is an ACE kit that gives the modeller a very good starting point, and it is up to the skills and ambition level of the builder to see how far he can go. References
|
| Back to ACE Kit List | Back to Construction Reviews |
Article Last Updated: 25 September 2011 |
Back to Home Page |