Do we all need an airbrush?
Brush techniques for the "light equipment" hobby

by Ronaldo Fontoura
email: ronaldo(at)fontoura(dot)com


Edited by Marc MERCIER

I’ve been through this hobby since 1973-74, when I was 6 or 7 years old. Like the majority of the modellers, I faced a “temporary absence” for dating, marrying, having children, etc.
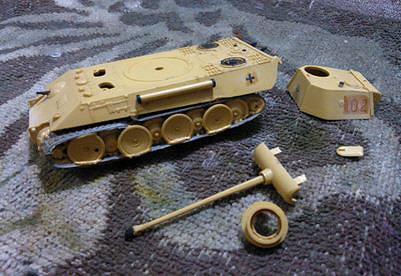
Back on 2000 I built my painting system, airbrush/compressor, using a refrigerator compressor and so on, and started doing better painting jobs, especially those regarding soft edges camouflage and pre-shading/pos-shading.

However, I always wanted to find a way to take my hobby along when travelling or on vacation, for example, and taking that heavy equipment was impeditive. Therefore, soft edge camo and shading would be also impossible.
So I decided to turn my attention back to the old brushes and painting techniques.
After watching my wife’s artistic paintings on some boxes, I figured out it was possible to create some soft edges using a diagonal brush, although it would be very hard to do it on 1/72 models.

I use matt acrylics, because they are safer. And I mix my own colours from the basic ones (gold yellow, fire red, deep blue, black, and white) because I don’t want to be dependable on the traditional labels, most of them scarce or costly in Brazil. And the sources are artistic common paints available even at supermarkets, like Acrilex and Gato Preto. And, yes, for a while I used acrylic wall paint! But that’s another story.
A few months ago I bought, from a retiring modeller, a bunch of old AFV kits to enrich some dioramas after repainting and to try out some new ideas.

A few months ago I bought, from a retiring modeller, a bunch of old AFV kits to enrich some dioramas after repainting and to try out some new ideas.

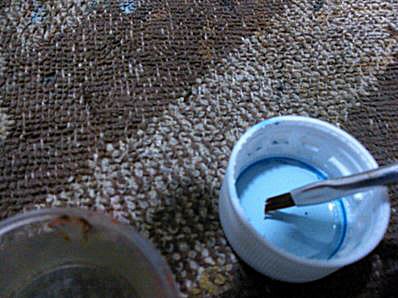
So I found the smallest diagonal brush available (4-5 mm wide) and started to create this technique. And I think I got a good result. At least for my first attempt!

How does it work?
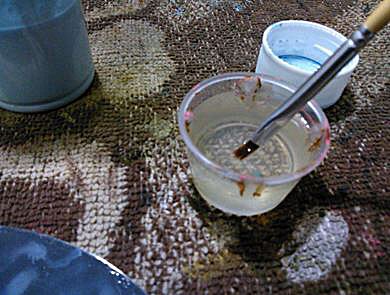
Dip the diagonal brush in water

Remove the excess water on a towel


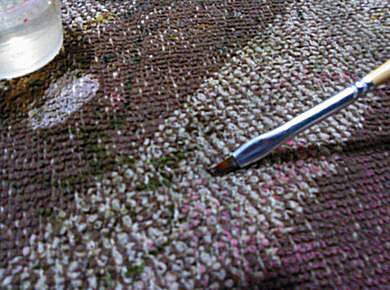
Touch the dark colour (light in this example) with the tip of the brush. Remove the excess of paint on a towel, if needed.


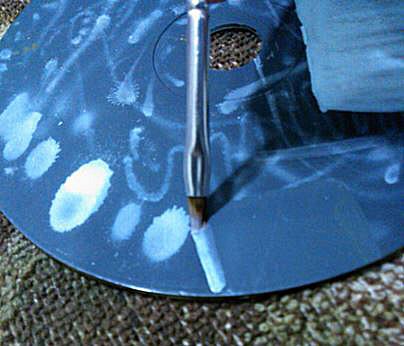
Paint the panel edges and details you want, keeping the brush perpendicular to the panel.
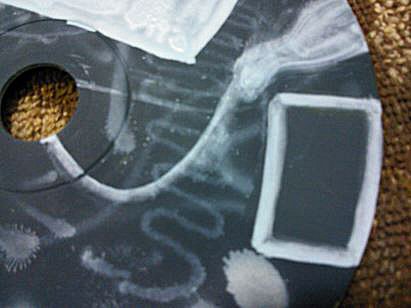
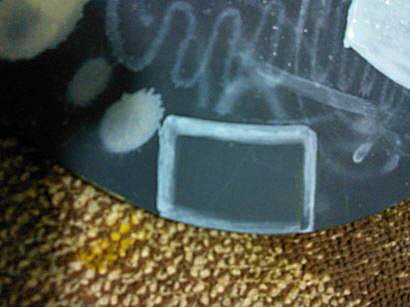
If you go wrong, wipe it off using a Q-tip or wet towel/paper

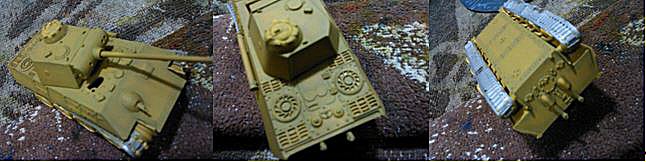
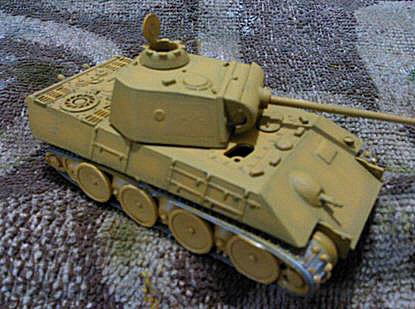
Now on a model :

I gave the tank a first layer of the base colour, acrylic desert yellow, without any special care. Of course, the paint must be thinned to be brush painted.

After the first coat has dried, I started to apply a pre-shading with dark brown, using the technique explained above.
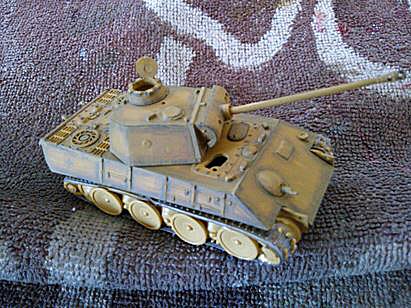
When the dark colour was dry, I applied a second (thin) layer of the base colour over the entire model.
As you can see, the pre-shading still looks too heavy.

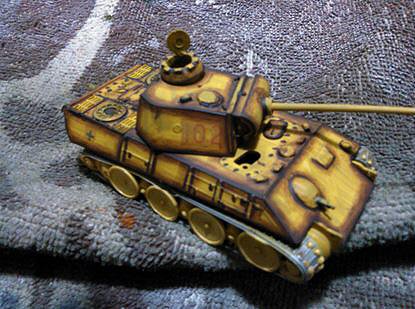
So I layed down another layer of desert yellow over the model and the result is, in my opinion, promising.

I can tell you that to the naked eye it looks better!


The other way around...

What if I painted a lighter colour on the panel centres, I ask myself?
As for this technique we use thin layers of paint, I think it’s possible to “post-shade” a light brown, or a darker desert yellow, right before the last layer of the base colour.
Well, thinking of the possibilities, we can also paint soft edge camouflage on AFVs and airplanes, limited only to the painter’s skills and the size of the diagonal brush.
So, how about that?

Back to Articles Back to Home Page