| When I decided that I was going to start basing my finished models and try to build a little collection for myself at the same time to give a little bit of individuality to my collection, I realised I could use figures from different companies. However on using a set once I also realised to really make the figures personal only to me, and also to achieve many of the little dioramas I wished, I would have to convert the figures and even simple conversions could make a big difference to a small scene. (Again this is just a simple, fun article for other modellers who may not have tried conversions themselves and is definitely not a be all and end all to the subject.) |
| For this article I have used resin figures from the Milicast range as I had them in a state to photograph but it is just as good to use hard and soft plastic figures and also all the other resin figures on the market. I can't say I have used white metal figures for conversions but I'm sure there are many who have. The other thing with Milicast figures is you are already converting a good number of the sets as many come with seperate heads and sometimes arms, and weapons. |
| I
recently decided I wanted to create a little late war
scene with a crew reloading a Tiger II (Revell)
and I wanted to have the figures in winter overalls so I
trawled my figure boxes and again came up with a set from
the new Milicast range that I had not long finished so I
decided to use these as a base for conversion. TOOLS FOR THE JOB: All you really need to start converting the figures is a good hobby knife with a sharpe blade (essential it is sharpe), some files, superglue and Milliput to fill the gaps. The great thing about the grey resin used with Milicast, FCM and other figure producers is that although strong it is pretty easy to cut and also is quite flexible so arms and legs bend quite well in hot water. |
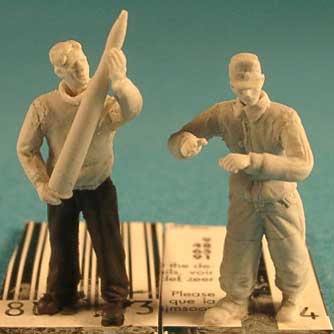 |
| FIGS 1/2: Figure 1 originally had an officers hat and was standing with his hands in his pockets all I did with him was scalpel and moved his arms and added a new set of hands to hold an 88mm shell; I also popped on a new bare head then filled the gaps (he's going inside the turret). Figure 2 was also an officer and had both hands adjusting his hat, I just changed his head and repositioned his arms and replaced his hands. (He has just passed the shell down through the hatch.) |
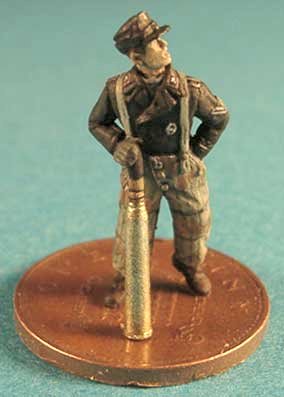 |
| FIG 3: Figure 3 was holding a cup of coffee, had a beard and was facing the opposite direction so all I did was replace his head looking into the sky and his right hand to hold a shell. (You can see the quality of the shells produced by Tony Boustead in this picture, they come in many different calibres and with various casings and the detail is really delicate.) I tried to get a bit of scale perspective by placing this figure on a one penny as it is easy to forget how small the 1/76 and 1/72 scale figures are while looking at them on the computer screen. His face is actually a little lighter in real life. |
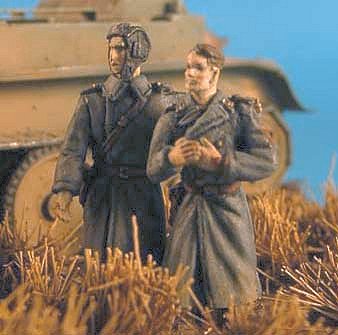 |
| FIGS 4/5: Figures 4 and 5 come from a Milicast Soviet AFV crew and were a simple conversion of switching arms and heads and a minor bit of resculpting with the reaching arm at the back. |
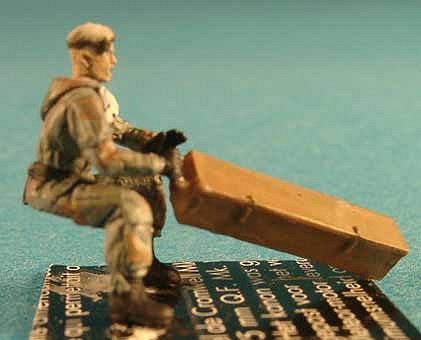 |
| FIG 6: Figure 6 originally sat with his arms and legs crossed across his body and wore a fur lined hat. I reshaped his arms and legs so as to sit in the back of a demag and replaced his hands so as to be pulling another shell case. I also switched his head. (He is in the middle of painting at the moment and I'll post some pictures of the finished figures and diorama in the future; he's a little out of focus in this shot.) |
| So
there it is, a mini-article on converting small scale
figures, short and sweet. Happy Modelling (You can now view the Milicast figure range online at their website www.milicast.com and the excellent range of shells and their casings sculpted by Tony Boustead can also be bought through Milicast. These really are excellently detailed items! For articles on converting plastic small scale figures you can check out John-Michael Murray's website Miniaturezone for loads of information and images.) |